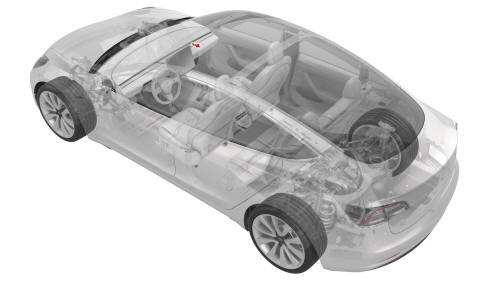
Tesla Model 3: Damper - Glove Box (Remove and Replace)
Tesla Model 3 2017-2026 Service Manual / Instrument Panel / Damper - Glove Box (Remove and Replace)
Remove
- Remove the glove box. See Glove Box (LHD) (Remove and Replace).
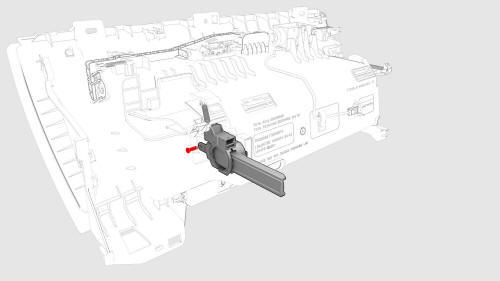
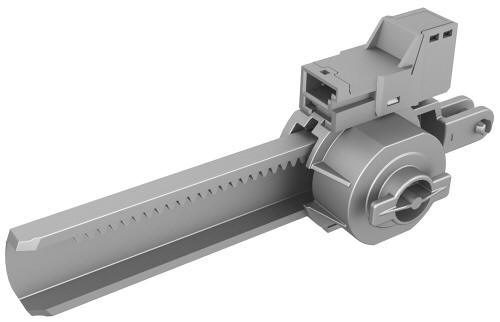
- Remove the pin that attach the glove box damper to the glove box using needle nose pliers.
- Fully open the glove box.
Note: When the glove box is closed, the glove box damper will not clear for removal.
- Turn the glove box damper 90 degrees counterclockwise, and then remove
the glove box damper from the glove box.
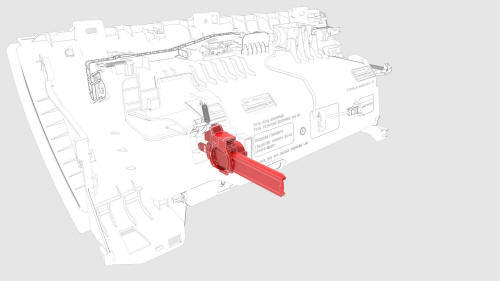
Install
- Position the glove box damper onto the glove box by turning it 90 degrees clockwise.
- Close the glove box so that the glove box damper engages with the glove box lid.
- Install the pin that attaches the glove box damper to the glove box.
Note: Make sure that the glove box damper pin is fully seated, and not to bump the glove box damper, when installing the glove box.
- Install the glove box. See Glove Box (LHD) (Remove and Replace).
READ NEXT:
 Decor Trim - Instrument Panel - Main (Remove and Replace)
Remove
Remove both the LH and RH air wave end caps. See
End Cap - Air Wave - LH (Remove and Replace).
Release the clips that attach the main instrument panel decor trim, and
then remove
End Cap - Instrument Panel - LH (Remove and Replace)
Remove
Release the clips that attach the end cap
Remove the end cap from the vehicle.
Install
Installation procedure is the reverse of removal.
Finisher - Vent (Remove and Replace)
Remove
Remove the LH instrument panel end cap. See
End Cap - Instrument Panel - LH (Remove and Replace).
Remove both the LH and RH air wave end caps. See
End Cap - Air Wave - LH (Remove and Re
SEE MORE:
Maintenance
This section discusses several facets of car maintenance for long-term and optimal performance. This is a suggested maintenance plan for the Model 3, along with information on when to schedule frequent servicing and what has to be done at each visit. Owners can remain on top of routine maintenance w
Steering Rack (Dual Motor) (Remove and Replace)
Caution:
Vehicles built before March 25th, 2019 have 1st generation
front subframes. Vehicles built on March 25th, 2019 and
after have 2nd generation front subframes. 1st generation
subframes require special M8 bolts to
© 2019-2026 Copyright www.tmodel3.com
