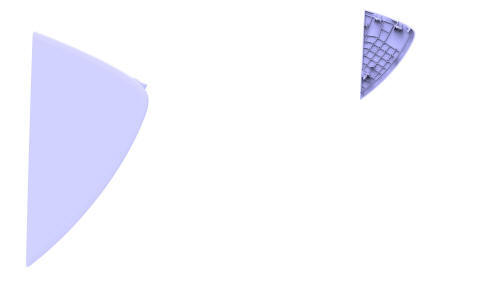
Tesla Model 3: End Cap - Instrument Panel - LH (Remove and Replace)
Tesla Model 3 2017-2026 Service Manual / Instrument Panel / End Cap - Instrument Panel - LH (Remove and Replace)
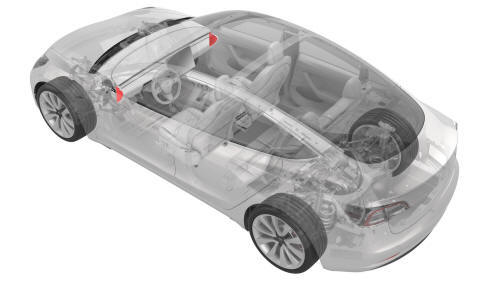
Remove
- Release the clips that attach the end cap
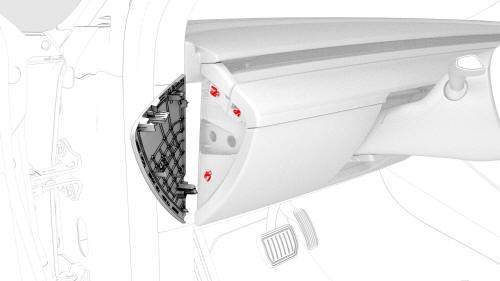
- Remove the end cap from the vehicle.
Install
Installation procedure is the reverse of removal.
READ NEXT:
 Finisher - Vent (Remove and Replace)
Remove
Remove the LH instrument panel end cap. See
End Cap - Instrument Panel - LH (Remove and Replace).
Remove both the LH and RH air wave end caps. See
End Cap - Air Wave - LH (Remove and Re
Glove Box (LHD) (Remove and Replace) - Remove
Remove
Remove and secure the customer's belongings from the glove box, if
needed.
Remove the 2nd row lower seat cushion. See
Seat Cushion - Lower - 2nd Row (Remove and Replace).
Remove the r
SEE MORE:
Latch - Seat Back - 2nd Row - LH (Remove and Replace)
Remove
Remove the 2nd row center seatbelt assembly. See
Seatbelt - 2nd Row - Center (Remove and Replace).
Release the cable clip that attaches the latch bracket to the seat back.
Release the clip that attaches the bracket stud to the seat back.
Remove the bolts that attach th
Trim - Lid - Trunk (Remove and Replace)
Remove
Open the trunk.
Release the clips at the upper corners, then work around the trim to
release the clips that attach the trunk trim to the trunk lid.
Note: The clips (x4) closest to the rear window have a higher
retention force; use a clip prytool, if necessary. Remove any broken
© 2019-2026 Copyright www.tmodel3.com
