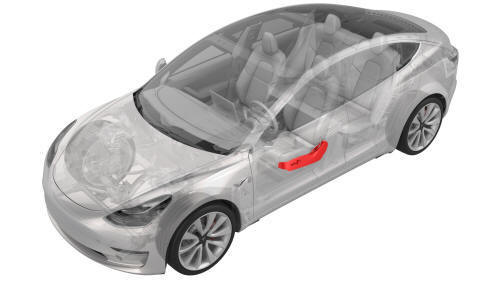
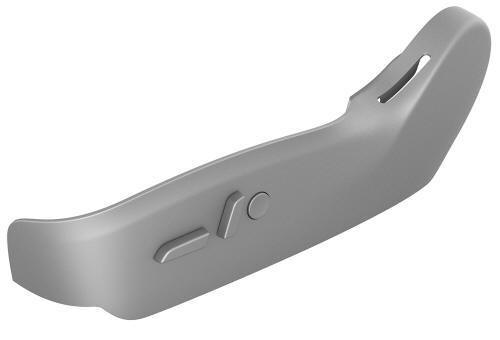
Tesla Model 3: Cover - Outer Side - Driver Seat (Remove and Install)
Tesla Model 3 2017-2026 Service Manual / Seats / Front Seat Covers Pads and Trims / Cover - Outer Side - Driver Seat (Remove and Install)
SPECIAL TOOLS
Key, Seat Belt Release, Model 3 (1133787-00-A)
Remove
- Open the LH front door.
- Move the driver's seat fully forward, and adjust the seat cushion height to maximum.
Caution:
Do not allow the seat headrest to compress the sun visor as it might crack the mirror.
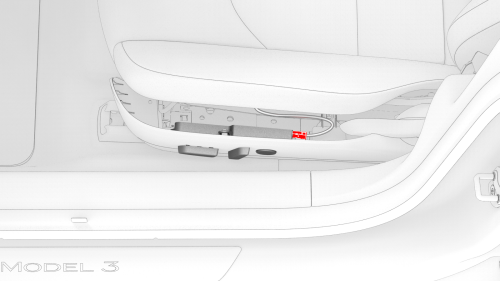
- Insert the seat belt release key into the bottom of the seatbelt pretensioner coupling to release the seatbelt from the pretensioner.
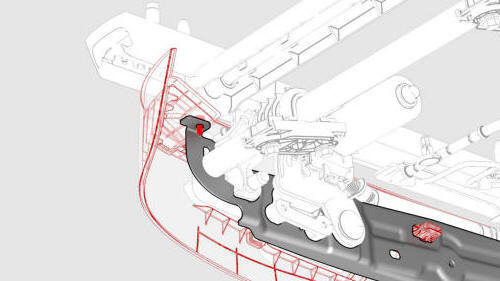
- Remove the bolt that attaches the outer side cover to the seat frame. Torque 2 Nm
- Pull the cover outward to release the clip that attaches the cover to the center of the seat frame.

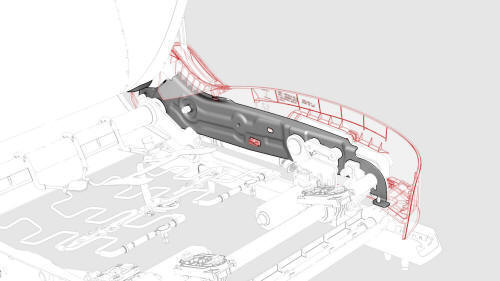
- Slide the cover rearwards to release the clips that attach the cover to rear of the seat frame.
- Disconnect the electrical harness from the backrest and cushion adjust switch connector, if so equipped.
- Remove the cover from the vehicle.
- If the driver seat outer side cover is being replaced, remove the back rest and cushion adjust switch from the cover. See Switch - Back Rest and Cushion Adjust - Driver Seat (Remove and Replace).
Install
Installation procedure is the reverse of removal.
READ NEXT:
 Foam - Backrest - Driver Seat (Remove and Replace)
Foam - Backrest - Driver Seat (Remove and Replace) - Remove
Remove
Remove the driver seat. See
Seat - Driver (Remove and Replace).
Remove the driver headrest trim. See
Trim - Headrest - Driver
SEE MORE:
Puddle Light - Rear Door - LH (Remove and Replace)
Remove
Use a small screwdriver or pry tool in the slot at the front of the
puddle light to pry the light out of the bottom of the rear LH door trim
panel.
Release the clips that attach the front of the puddle light to the
bottom of the door trim panel, and then separate the light fr
Front Upper Control Arm (FUCA) Mount - LH (Remove and Replace)
Front Upper Control Arm (FUCA) Mount - LH - Remove
SPECIAL TOOLS
Tool, FUCA Ride Height, Model 3 (1450399-00-A)
Remove
Raise and support the vehicle. See
Raise Vehicle - 2 Post Lift.
Remove the LH front wheel. See
Wheel (Remove and Install).
Remove the rear underhood apron. See
Underhood Ap
© 2019-2026 Copyright www.tmodel3.com
