
Tesla Model 3: USB Hub - Center Console - Rear (Remove and Replace)
Tesla Model 3 2017-2026 Service Manual / Infotainment / Audio System - USB Media Port / USB Hub - Center Console - Rear (Remove and Replace)
Remove
- Remove the center console air vent panel. See Panel - Air Vent - Center Console (Remove and Replace).
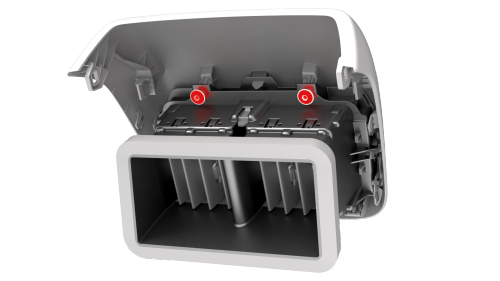
- Remove the screws that attach the vent unit to the center console air
vent panel, and remove the vent unit from the panel
 Torque 1.6 Nm
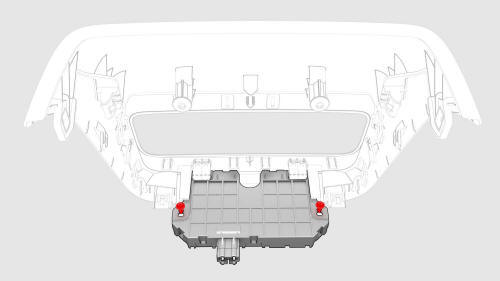
- Remove the screws that attach the rear center console USB hub to the
center console air vent, and remove the USB hub from the vent.
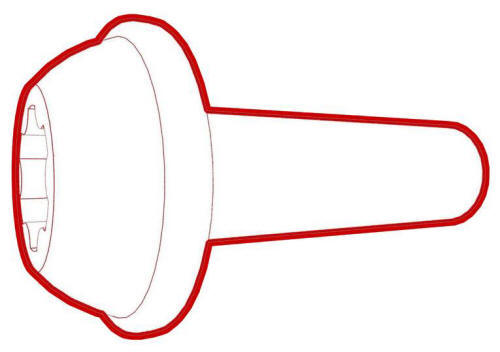 Torque 1.1 Nm
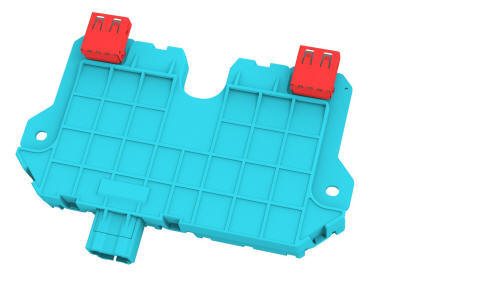
Install
Installation procedure is the reverse of removal
READ NEXT:
 Amplifier - Antenna - FM (Remove and Replace)
Remove
Remove the LH side rail trim. See Trim - Side Rail - LH (Remove and
Install).
Disconnect the electrical connector from the FM antenna amplifier.
Remove the bolt and release the
Tuner - FM / HD (Remove and Replace)
Remove
Remove the RH side rail trim. See Trim - Side Rail - LH (Remove and
Replace).
Disconnect the backlight electrical connector from the tuner.
Disconnect the electrical connectors
SEE MORE:
Horn - Low Tone (Remove and Replace)
Remove
Remove the front fascia. See
Remove.
Disconnect the harness from the low tone horn connector.
North America
Remove the bolt that attaches the horn to the carrier, and remove the
horn from the vehicle.
Torque 9 Nm
EMEA
Install
Installation procedure is the reverse of
Handle - Exterior Release - Door - Rear - LH (Remove and Replace)
Warning: The side impact airbag deployment depends on the front door
sensor's ability to detect a side impact from air pressure. Make sure that there
are no uncovered holes in the front door shells. Additionally, always reinstall
plugs or tape when servicing or inspecting the front doors and t
© 2019-2026 Copyright www.tmodel3.com
