Tesla Model 3: Handle - Exterior Release - Door - Rear - LH (Remove and Replace)
Tesla Model 3 2017-2026 Service Manual / Closures / Exterior Door Handles / Handle - Exterior Release - Door - Rear - LH (Remove and Replace)
Warning: The side impact airbag deployment depends on the front door sensor's ability to detect a side impact from air pressure. Make sure that there are no uncovered holes in the front door shells. Additionally, always reinstall plugs or tape when servicing or inspecting the front doors and their components.
Remove
- Remove the LH rear door trim panel. See Panel - Door Trim - Rear - LH (Remove and Install).
- Remove the rear LH door glass. See Glass - Door - LH - Rear (Remove and Replace).
- Remove the rear LH window regulator. See Window Motor / Regulator Assembly - Rear - LH (Remove and Replace).
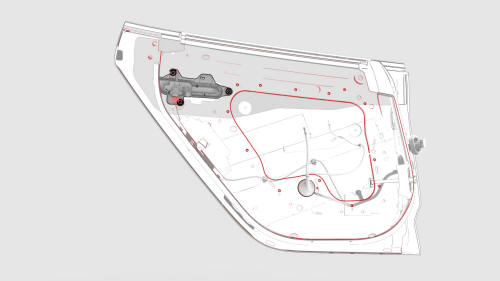
- Disconnect the electrical connector from the LH rear door exterior release handle.
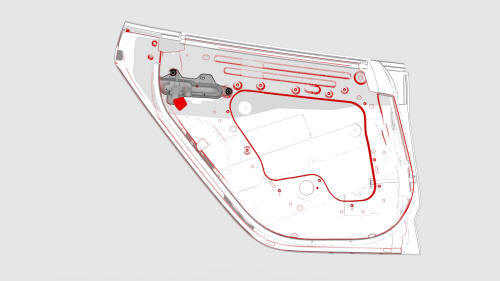
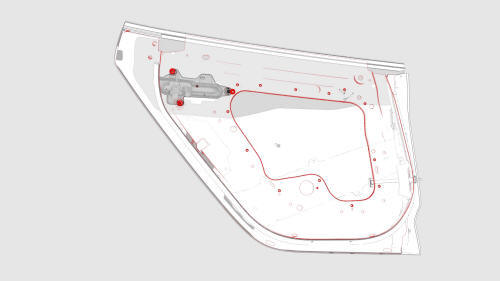
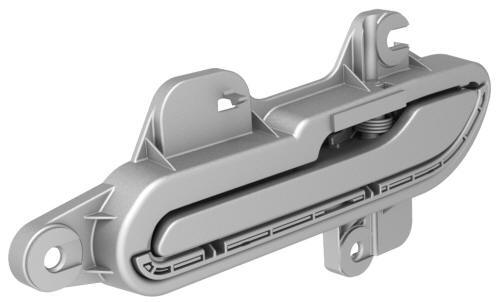
- Remove the nuts that attach the LH rear door exterior release handle to
the door, and then remove the handle from the door.
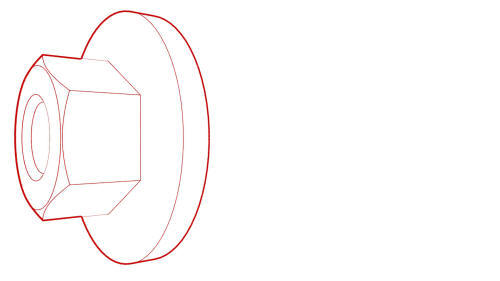 Torque 7 Nm
Install
Installation procedure is the reverse of removal, except for the following:
When a new handle is installed, or the removed handle is installed onto a new door, perform an adjustment of the handle. See Handle - Exterior Release - Door - Rear - LH (Adjust).
READ NEXT:
 Glass - Door - LH - Front (Adjust)
DRAFT
Warning:
This procedure was derived from pre-production computer models, and
might not reflect the real-world situation. Warnings and cautions might be
missing. Follow safety requirements
Glass - Door - LH - Front (Remove and Replace)
SPECIAL TOOLS
TOOLKIT, WINDOW SWITCH (1454796-00-A)
Warning: The side impact airbag deployment depends on the front door
sensor's ability to detect a side impact from air pressure. Make sure that
SEE MORE:
Carrier Assembly - Charge Port (Remove and Replace)
Carrier Assembly - Charge Port - Remove
SPECIAL TOOLS
Insulation Multimeter, Fluke 1507 (NA)
(1076921-00-B)
Insulation Multimeter, Fluke 1587 (EMEA)
(1076921-00-A)
Booster - Brake - Electromechanical (LHD) (Remove and Replace)
SPECIAL TOOLS
Flare nut crowfoot set (1079041-00-A)
Kit, EPB Release, Handheld (1134520-00-A)
© 2019-2026 Copyright www.tmodel3.com
