Tesla Model 3: Bushing - Rear Drive Unit - Rear (Remove and Replace)
Tesla Model 3 2017-2026 Service Manual / Rear Drive Unit / Rear Drive Unit Assembly / Bushing - Rear Drive Unit - Rear (Remove and Replace)
DRAFT
Warning: This procedure was derived from pre-production computer models, and might not reflect the real-world situation. Warnings and cautions might be missing. Follow safety requirements and use extreme caution when working on or near high voltage systems and components.SPECIAL TOOLS
Kit, Drive Unit Bushing R&R, Model 3 (1137785-00-A)
Remove
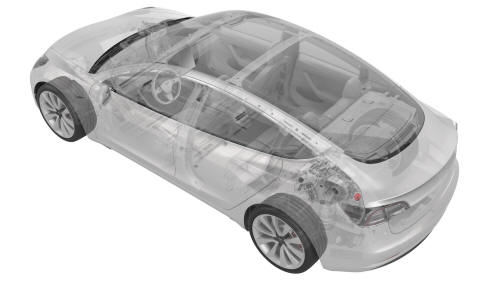
- Remove the rear drive unit. See Drive Unit - Rear (Remove and Install).
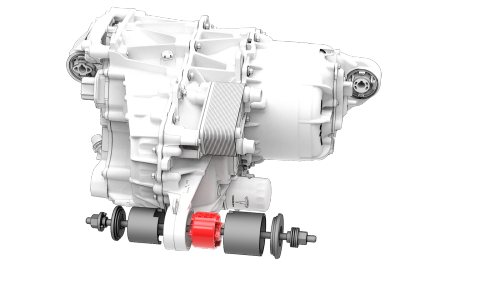
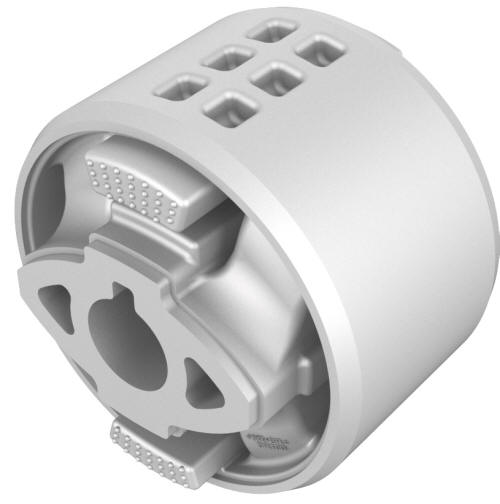
- Install the drive unit bushing tool onto the rear bushing.
- Turn the nut on the thrust washer to remove the bushing from the drive unit.
- Separate the bushing tool, and then remove it from
the drive unit.
Install
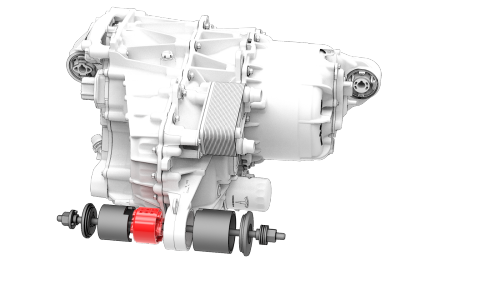
- Set up the bushing tool to press in the new bushing.
- Turn the nut on the thrust washer to press the new bushing into the drive unit.
- Separate the bushing tool, and then remove it from the drive unit.
- Install the rear drive unit. See Drive Unit - Rear (Remove and Install).
READ NEXT:
 Bushing - Rear Drive Unit - RH (Remove and Replace)
SPECIAL TOOLS
Kit, Drive Unit Bushing R&R, Model 3
(1137785-00-A)
Remove
Fluid Coupling (55 Degrees) - Rear Drive Unit (Remove and Replace)
SPECIAL TOOLS
Kit, Svc Plug, Cooling Hose, Model 3
(1135762-00-A)
Remove
Fluid Coupling (Straight) - Rear Drive Unit (Remove and Replace)
SPECIAL TOOLS
Kit, Svc Plug, Cooling Hose, Model 3
(1135762-00-A)
SEE MORE:
Striker - Door - Front - LH (Remove and Replace)
Remove
Open the LH front door.
Mark the position of the LH front door striker using masking tape.
Remove the bolts that attach the LH front door striker to the body, and
then remove the striker from the vehicle.
Install
Hand-tighten the bolts that attach the LH front door st
HV Battery (RWD) (Remove and Replace)
HV Battery (RWD) - Remove
SPECIAL TOOLS
Adapter, Lift Pad, Model 3 (1453419-00-A)
Key, Seat Belt Release, Model 3 (1133787-00-A)
ASY, Battery Table, Manual Lift (1020566-00-F)
Top Plate, Battery Table, Manual Lift (1020566-99-A)
Hoist, H-Frame EMEA (1129166-00-A)
Gantry, Adjustable, Aluminum (107336
© 2019-2026 Copyright www.tmodel3.com
