Tesla Model 3: IP Carrier (Remove and Replace)
Tesla Model 3 2017-2026 Service Manual / Instrument Panel / IP Carrier (Remove and Replace)
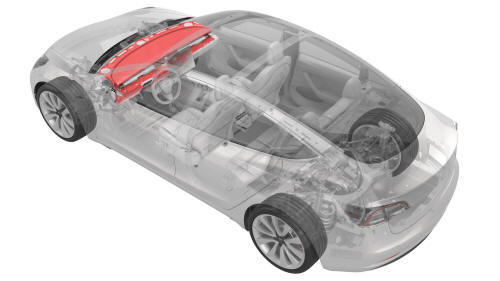
Remove
- Remove the IP carrier. See IP Carrier (Remove and Install).
- Remove the upper gap hider nuts from the IP carrier.
- Remove the screws that attach the LH and RH side window defroster ducts to the IP carrier, and then remove the ducts from the IP carrier
- Release the clips that attach the LH and RH defrost duct covers to the IP carrier, and then remove the covers from the IP carrier.
- Release the clips that attach the driver knee airbag bolsters to the IP carrier, and then remove the bolsters from the IP carrier.
- Release the clips that attach the lower gap hider to the IP carrier, and then remove the gap hider from the IP carrier.
- Remove the front passenger airbag from the IP carrier. See Airbag - Front Passenger (Remove and Install).
Install
Installation procedure is the reverse of removal.
READ NEXT:
 Vent - Front - LH (Remove and Replace)
Remove
Remove the vent finisher. See
Finisher - Vent (Remove and Replace).
Remove the screw that attaches the LH front vent, and then pull out the
LH side of the LH front vent to release
Vent - Front - RH (Remove and Replace)
Remove
Remove the LH instrument panel end cap. See
End Cap - Instrument Panel - LH (Remove and Replace).
Remove the LH and RH air wave end caps. See
End Cap - Air Wave - LH (Remove and Replace
Solenoid - Glove Box (Remove and Replace)
Remove
Remove the glove box. See
Glove Box (LHD) (Remove and Replace).
Remove and discard the NVH pad from the glove box.
Note: The NVH pad is one time use only.
Release the clips th
SEE MORE:
Link - Compliance - Lower - Front - LH (Remove and Replace)
Remove
Remove the LH front wheel arch liner. See
Wheel Arch Liner - Front - LH (Remove and Replace).
Remove the front aero shield panel. See
Panel - Aero Shield - Front (Remove and Replace).
Remove and discard the nut that attaches the front LH lower compliance
link to the knuckle.
Inverter Air Leak Test
DRAFT
Warning: This procedure was derived from pre-production computer
models, and might not reflect the real-world situation. Warnings
and cautions might be missing. Follow safety requirements and
use extreme caution when working on or near
© 2019-2026 Copyright www.tmodel3.com
