Tesla Model 3: Vent - Front - RH (Remove and Replace)
Tesla Model 3 2017-2026 Service Manual / Instrument Panel / Vent - Front - RH (Remove and Replace)
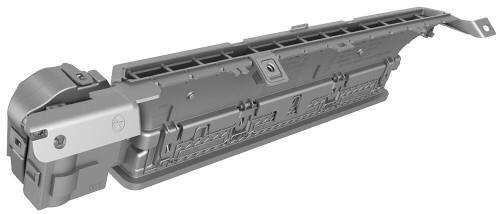
Remove
- Remove the LH instrument panel end cap. See End Cap - Instrument Panel - LH (Remove and Replace).
- Remove the LH and RH air wave end caps. See End Cap - Air Wave - LH (Remove and Replace).
- Remove the main instrument panel decor trim. See Decor Trim - Instrument Panel - Main (Remove and Replace).
- Remove the vent finisher. See Finisher - Vent (Remove and Replace).
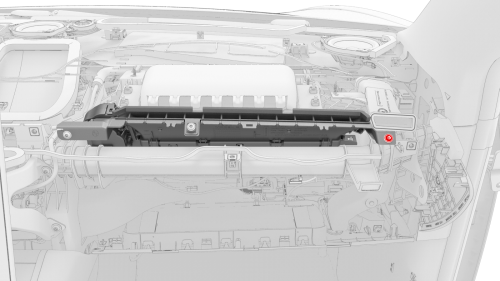
- Remove the screw that attaches the RH front vent to the instrument panel,
and then pull the RH side of the RH front vent to release it from the
instrument panel.
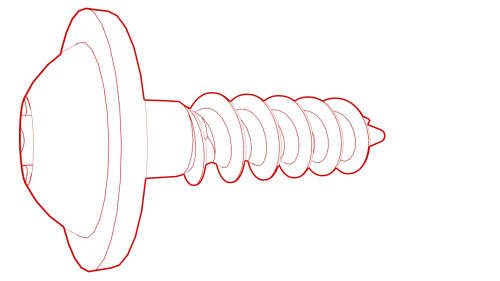 Torque 2.3 Nm
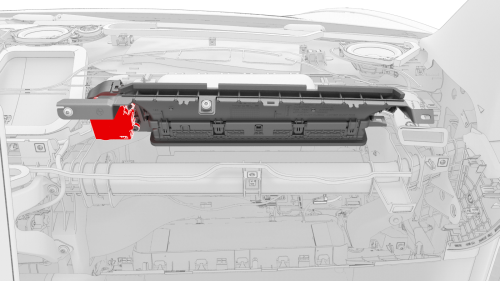
- Disconnect the electrical connector from the RH front vent, and then
remove the RH front vent from the vehicle.
Install
Installation procedure is the reverse of removal, except for the following:
If the vehicle is RHD, make sure not to dislodge the foam block in the cavity where the front RH vent installs.
READ NEXT:
 Solenoid - Glove Box (Remove and Replace)
Remove
Remove the glove box. See
Glove Box (LHD) (Remove and Replace).
Remove and discard the NVH pad from the glove box.
Note: The NVH pad is one time use only.
Release the clips th
End Cap - Air Wave - LH (Remove and Replace)
Remove
Remove the LH instrument panel end cap. See
End Cap - Instrument Panel - LH (Remove and Replace).
Release the clips that attach the LH air wave end cap to the main
instrument pane
SEE MORE:
Trim - Package Tray (Remove and Install)
Trim - Package Tray (Remove and Install) - Remove
Remove
Remove the 2nd row lower seat cushion. See
Seat Cushion - Lower - 2nd Row (Remove and Replace).
Remove the LH 2nd row seat side bolster. See
Bolster - Side - Seat - 2nd Row - LH (Remove and Replace).
Remove the LH side rail trim. See
Paint Defect Rectification
Note: This procedure was designed to be performed on flat or
near-flat metal body panels with original factory paintwork. Any deviation from
these circumstances can alter cutting times, tool speeds, and the ideal amount
of pressure to be applied to the body panel. If uncertain about a defect, fol
© 2019-2026 Copyright www.tmodel3.com
