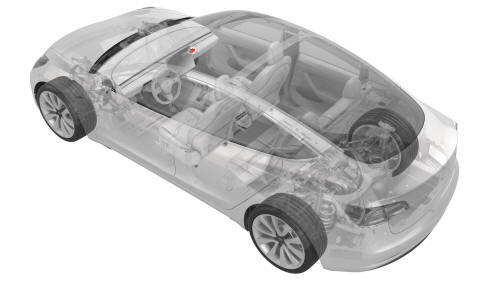
Tesla Model 3: Solenoid - Glove Box (Remove and Replace)
Tesla Model 3 2017-2026 Service Manual / Instrument Panel / Solenoid - Glove Box (Remove and Replace)
Remove
- Remove the glove box. See Glove Box (LHD) (Remove and Replace).
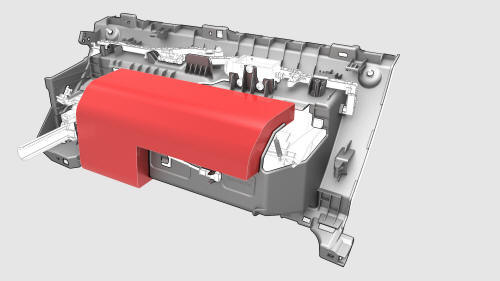
- Remove and discard the NVH pad from the glove box.
Note: The NVH pad is one time use only.
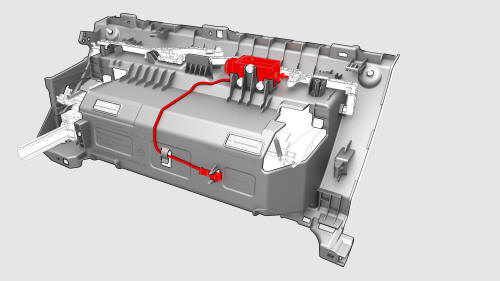
- Release the clips that attach the glove box solenoid electrical harness to the glove box.
- Remove the bolts that attach the glove box solenoid to the glove box, and then remove the solenoid from the glove box.
Note: The solenoid plunger has a right angle bend into the link rod.

Install
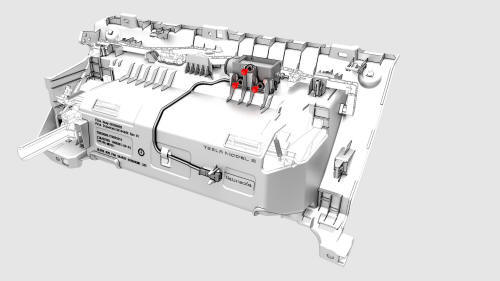
- Install the glove box solenoid to the glove box.
Note: Align the glove box solenoid with the link rod, and then push down to install.
- Install the screws that attach the glove box solenoid to the glove box.
 Torque 0.8 Nm
- Install the clips that attach the glove box solenoid electrical harness to the glove box.
- Install a new NVH pad onto the glove box.
- Install the glove box. See Glove Box (LHD) (Remove and Replace).
READ NEXT:
 End Cap - Air Wave - LH (Remove and Replace)
Remove
Remove the LH instrument panel end cap. See
End Cap - Instrument Panel - LH (Remove and Replace).
Release the clips that attach the LH air wave end cap to the main
instrument pane
SEE MORE:
Sensor - Ambient Air Temperature (Remove and Replace)
Remove
Remove the front fascia. See
Fascia - Front (Remove and Install).
Disconnect the electrical harness from the ambient air temperature
sensor connector.
Release the clip that attaches the ambient air temperature sensor to the
lower grille, and then remove the sensor from the lo
Vehicle Identification Number (VIN)
VIN Locations
The Vehicle Identification Number (VIN) is visible in the following locations:
The bottom corner of the driver side of the windshield
The label on the driver door jamb
On the touchscreen after touching the Tesla "T"
The RH upper b-pillar; can be seen when the upper B-pilla
© 2019-2026 Copyright www.tmodel3.com
