Tesla Model 3: End Cap - Air Wave - LH (Remove and Replace)
Tesla Model 3 2017-2026 Service Manual / Instrument Panel / End Cap - Air Wave - LH (Remove and Replace)
Remove
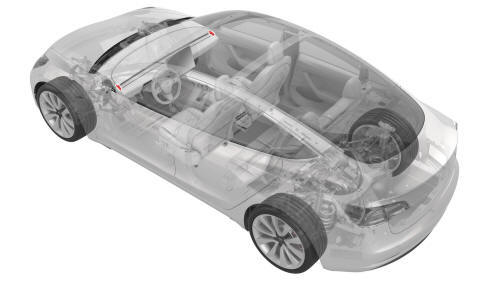
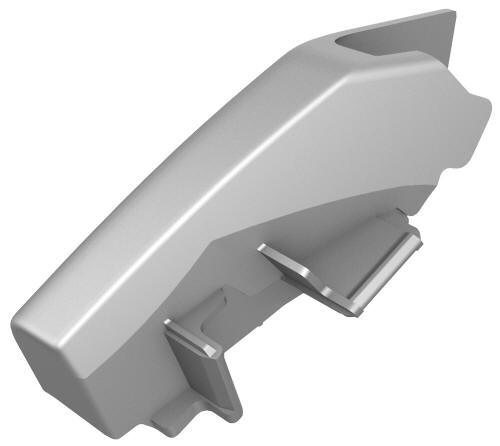
- Remove the LH instrument panel end cap. See End Cap - Instrument Panel - LH (Remove and Replace).
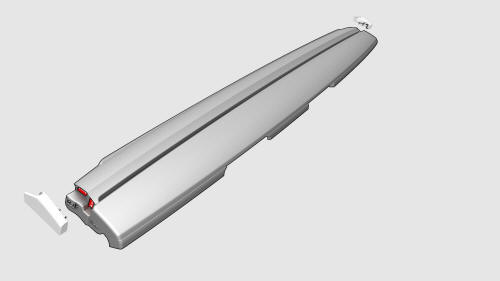
- Release the clips that attach the LH air wave end cap to the main
instrument panel decor trim, and then remove the cap from the vehicle.
Install
Installation procedure is the reverse of removal.
READ NEXT:
 Check Base - Sun Visor - Driver (Remove and Replace)
Remove
Remove the LH instrument panel end cap. See
End Cap - Instrument Panel - LH (Remove and Replace).
Release the clips that attach the LH air wave end cap to the main
instrument panel
SEE MORE:
Speaker - Emergency (Remove and Replace)
Remove
Remove the RH footwell cover. See Cover - Footwell - Passenger (LHD) (Remove
and Replace).
Disconnect the electrical connector for the emergency speaker.
Release the screws that attach the emergency speaker to the RH footwell
cover, and then remove the emergency speaker.
Powertrain Coolant (Drain and Refill)
Powertrain Coolant - Drain
SPECIAL TOOLS
Drive Unit Pressure Test Fixture (1053600-00-C)
Kit, Coolant Leak Test Adapters, Model 3
(1132185-00-B)
Kit, Coola
© 2019-2026 Copyright www.tmodel3.com
