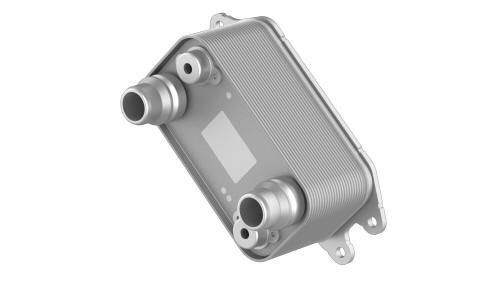
Tesla Model 3: Heat Exchanger - Front Drive Unit (Remove and Replace)
Tesla Model 3 2017-2026 Service Manual / Front Drive Unit / Front Gearbox and Halfshafts / Heat Exchanger - Front Drive Unit (Remove and Replace)
Remove
- Remove the front subframe assembly. See Subframe Assembly - Front (Dual Motor) (Remove and Install)
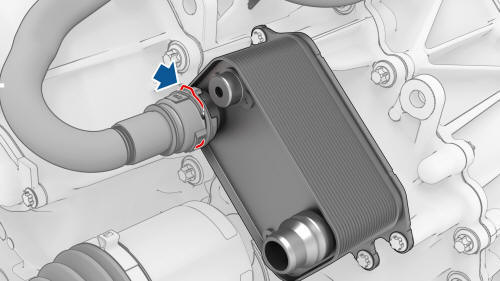
- Release the clip that connects the front drive unit inverter-heat exchanger hose to the heat exchanger coolant inle
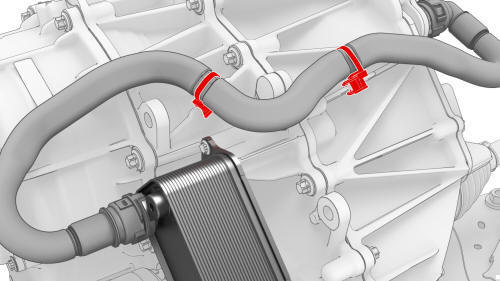
- Release the clips that attach the front drive unit inverter-heat exchanger hose to the exterior of the front drive unit, and then move the hose aside.
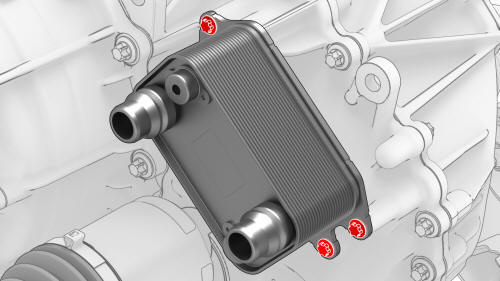
- Remove the bolts that attach the heat exchanger to the inverter.
 Torque 5 Nm + 30 degrees
Note: Place a shop towel underneath the heat exchanger to catch any escaping fluids.
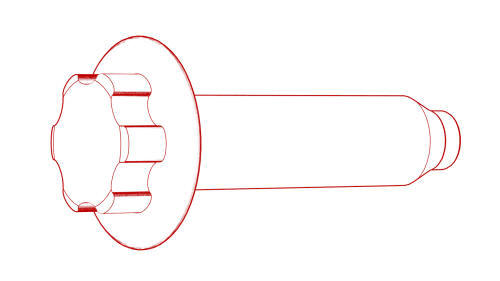
- Remove the heat exchanger from the front drive unit assembly.
Caution: Do not pry against the front drive unit or heat exchanger with
tools. Gently wiggle the heat exchanger to free it from the front drive unit.
Install
Installation procedure is the reverse of removal.
Caution: Perform a push-pull test to verify that the hose is fully seated.
READ NEXT:
 Hose - Heat Exchanger to Superbottle - Front Drive Unit (Remove and Replace)
Remove
Remove the superbottle. See
Superbottle (Dual Motor) (Remove and Replace).
Install
Installation procedure is the reverse of removal.
Caution:
Perform a push-pull test to verify that the ho
Oil Pump - Front Drive Unit (Remove and Replace)
Oil Pump - Front Drive Unit - Remove
SPECIAL TOOLS
3/4 Ton Underhoist Stand (1081765-00-A)
Re
SEE MORE:
Filter - Oil - Rear Drive Unit (Remove and
Replace)
SPECIAL TOOLS
Skt, Oil Filter, 63.5mm X 14
(1130484-00-A)
Kit, Drive Unit Oil Drain, Model
3 (1134264-00-A)
Procedure
Replace the oil filter according
to the gearbox fluid procedure. See
Adjustable Top Loop (Remove and Replace)
Remove
Open both LH doors and lower both LH windows.
Move the LH front seat fully forward.
Release the clips that attach the LH upper B-pillar trim to the vehicle.
Tip: Release the clips at the bottom of the LH upper B-pillar trim first, and
then release the clips at the top of the trim.
© 2019-2026 Copyright www.tmodel3.com
