Tesla Model 3: Cover - Shock Tower - LH (Remove and Replace)
Tesla Model 3 2017-2026 Service Manual / Exterior Fittings / Underhood Trim / Cover - Shock Tower - LH (Remove and Replace)
Remove
- Remove the rear underhood apron. See Underhood Apron - Rear (Remove and Replace).
- Remove the cabin intake duct. See Duct - Cabin Intake (Remove and Replace).
- Remove the hood latch cover. See Cover - Hood Latch (Remove and Replace).
- Remove the underhood storage unit. See Underhood Storage Unit (Remove and Replace).
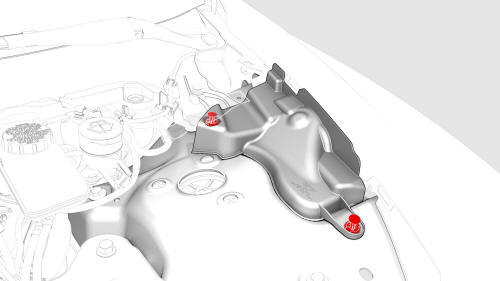
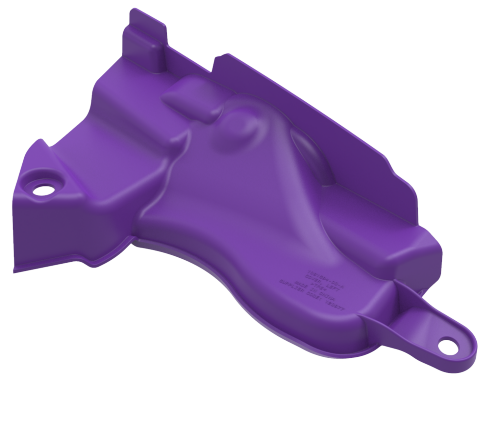
LH shock tower cover shown, RH similar
- Release the clips that attach the LH shock tower cover to the vehicle,
and then remove the cover from the vehicle.
Install
Installation procedure is the reverse of removal.
READ NEXT:
 Panel - Cowl Screen (Remove and Replace)
Remove
Remove the rear underhood apron. See
Underhood Apron - Rear (Remove and Replace).
Remove the cabin intake duct. See
Duct - Cabin Intake (Remove and Replace).
Remove the hood latch cove
Underhood Apron - Rear (Remove and Replace)
Remove
Open the hood.
Release the clips (x12) that attach the rear underhood apron to the
vehicle, and then remove the apron from the vehicle.
Install
Installation procedure is the
SEE MORE:
Power Conversion System (Remove and Replace)
Power Conversion System- Remove
SPECIAL TOOLS
Connector Removal, Coolant, PCS, M3 (1111868-00-B)
Kit, Svc Plug, Cooling Hose, Model 3 (1135762-00-A)
Tool, Vacuum Cup, 3" x 6" (Qty 2) (1114917-00-A)
Resistance meter, microohm, Hioki RM 3548 (1076927-00-A)
Warning:
Only technicians who have been tr
Evaporator (Clean)
Remove
Remove the cabin filters. See
Remove.
Attach the hose to the evaporator cleaner bottle.
Insert the hose in the HVAC filter housing, and then spray the entire
bottle on the evaporator.
Note: Be sure to coat the entire evaporator with the
cleaning solution.
Let the cleaning sol
© 2019-2026 Copyright www.tmodel3.com
