
Tesla Model 3: Underhood Apron - Rear (Remove and Replace)
Tesla Model 3 2017-2026 Service Manual / Exterior Fittings / Underhood Trim / Underhood Apron - Rear (Remove and Replace)
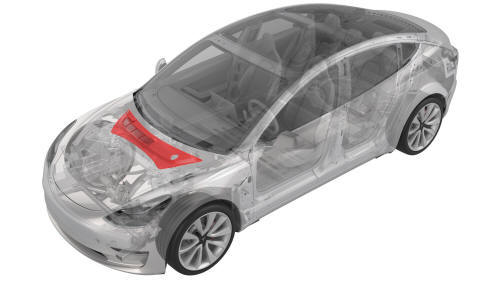
Remove
- Open the hood.
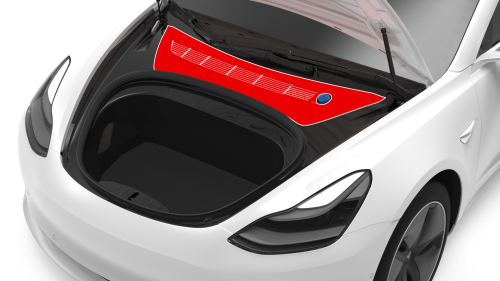
- Release the clips (x12) that attach the rear underhood apron to the
vehicle, and then remove the apron from the vehicle.
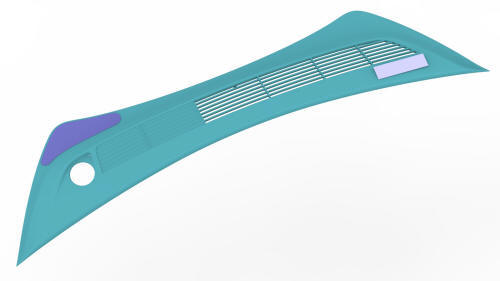
Install
Installation procedure is the reverse of removal.
READ NEXT:
 Cover - Front - Seat Track - 1st Row Seat (Remove and Replace)
Remove
Move the seat fully rearward.
Release the clips at the rear of the seat track front cover that attach
the cover to the seat track, and then slide the cover forward off the track.
Ins
SEE MORE:
Driving
This section illustrates a number of driving-related topics. The first section goes over how to operate the different controls, including the parking brake, gas and brake pedals, steering wheel, and gear selector.
It also examines the many driving modes that the Model 3 offers, including Sport mode
Contactor - Fast Charge - HV Battery (Remove and Replace)
Contactor - Fast Charge - HV Battery - Remove
SPECIAL TOOLS
Ratchet, 1/4" Sq Dr, HV Insulated (1057602-00-A)
Ext Bar, Wobble, 1/4" Dr, HV Insulated (1057603-00-A)
Skt, 1/4" Sq Dr, 13mm, HV Insulated (1057606-00-A)
Magnet, Flexible, HV Insulated, 18" (1057607-00-A)
Connector Removal, Coolant, PCS,
© 2019-2026 Copyright www.tmodel3.com
