Tesla Model 3: Amplifier - Audio - External (Remove and Replace)
Tesla Model 3 2017-2026 Service Manual / Infotainment / Audio System - Speakers Subwoofer Amplifier / Amplifier - Audio - External (Remove and Replace)
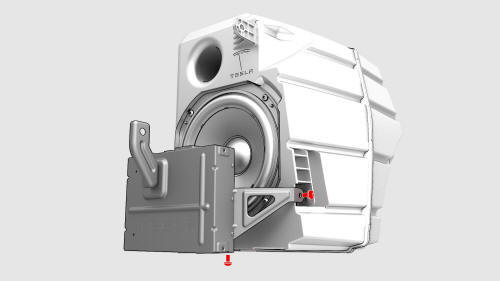
Remove
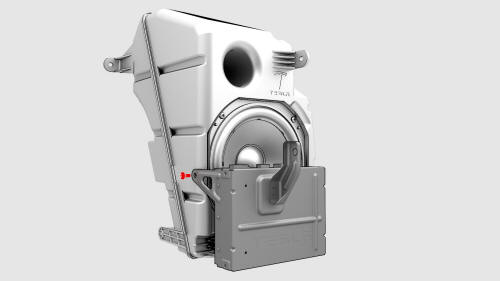
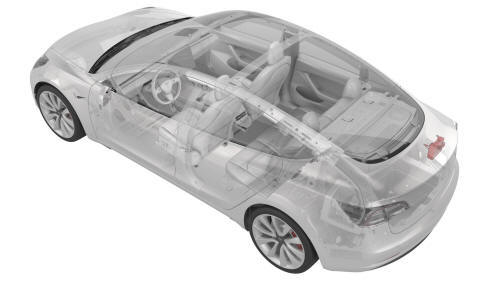
- Remove the subwoofer. See Subwoofer (Remove and Replace).
- Remove the screws that attach the audio amplifier to the subwoofer
assembly, and remove the amplifier from the subwoofer.
 Torque 4.4 Nm
Install
Installation procedure is the reverse of removal.
READ NEXT:
 Speaker - Dash - Center (Remove and Replace)
Remove
Remove the LH and RH instrument panel end caps. See End Cap - Instrument
Panel - LH (Remove and Replace).
Remove the LH and RH middle A-pillar trims. See Trim - A-Pillar - Middle
- LH
Speaker - Dash - LH (Remove and Replace)
Remove
Remove the LH and RH instrument panel end caps. See End Cap - Instrument
Panel - LH (Remove and Replace).
Remove the LH and RH middle A-pillar trims. See Trim - A-Pillar - Middle
- LH
Speaker - Emergency (Remove and Replace)
Remove
Remove the RH footwell cover. See Cover - Footwell - Passenger (LHD) (Remove
and Replace).
Disconnect the electrical connector for the emergency speaker.
Release the screws that
SEE MORE:
Trim - C-Pillar - Rear - LH (Remove and Replace)
Trim - C-Pillar - Rear - LH (Remove and Replace) - Remove
Remove
Remove the 2nd row lower seat cushion. See
Seat Cushion - Lower - 2nd Row (Remove and Replace).
Remove the LH 2nd row seat side bolster. See
Bolster - Side - Seat - 2nd Row - LH (Remove and Replace).
Remove the LH side rail tr
Bracket - License Plate - Rear (EMEA) (Remove and Replace)
Remove
Remove the screws (x4) that attach the rear license plate to the rear
license plate bracket, if a license plate is installed. Otherwise, skip to
the next step.
Remove the screws (x2) that attach the rear license plate bracket to the
vehicle, and then remove the bracket from t
© 2019-2026 Copyright www.tmodel3.com
