Tesla Model 3: Speaker - Dash - LH (Remove and Replace)
Tesla Model 3 2017-2026 Service Manual / Infotainment / Audio System - Speakers Subwoofer Amplifier / Speaker - Dash - LH (Remove and Replace)
Remove
- Remove the LH and RH instrument panel end caps. See End Cap - Instrument Panel - LH (Remove and Replace).
- Remove the LH and RH middle A-pillar trims. See Trim - A-Pillar - Middle - LH (Remove and Replace).
- Remove the LH and RH upper A-pillar trims. See Trim - A-Pillar - Upper - LH (Remove and Replace).
- Remove the instrument panel speaker grille. See Grille - Speaker - Instrument Panel (Remove and Replace).
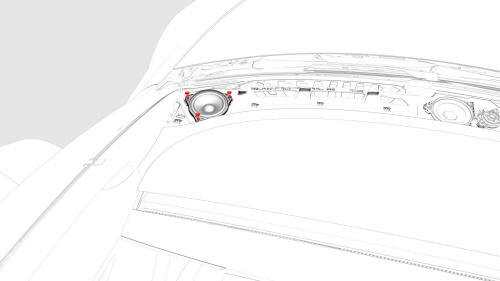
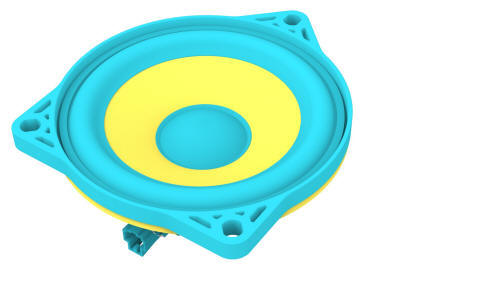
- Remove the screws that attach the LH dash speaker to the instrument
panel, and then remove the speaker from the instrument panel.
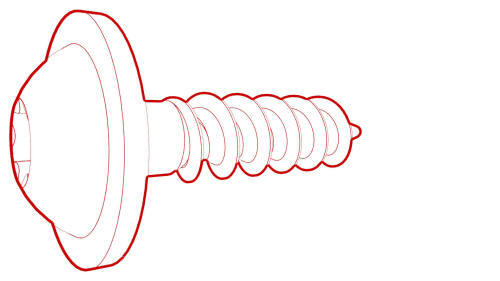 Torque 2.3 Nm
 - Disconnect the electrical connector from the LH dash speaker, and then
remove the speaker from the vehicle.
Install
Installation procedure is the reverse of removal.
READ NEXT:
 Speaker - Emergency (Remove and Replace)
Remove
Remove the RH footwell cover. See Cover - Footwell - Passenger (LHD) (Remove
and Replace).
Disconnect the electrical connector for the emergency speaker.
Release the screws that
Speaker - Front Door - LH (Remove and Replace)
Remove
Remove the LH front door trim panel. See Panel - Door Trim - Front - LH
(Remove and Replace).
Disconnect the electrical connector from the front door speaker.
Remove the screws
Speaker - Parcel Shelf - LH (Remove and Replace)
Note:
This procedure was formulated using a release candidate or production
model. Follow safety requirements and use extreme caution when working on or
near high-voltage systems and components.
SEE MORE:
Glass - Door - LH - Front (Adjust)
DRAFT
Warning:
This procedure was derived from pre-production computer models, and
might not reflect the real-world situation. Warnings and cautions might be
missing. Follow safety requirements and use extreme caution when working on or
near high voltage systems and components.
Do not redistr
Harness - Body - RH (Remove and Replace)
Harness - Body - RH- Remove
Remove
Open all doors.
Place wheel chocks on both rear wheels.
Put vehicle in Neutral.
Open the trunk
Remove the 2nd row lower seat cushion. See
Seat Cushion - Lower - 2nd Row (Remove and Replace).
Remove the LH and RH trunk stops.
Remove the floor rear trunk t
© 2019-2026 Copyright www.tmodel3.com
