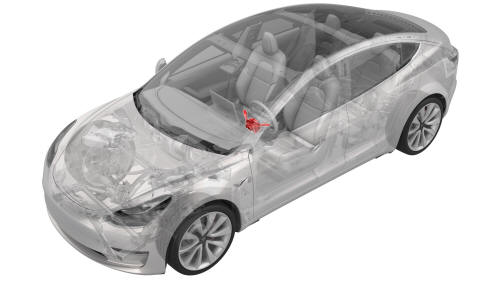
Tesla Model 3: Module - Steering Column Control (Remove and Replace)
Remove
Install
Module - Steering Column Control - Remove
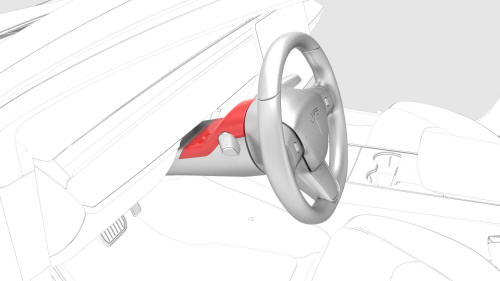


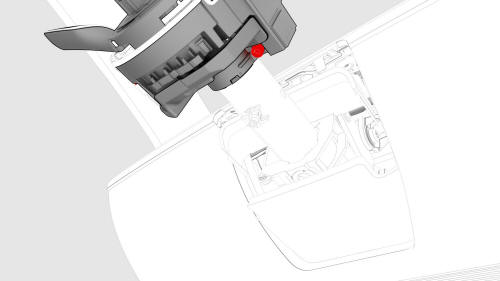

Module - Steering Column Control
- Install
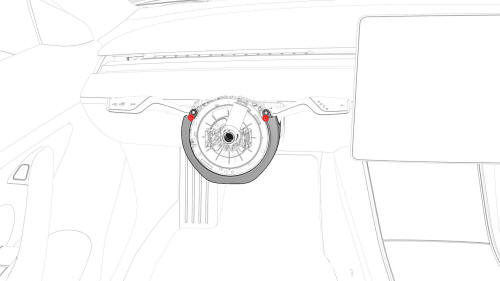
 Torque 1.5 Nm
Torque 1.5 Nm
READ NEXT:
 Steering Rack (Dual Motor) (Remove and Replace)
Caution:
Vehicles built before March 25th, 2019 have 1st generation
front subframes. Vehicles built on March 25th, 2019 and
a
SEE MORE:
Filter - Cabin (Remove and Replace)
Remove
Animated demonstration
Turn off the climate control system.
Remove the RH side center console side panel carpet. See
Carpet - Side Panel - Center Console - LH (Remove and Replace).
Remove the passenger footwell cover. See
Cover - Footwell - Passenger (LHD) (Remove and Replace).
Harness - Drive Unit - Front (Remove and Replace)
Remove
Partially raise the vehicle to a comfortable working height. See Raise
Vehicle - 2 Post Lift.
Remove the 2nd row lower seat cushion. See Seat Cushion - Lower - 2nd
Row (Remove and Replace).
Remove the rear underhood apron. See Underhood Apron - Rear (Remove and
Replace).
Disconne
