
Tesla Model 3: Filter - Cabin (Remove and Replace)
Tesla Model 3 2017-2026 Service Manual / Thermal Management / Cabin HVAC / Filter - Cabin (Remove and Replace)
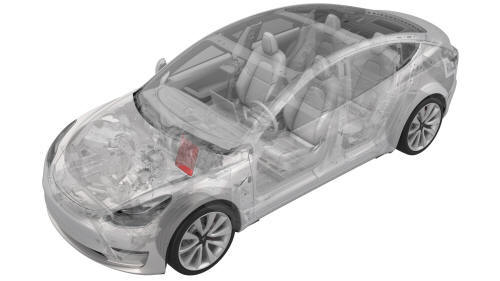
Remove

Animated demonstration
- Turn off the climate control system.
- Remove the RH side center console side panel carpet. See Carpet - Side Panel - Center Console - LH (Remove and Replace).
- Remove the passenger footwell cover. See Cover - Footwell - Passenger (LHD) (Remove and Replace).
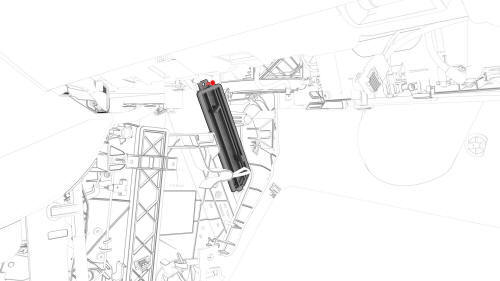
- Remove the screw that attaches the cabin filter cover to the HVAC module, and then move the cabin filter cover aside.
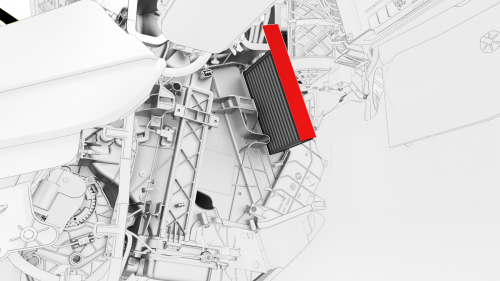
- Fold the filter tabs outward, and then pull the upper filter out of the filter housing.
- After the upper filter is removed, raise the lower filter up and out of
the filter housing.
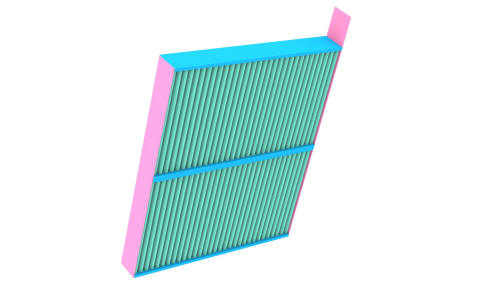
Install
- Install the lower filter into the filter housing, with the arrows pointing to the rear of the vehicle.
- Install the upper filter into the filter housing, with the arrows pointing to the rear of the vehicle, and then fold the filter tabs inward.
- Install the cabin filter cover onto the HVAC module, and then install
the screw that attaches the cabin filter cover to the HVAC module.
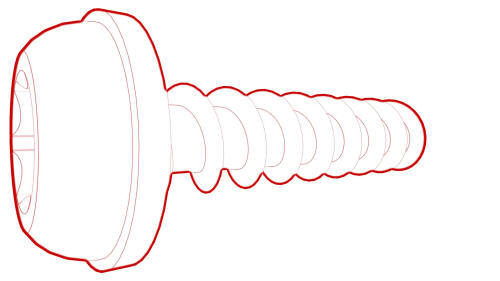 Torque 1.2 Nm
Note: Engage the lower cover tab before fastening the cover.
- Install the passenger footwell cover. See Cover - Footwell - Passenger (LHD) (Remove and Replace).
- Install the RH side center console side panel carpet. See Carpet - Side Panel - Center Console - LH (Remove and Replace).
READ NEXT:
 Heater - PTC (Remove and Replace)
Heater - PTC- Remove
Remove
Raise and support the vehicle on a 2 post lift. See
Raise Vehicle - 2 Post Lift.
Remove the rear underhood apron. See
Underhood Apron - Rear (Remove and Replace).
R
SEE MORE:
Contactor - Positive - HV Battery (Remove and Replace)
Contactor - Positive - HV Battery-Remove
SPECIAL TOOLS
Ratchet, 1/4" Sq Dr, HV Insulated (1057602-00-A)
Ext Bar, Wobble, 1/4" Dr, HV Insulated (1057603-00-A)
Magnet, Flexible, HV Insulated, 18" (1057607-00-A)
Socket, 1/4" Dr, Deep,10 mm,Thin Wall, Insul (1133768-00-A)
Resistance meter, microohm, H
Stabilizer Bar - Front (Remove and Replace)
Remove
Remove the front fascia valance. See
Valance - Front Fascia (Remove and Replace).
LH side shown, RH similar
Remove and discard the nuts that attach the front stabilizer bar to the
LH and RH front stabilizer bar links, and then move the front stabilizer bar
links aside.
Torque
© 2019-2026 Copyright www.tmodel3.com
