Tesla Model 3: Stabilizer Bar - Front (Remove and Replace)
Tesla Model 3 2017-2026 Service Manual / Suspension / Front Suspension (Including Hubs) / Stabilizer Bar - Front (Remove and Replace)
Remove
- Remove the front fascia valance. See Valance - Front Fascia (Remove and Replace).
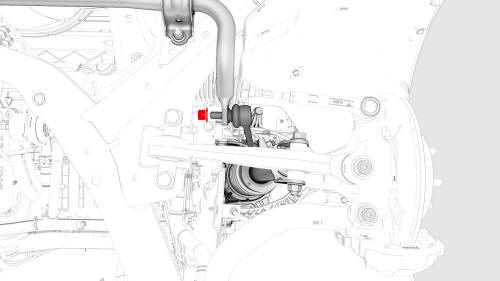
LH side shown, RH similar
- Remove and discard the nuts that attach the front stabilizer bar to the
LH and RH front stabilizer bar links, and then move the front stabilizer bar
links aside.
 Torque 98 Nm
Note: Use a T40 bit to hold the stabilizer bar link ball joint in position.
.jpg)
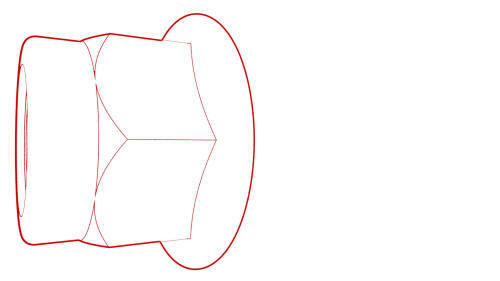
- Remove and discard the nuts that attach the front stabilizer bar to the
front subframe, and then remove the stabilizer bar from the vehicle.
.png) Torque 35 Nm
Torque 35 Nm
.jpg)
Install
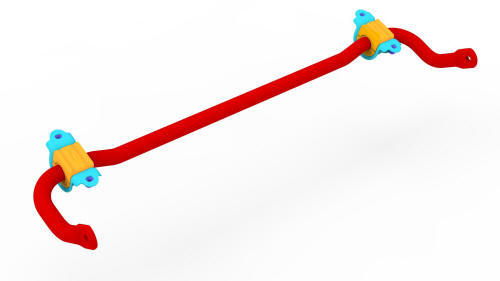
- Install the front stabilizer bar to the front subframe, install new nuts
to attach the stabilizer bar to the subframe, and then mark the nuts with a
paint pen after they are torqued.
Torque 35 Nm
LH side shown, RH similar
- Install the LH and RH front stabilizer bar links to the front stabilizer
bar, install new nuts to attach the links to the stabilizer bar, and then
mark the nuts with a paint pen after they are torqued.
Torque 98 Nm
Note: Use a T40 bit to hold the stabilizer bar link ball joint in position.
- Install the front fascia valance. See Valance - Front Fascia (Remove and Replace).
READ NEXT:
 Suspension - Front (Check Torque)
Procedure
Remove the LH and RH front wheels. See
Wheel (Remove and Install).
Remove the front aero shield panel. See
Panel - Aero Shield - Front (Remove and Replace).
Remove the clips (x2) t
Cover - Rear Suspension - LH (Remove and Replace)
Remove
Remove the bolt that attaches the rear suspension cover to the LH lower
rear control arm assembly.
Torque 6 Nm
Release the tabs (x2) that attach the rear suspension cover to the LH
SEE MORE:
Valance - Front Fascia (Remove and Replace)
Remove
Remove the front aero shield panel.
Release the clips (x2) that attach the valance to the stabilizer bar
brackets.
Remove the push clips (x4) that attach the LH and RH sides of the
valance to the wheel liners.
Note: Remove the outer clips as necessary to allow for easier
ac
Filter - Cabin (Remove and Replace)
Remove
Animated demonstration
Turn off the climate control system.
Remove the RH side center console side panel carpet. See
Carpet - Side Panel - Center Console - LH (Remove and Replace).
Remove the passenger footwell cover. See
Cover - Footwell - Passenger (LHD) (Remove and Replace).
© 2019-2026 Copyright www.tmodel3.com
