Tesla Model 3: Seal - Oil - Differential to Halfshaft - Front Drive Unit - LH (Remove and Replace)
Tesla Model 3 2017-2026 Service Manual / Front Drive Unit / Front Gearbox and Halfshafts / Seal - Oil - Differential to Halfshaft - Front Drive Unit - LH (Remove and
Replace)
SPECIAL TOOLS
Tool, Axle Extraction, Model 3 (1133386-00-A)
Tool, Hub Puller, Hydraulic (1096075-00-A)
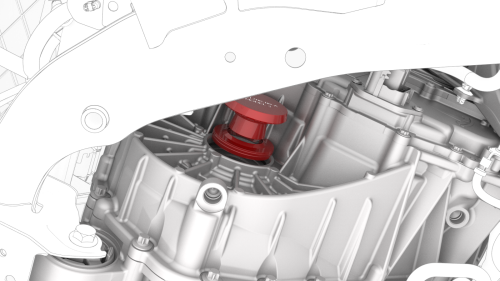
Install Tool, Output Seal, Model 3 (1131206-00-A)
Tool, Seal Puller, Adjustable (1052583-00-A)
Remove
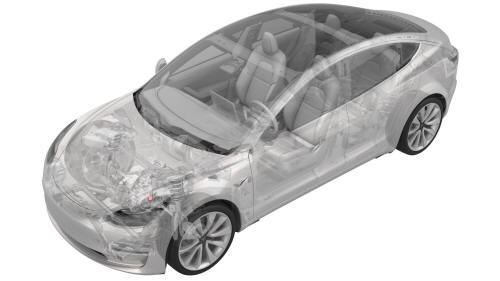
- Remove the LH front drive unit halfshaft. See Halfshaft - Front Drive Unit - LH (Remove and Replace).
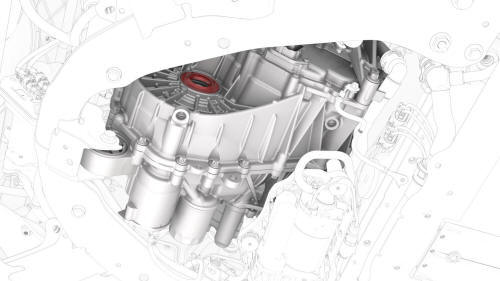
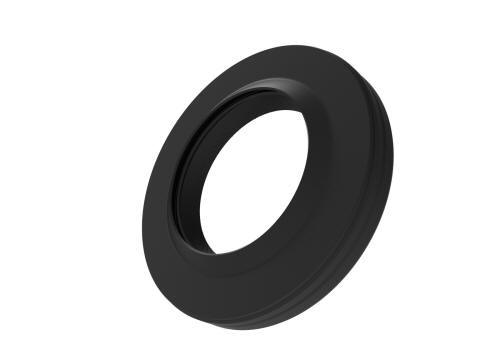
- Use an adjustable seal puller tool to remove the LH front drive unit differential-halfshaft assembly oil seal.
Caution: Take care not to scratch the inner bore of the front
drive unit with the adjustable seal puller tool.
Install
Installation procedure is the reverse of removal, except for the following: Use an output seal install tool and a dead blow hammer to install the new LH front drive unit differential-halfshaft assembly oil seal. Make sure the seal is flush with the front drive unit housing.
READ NEXT:
 Bushing - Rear Drive Unit - Rear (Remove and Replace)
DRAFT
Warning:
This procedure was derived from pre-production computer
models, and might not reflect the real-world situation. Warnings
and cautio
SEE MORE:
Hood (Remove and Replace)
Hood (Remove and Replace)- Remove
This procedure assumes the hood striker, hinges, bump stops, and plugs are
undamaged. Inspect these components from the old hood and if necessary, replace
with new parts.
Remove
RH shown, LH similar
Release the clips that attach the LH and RH hood gas stru
Cap - Penthouse 12V (Remove and Replace)
Remove
Remove the 2nd row lower seat cushion. See
Seat Cushion - Lower - 2nd Row (Remove and Replace)
Lift the 12V cap straight up from over the high voltage controller
connector on the RH side of the penthouse, and then remove the 12V cap from
the vehicle.
Install
Installation procedu
© 2019-2026 Copyright www.tmodel3.com
