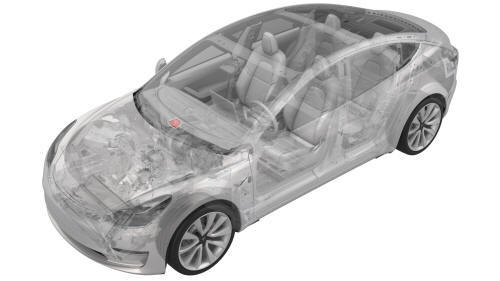
Tesla Model 3: Speaker - Dash - Center (Remove and Replace)
Tesla Model 3 2017-2026 Service Manual / Infotainment / Audio System - Speakers Subwoofer Amplifier / Speaker - Dash - Center (Remove and Replace)
Remove
- Remove the LH and RH instrument panel end caps. See End Cap - Instrument Panel - LH (Remove and Replace).
- Remove the LH and RH middle A-pillar trims. See Trim - A-Pillar - Middle - LH (Remove and Replace).
- Remove the LH and RH upper A-pillar trims. See Trim - A-Pillar - Upper - LH (Remove and Replace)
- Remove the instrument panel speaker grille. See Grille - Speaker - Instrument Panel (Remove and Replace).
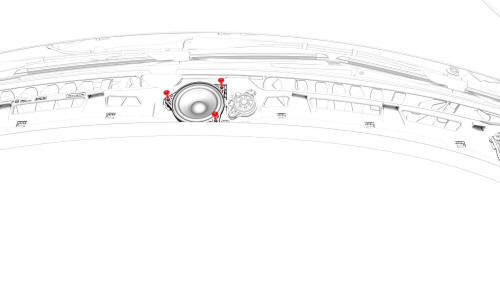
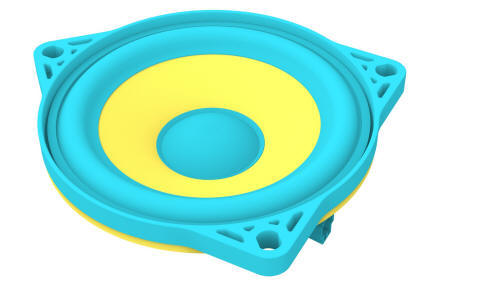
- Remove the screws that attach the center dash speaker to the instrument
panel, and then remove the speaker from the instrument panel.
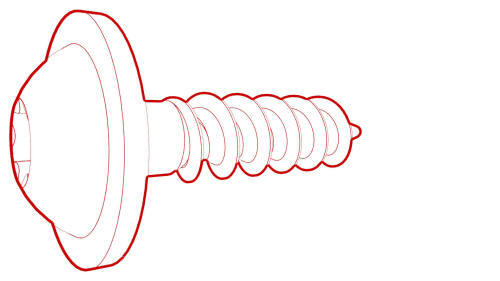 Torque 2.3 Nm
 - Disconnect the electrical connector from the center dash speaker
connector, and then remove the speaker from the vehicle.
Install
Installation procedure is the reverse of removal.
READ NEXT:
 Speaker - Dash - LH (Remove and Replace)
Remove
Remove the LH and RH instrument panel end caps. See End Cap - Instrument
Panel - LH (Remove and Replace).
Remove the LH and RH middle A-pillar trims. See Trim - A-Pillar - Middle
- LH
Speaker - Emergency (Remove and Replace)
Remove
Remove the RH footwell cover. See Cover - Footwell - Passenger (LHD) (Remove
and Replace).
Disconnect the electrical connector for the emergency speaker.
Release the screws that
Speaker - Front Door - LH (Remove and Replace)
Remove
Remove the LH front door trim panel. See Panel - Door Trim - Front - LH
(Remove and Replace).
Disconnect the electrical connector from the front door speaker.
Remove the screws
SEE MORE:
Braking and Stopping
Braking Systems
Warning: Properly functioning braking
systems are critical to ensure safety. If
you experience a problem with the brake
pedal, brake caliper, or any component of
a Model 3 braking system, contact Tesla
immediately.
Model 3 has an anti-lock braking system (ABS)
that prevents th
Fascia - Rear (Remove and Install)
Remove
Remove the 2nd row lower seat cushion
Remove the trunk sill trim.
Remove the LH and RH taillights.
On each side of the vehicle, remove the bolt that attaches the corner of
the rear fascia to the body.
Torque 4 Nm
Raise the vehicle partially.
Release the clips and the push nut
© 2019-2026 Copyright www.tmodel3.com
