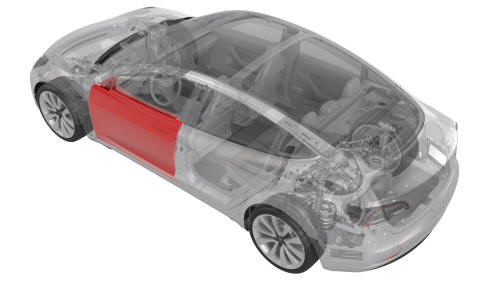
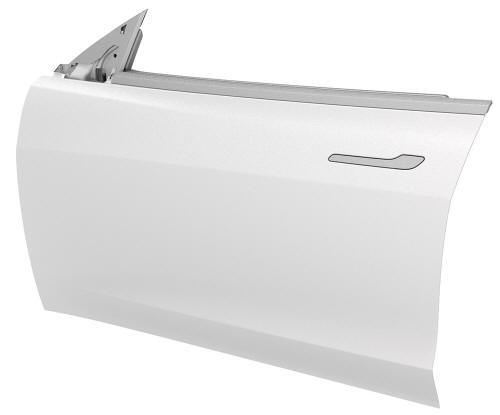
Tesla Model 3: Door - Front - LH (Remove and Install)
Tesla Model 3 2017-2026 Service Manual / Body / Body Panels / Door - Front - LH (Remove and Install)
Note:
This procedure was formulated using a release candidate or production model. Follow safety requirements and use extreme caution when working on or near high-voltage systems and components.
Remove
- Remove the 2nd row lower seat cushion.
- Remove the rear underhood apron.
- Disconnect 12V power.
- Remove the LH instrument panel end cap.
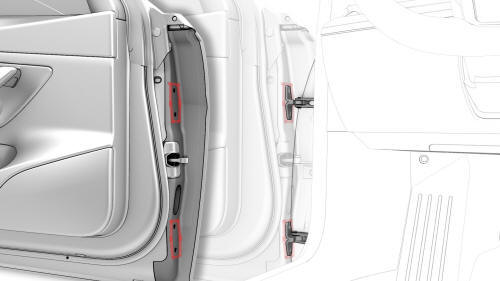
- Remove the middle A-Pillar trim panel.
- Remove the LH lower A-pillar trim.
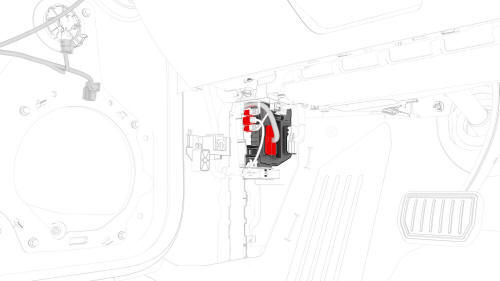
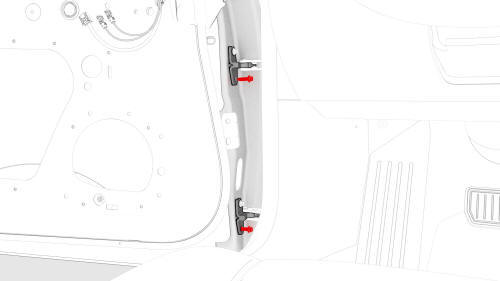
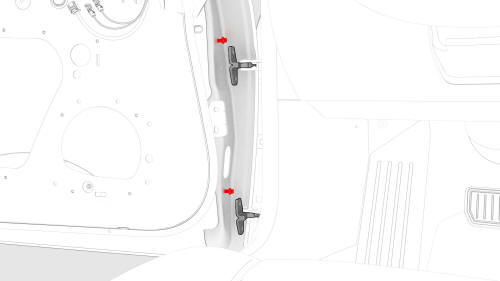
- Disconnect the LH front door electrical connectors from the LH body controller module.
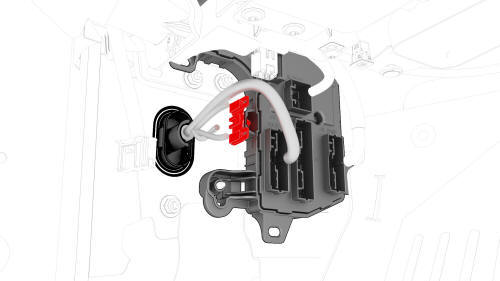
- Release the electrical harness clip from the LH body controller module.

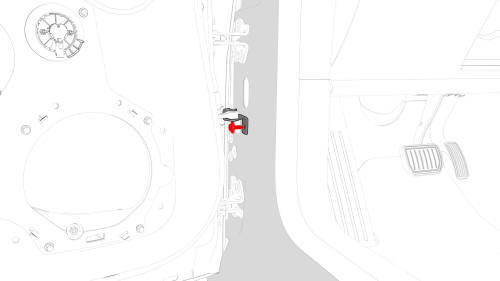
- Release the grommet, and then push the LH door electrical harness through the A-pillar bulkhead.
- Remove the bolt that attaches the LH front door check strap to the A-pillar.
 Torque
24 Nm
Torque
24 Nm
Caution:
Unbolting the door check allows the door to swing freely beyond opening limits.
- Use tape to mark the mounting locations of the door hinges on the LH front door.
Loosen the hinge bolts, and then remove the lower bolts for each hinge.
 Torque
24 Nm
Torque
24 Nm
- Partially unthread the upper bolt for each hinge, and with assistance,
lift the LH front door away from the vehicle.
Install
Installation procedure is the reverse of removal, except for the following:
Partially thread the upper bolt for each hinge in the door so that the door can set on the hinges to install the lower bolt.
READ NEXT:
 Door - Front - LH (Remove and Replace)
Remove
Disconnect 12V power.
Remove the LH front door trim panel.
Remove the LH front door inner belt seal.
Remove the LH front door outer belt seal.
Remove the LH front window motor/regulato
Door - Rear - LH (Remove and Install)
Door - Rear - LH (Remove)
Remove
Open the rear LH door, and fully lower the window.
Pass a shop towel halfway through the striker, and close the door so
that it rests against the shop towel.
SEE MORE:
Hub - Rear - LH (Remove and Replace)
Remove
Remove the LH rear brake rotor. See
Brake Rotor - Rear - LH (Remove and Replace).
Remove the LH rear drive unit halfshaft. See
Halfshaft - Rear Drive Unit - LH (Remove and Replace).
Remove and discard the bolts that attach the LH rear hub to the knuckle,
and remove the hub from
Module - Cooling Fan (Remove and Replace)
Remove
Remove the cooling fan module. See Module - Cooling Fan (Remove and
Install).
Release the clips (x14) that attach the active grille shutter to the
cooling fan module, and then remove the active grille shutter from the
module.
Remove the screws (x2) that attach the radiat
© 2019-2026 Copyright www.tmodel3.com
