Tesla Model 3: Reservoir - Windshield Washer (Remove and Replace)
Tesla Model 3 2017-2026 Service Manual / Electrical / Wipers and Washers / Reservoir - Windshield Washer (Remove and Replace)
Remove
- Remove the rear underhood apron. See Underhood Apron - Rear (Remove and Replace).
- Remove the cabin intake duct. See Duct - Cabin Intake (Remove and Replace).
- Remove the hood latch cover. See Cover - Hood Latch (Remove and Replace).
- Remove the underhood storage unit. See Underhood Storage Unit (Remove and Replace).
- Remove the LH and RH wiper arms. See Wiper Arms (Remove and Replace).
- Remove the cowl screen panel. See Panel - Cowl Screen (Remove and Replace).
- Remove the wiper motor. See Wiper Motor (Remove and Replace).
.png)
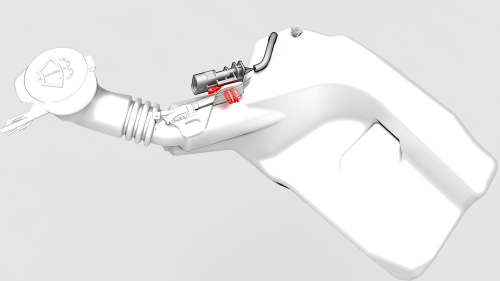
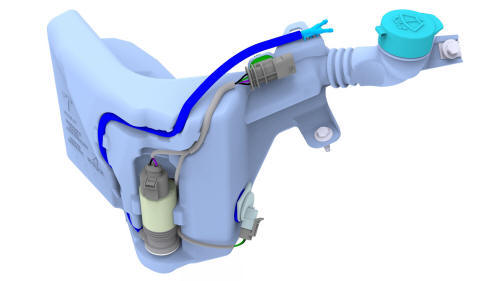
- Release the clip that attaches the electrical harness to the windshield washer reservoir.
.png)
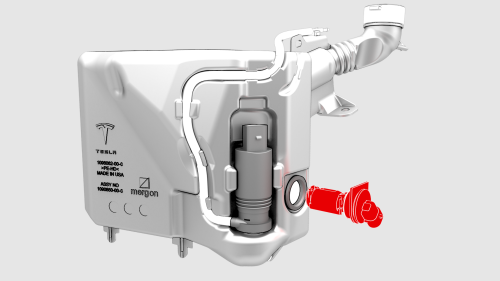
- Disconnect the electrical connector from the windshield washer reservoir.
- Remove the LH front wheel. See Wheel (Remove and Install).
- Remove the LH front wheel arch liner. See Wheel Arch Liner - Front - LH (Remove and Replace).
.png)
- Remove the lower bolt that attaches the windshield washer reservoir to
the body.
.jpg) Torque 3 Nm
Torque 3 Nm - Lower the vehicle until the tires touch the ground.
.png)
- Remove the upper bolt that attaches the windshield washer reservoir to
the body.
Torque 3 Nm
- Remove the windshield washer reservoir from the vehicle and drain any fluid from the reservoir.
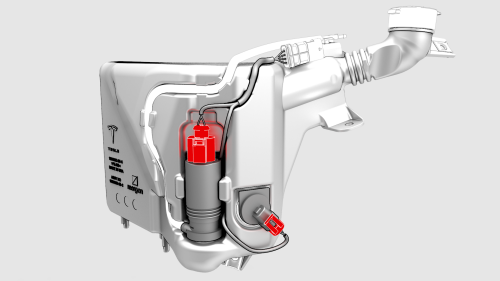
- Disconnect the electrical wiring harness connectors from the washer pump and level sensor.
- Release the clip that attaches the electrical harness to the reservoir, and then remove the electrical harness from the windshield washer reservoir.
- Pull the level sensor out of the grommet and free of the reservoir.
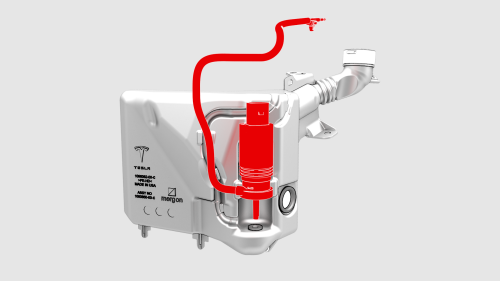
- Pull the washer pump out of the grommet and with the hose, free of the
windshield washer reservoir.
Install
Installation procedure is the reverse of removal.
READ NEXT:
 Wiper Motor (Remove and Replace)
Wiper Motor- Remove
Remove
Remove the rear underhood apron. See
Underhood Apron - Rear (Remove and Replace).
Remove the cabin intake duct. See
Duct - Cabin Intake (Remove and Replace).
Remove
SEE MORE:
Seat Back - 2nd Row - RH (Remove and Install)
Remove
Remove the 2nd row lower seat cushion. See
Seat Cushion - Lower - 2nd Row (Remove and Replace).
Remove the RH 2nd row seat side bolster. See
Bolster - Side - Seat - 2nd Row - LH (Remove and Replace).
Release the clips that attach the bolster bracket, and the remove the
bracket fr
Tube - Input - Coolant - Power Conversion System (Remove and Replace)
Tube - Input - Coolant - Power Conversion System- Remove
SPECIAL TOOLS
Connector Removal, Coolant, PCS, M3 (1111868-00-B)
Kit, Svc Plug, Cooling Hose, Model 3 (1135762-00-A)
Warning:
Only technicians who have been trained in High Voltage Awareness are
permitted to perform this procedure. Proper
© 2019-2026 Copyright www.tmodel3.com
