
Tesla Model 3: Brake Lines - LH Sill (Remove and Replace)
Tesla Model 3 2017-2026 Service Manual / Brakes / Brake Pipes and Hoses / Brake Lines - LH Sill (Remove and Replace)
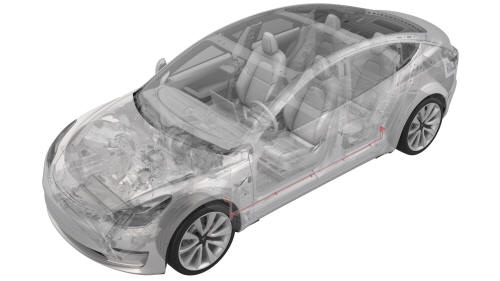
SPECIAL TOOLS
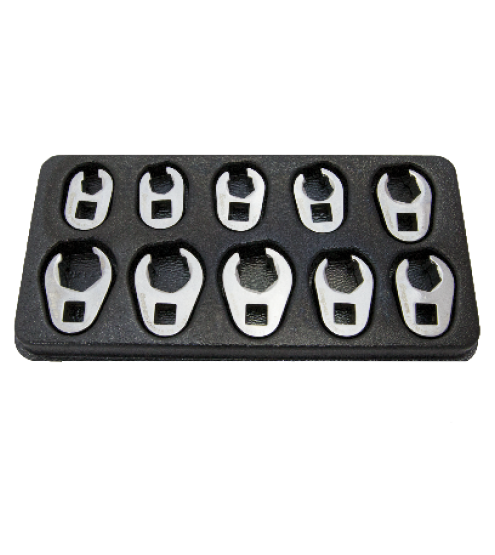
Flare nut crowfoot set (1079041-00-A)
Remove
Caution: Brake fluid dissolves paint. Have clean towels and plenty of water standing by to wash spilled brake fluid off painted surfaces.Note: Dispose of used brake fluid in a manner consistent with local environmental codes.
- Remove the LH and RH lower rocker panel covers. See Cover - Rocker Panel - Lower - LH (Remove and Replace).
- Remove the HV battery. See HV Battery (RWD) (Remove and Install).
- Remove the LH front wheel arch liner. See Wheel Arch Liner - Front - LH (Remove and Replace).
- Remove the LH rear wheel arch liner. See Wheel Arch Liner - Rear - LH (Remove and Replace).
- Position the oil drain under the front brake line junction block.
.png)
- Remove the brake line tube nuts from the junction
block. Allow the fluid to drain. Use a crowfoot
extension to torque the nuts for installation.
.png) Torque 23 Nm
Torque 23 Nm - Position the oil drain under the rear brake line junction block.
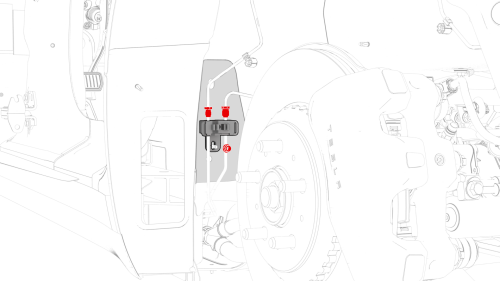
- Remove the brake line tube nuts from the junction
block. Allow the fluid to drain. Use a crowfoot
extension to torque the nuts for installation.
Torque 23 Nm
- Remove the nut that attaches the rear junction block
to the body, and separate the block from the body.
Torque 7 Nm
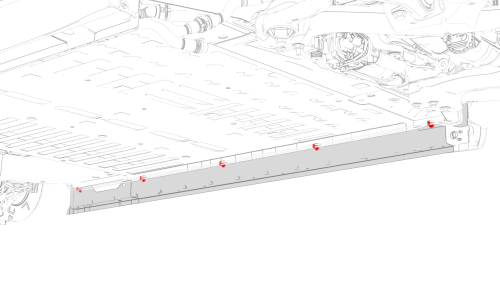
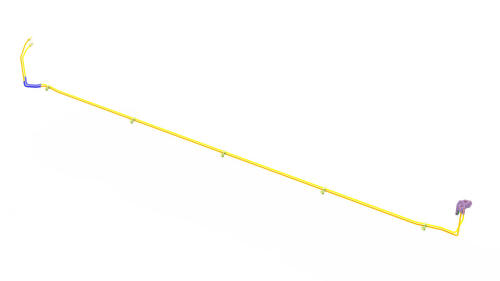
- Release the clips that attach the brake lines to the body.
- Remove the brake lines from the vehicle.
Install
Installation procedure is the reverse of removal, except for the following:Caution: Replace all nyloc nuts.
Warning: Do not work on an incorrectly supported vehicle.
Bleed the brake lines for the rear calipers. See Brake Fluid Bleed - One Caliper.READ NEXT:
 Brake Lines - Master Cylinder to ABS (Remove and Replace)
Brake Lines - Master Cylinder to ABS - Remove
SPECIAL TOOLS
Flare nut crowfoot set (1079041-00-A)
SEE MORE:
Harness - Penthouse - HV Battery (Remove and Replace)
Harness - Penthouse - HV Battery- Remove
SPECIAL TOOLS
Ratchet, 1/4" Sq Dr, HV Insulated (1057602-00-A)
Ext Bar, Wobble, 1/4" Dr, HV Insulated (1057603-00-A)
Skt, 1/4" Sq Dr, 13mm, HV Insulated (1057606-00-A)
Magnet, Flexible, HV Insulated, 18" (1057607-00-A)
Connector Removal, Coolant, PCS, M3 (1
Panel - Door Trim - Rear - LH (Remove and Replace)
Remove
Remove the rear LH door panel. See
Panel - Door Trim - Rear - LH (Remove and Install).
Release the clips that attach the puddle lamp to the door panel, and
then remove the lamp from the door panel.
Release the clips that attach the speaker grille to the door panel, and
t
© 2019-2026 Copyright www.tmodel3.com
