Tesla Model 3: Panel - Door Trim - Rear - LH (Remove and Replace)
Tesla Model 3 2017-2026 Service Manual / Interior Trim / Door Trim / Panel - Door Trim - Rear - LH (Remove and Replace)
Remove
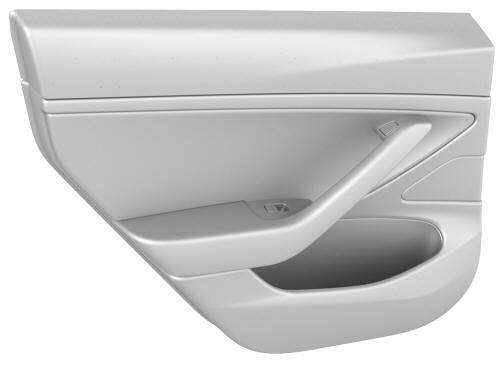
- Remove the rear LH door panel. See Panel - Door Trim - Rear - LH (Remove and Install).
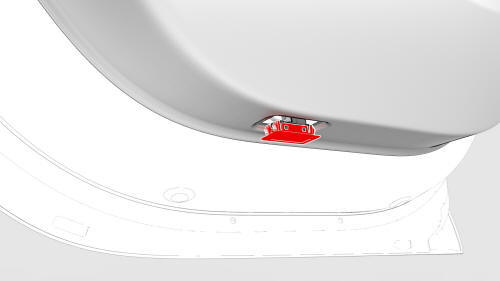
- Release the clips that attach the puddle lamp to the door panel, and then remove the lamp from the door panel.
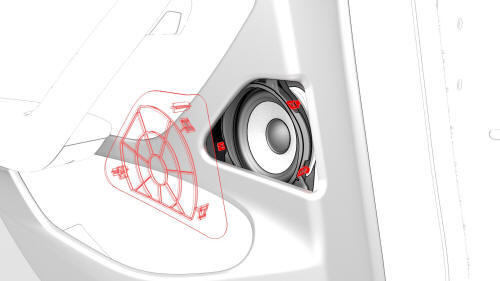
- Release the clips that attach the speaker grille to the door panel, and
then remove the grille from the door panel.
Install
Installation procedure is the reverse of removal
READ NEXT:
 Footrest - Driver (Remove and Replace)
Remove
Open the LH front door.
Move the driver seat fully to the rear.
Release the clips that attach the driver footrest to the body, and
remove the footrest from the vehicle.
Inst
Trim - A-Pillar - Lower - LH (Remove and Replace)
Remove
Open the LH front door.
Remove the LH instrument panel end cap. See
End Cap - Instrument Panel - LH (Remove and Replace).
Remove the LH middle A-Pillar trim panel. See
Trim - A-P
SEE MORE:
Collision Avoidance Assist
The following collision avoidance features are
designed to increase the safety of you and
your passengers:
Forward Collision Warning - provides
visual and audible warnings in situations
when Model 3 detects that there is a high
risk of a frontal collision
Automatic Emergency Braking -
Latch - Seat Back - 2nd Row - LH (Remove and Replace)
Remove
Remove the 2nd row center seatbelt assembly. See
Seatbelt - 2nd Row - Center (Remove and Replace).
Release the cable clip that attaches the latch bracket to the seat back.
Release the clip that attaches the bracket stud to the seat back.
Remove the bolts that attach th
© 2019-2026 Copyright www.tmodel3.com
