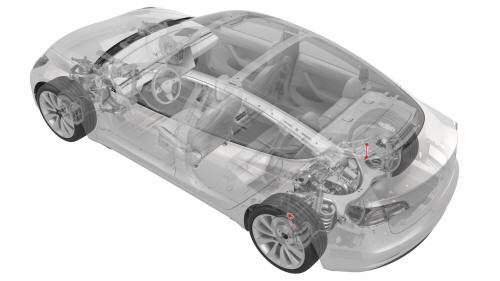
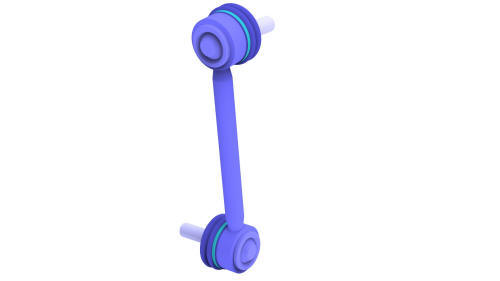
Tesla Model 3: Drop Link - Stabilizer Bar - Rear - LH (Remove and Replace)
Tesla Model 3 2017-2026 Service Manual / Suspension / Rear Suspension (Including Hubs) / Drop Link - Stabilizer Bar - Rear - LH (Remove and Replace)
Remove
- Remove the mid aero shield. See Panel - Aero Shield - Mid (Remove and Replace).
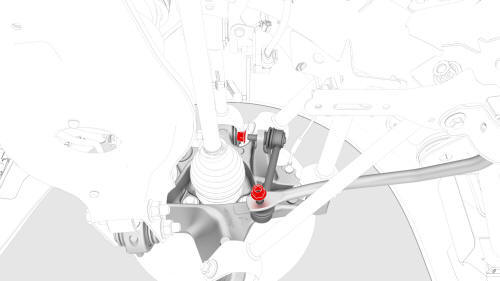
- Remove and discard the nuts that attach the LH drop link to the rear
stabilizer bar and rear LH knuckle.
 Torque 55 Nm
 - Remove the drop link from the vehicle.
Install
Installation procedure is the reverse of removal, except for the following:
Caution:
Replace all nyloc nuts.
READ NEXT:
 Hub - Rear - LH (Remove and Replace)
Remove
Remove the LH rear brake rotor. See
Brake Rotor - Rear - LH (Remove and Replace).
Remove the LH rear drive unit halfshaft. See
Halfshaft - Rear Drive Unit - LH (Remove and Replace).
Knuckle - Suspension - Rear - LH (Remove and Replace)
Knuckle - Suspension - Rear - LH - Remove
SPECIAL TOOLS
Tool, Spring Compressor, Hook, Model 3
(1135103-00-A)
SEE MORE:
Inverter - Rear Drive Unit (Remove and
Replace)
Inverter - Rear Drive Unit - Remove
SPECIAL TOOLS
Skt, 3/8in Dr, 10EP Torx Plus External
(1130479-00-A)
Lever Lock, HV Connector, Model 3 (1140311-00-A)
Bracket - Hinge - Seat Back - 2nd Row - LH (Remove and Replace)
Remove
Remove the 2nd row lower seat cushion. See
Seat Cushion - Lower - 2nd Row (Remove and Replace).
Remove the LH 2nd row seat side bolster. See
Bolster - Side - Seat - 2nd Row - LH (Remove and Replace).
Remove the LH 2nd row seat back. See
Seat Back - 2nd Row - LH (Remove and Install).
© 2019-2026 Copyright www.tmodel3.com
