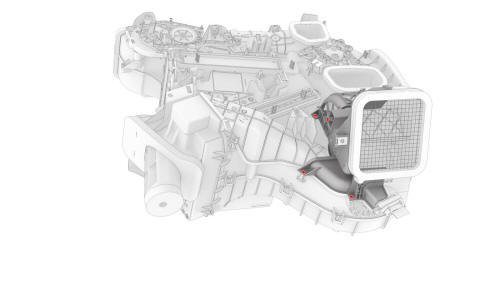
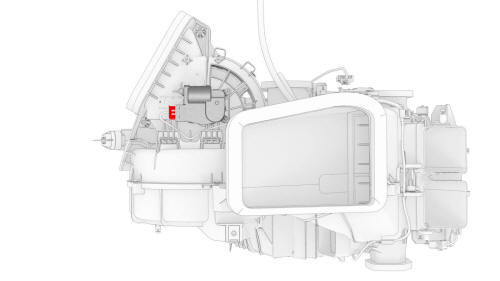
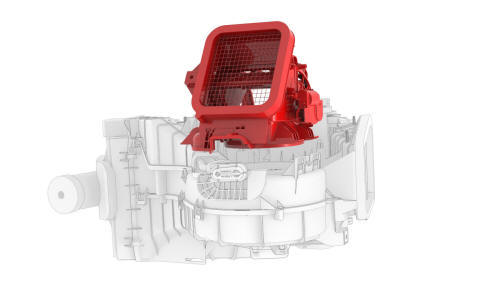
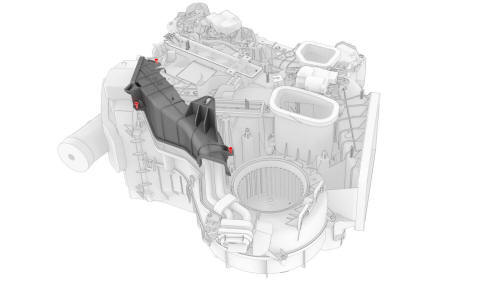
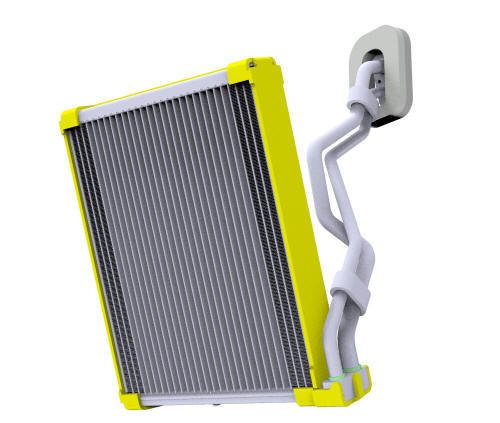
Tesla Model 3: Evaporator (Remove and Replace)
Remove
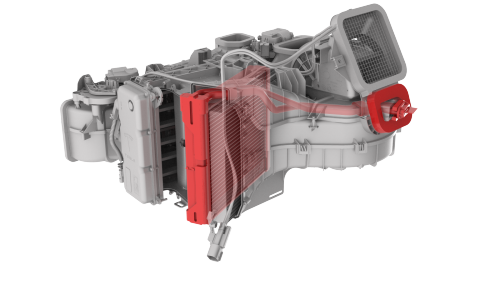
Install
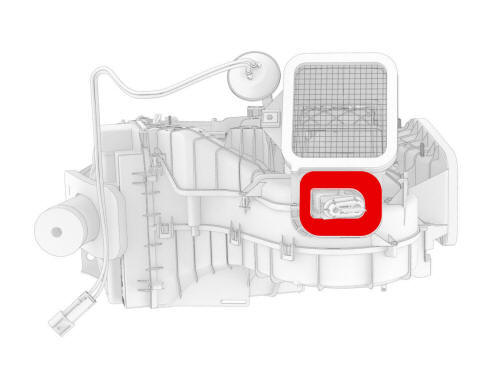
Caution: Do not damage the temperature sensor when installing the new evaporator
into the HVAC assembly. Note: Make sure that the evaporator slides into the HVAC assembly
with the correct channels until the evaporator stops. The evaporator pipes must
line up with the slots for the evaporator covers on the HVAC assembly.
Note: Insert the 2 tabs into the slots on the HVAC assembly at an
angle, and then set flat onto the HVAC assembly.
Note: The seal should be flushed against the HVAC assembly, even
though the evaporator pipes are at an angle.
Note: Make sure that the dowels on the lower evaporator cover
engage the HVAC assembly. Note: The PTC heater will slide into the HVAC assembly one way only.
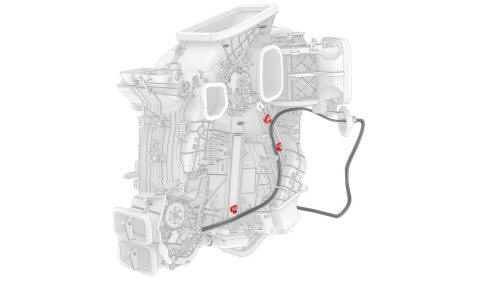
Evaporator- Remove
.jpg)
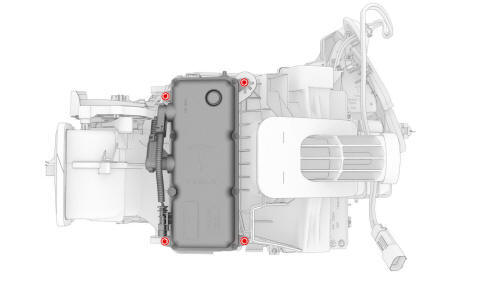
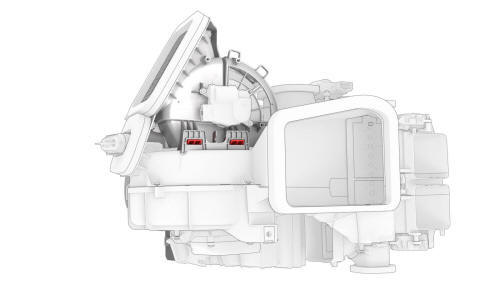
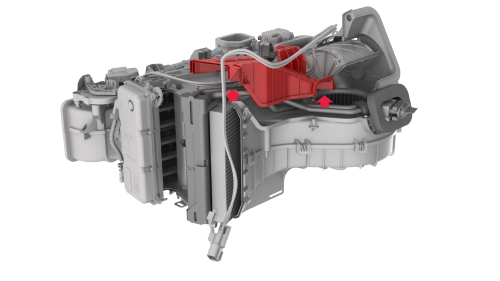
Evaporator- Install
.jpg) Torque 1.4 Nm
Torque 1.4 Nm
Torque 1.4 Nm
Torque
1.4 Nm
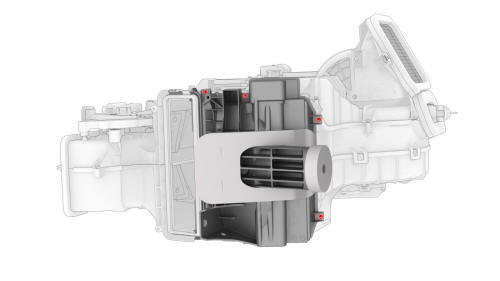
.png) Torque 2.9 Nm
Torque 2.9 Nm
READ NEXT:
 Module - Cooling Fan (Remove and Install)
Module - Cooling Fan- Remove
Remove
Raise and support the vehicle. See
Raise Vehicle - 2 Post Lift
Remove the 2nd row lower seat cushion. See
Seat Cushion - Lower - 2nd Row (Remove and Replace)
SEE MORE:
Trim - Side Rail - LH (Remove and Replace)
Remove
Remove the LH side rail trim. See
Trim - Side Rail - LH (Remove and Install).
Release the clips that attach the old LH side rail tethers to the LH
side rail, and then remove and discard the tethers from the vehicle.
Install
If not pre-installed, install new push clips (x
Interior Overview & Exterior Overview
Interior Overview
Door open button
High beams, turn signals and wipers and washers
Horn
Gear selector, Traffic-Aware Cruise Control and Autosteer
Touchscreen
Driver dome light
Cabin camera
Hazard warning flashers
Passenger dome light
Clim
