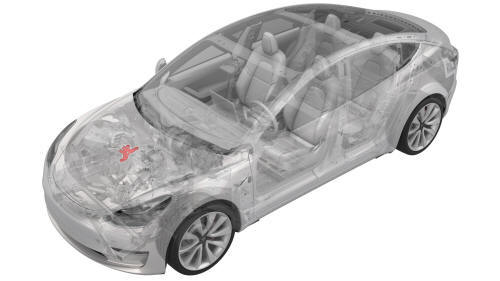
Tesla Model 3: Mounting - A/C Compressor (Remove and Replace)
Tesla Model 3 2017-2026 Service Manual / Thermal Management / Refrigerant System / Mounting - A/C Compressor (Remove and Replace)
Remove
- Remove the 2nd row lower seat cushion. See Seat Cushion - Lower - 2nd Row (Remove and Replace).
- Remove the rear underhood apron. See Underhood Apron - Rear (Remove and Replace).
- Remove the cabin intake duct. See Duct - Cabin Intake (Remove and Replace).
- Remove the hood latch cover. See Cover - Hood Latch (Remove and Replace).
- Remove the underhood storage unit. See Underhood Storage Unit (Remove and Replace).
- Disconnect 12V power. See 12V Power (Disconnect and Connect).
- Support the A/C compressor to the thermal beam.
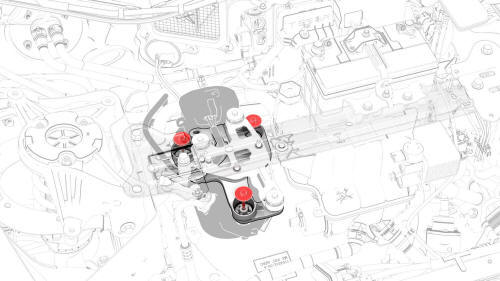
- Remove the bolts that attach the A/C compressor mount to the A/C
compressor.
 Torque 10 Nm
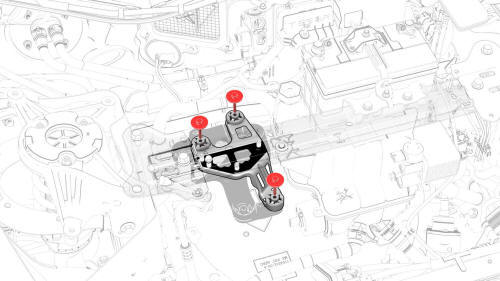
- Remove the bolts that attach the A/C compressor mount to the thermal
beam, and then remove the A/C compressor mount from the vehicle.
Torque 10 Nm
Install
Installation procedure is the reverse of removal.
READ NEXT:
 Pipe - High Pressure - Compressor to Condenser (Remove and Replace)
Pipe - High Pressure - Compressor to Condenser- Remove
Remove
Raise and support the vehicle. See Raise Vehicle - 2 Post Lift.
Remove the 2nd row lower seat cushion. See Seat Cushion - Lower - 2nd
SEE MORE:
Taillight - LH (Remove and Replace)
Taillight - LH- Remove
SPECIAL TOOLS
SKT, BUMP STOP, MDL 3 (1460222-00-B)
Remove
Remove the 2nd row lower seat cushion. See
Seat Cushion - Lower - 2nd Row (Remove and Replace).
Open the trunk, and then use the bump stop removal tool to remove the LH
trunk stop.
Caution: Do not use
Charging
Information and advice on effectively charging your automobile battery may be found in this section. It includes all of the available charging alternatives, including wall-mounted or conventional electrical outlet installations for charging devices at home as well as public charging stations like Su
© 2019-2026 Copyright www.tmodel3.com
