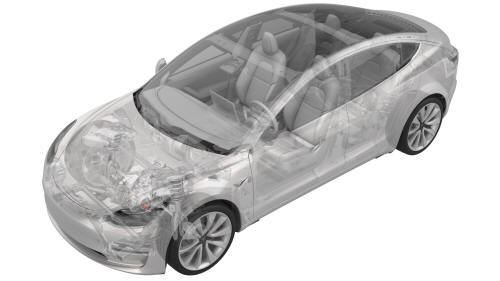
Tesla Model 3: Oil Screen - Front Drive Unit (Remove and Replace)
Tesla Model 3 2017-2026 Service Manual / Front Drive Unit / Front Gearbox and Halfshafts / Oil Screen - Front Drive Unit (Remove and Replace)
SPECIAL TOOLS
KIT, DRIVE UNIT OIL DRAIN, MODEL 3 (1134264-00-A)
KIT, DRIVE UNIT OIL FILL, MODEL 3 (1139126-00-A)
Tool, DUF Dipstick, Model 3 (1446276-20-A)
SWITCHBOX, OIL PUMP, MODEL 3 (1131264-00-A)
JUMP START, XP-10 (1129348-00-A )
Skt, Oil Filter, 63.5mm X 14 (1130484-00-A)
Tool, Oil Pump Screen Removal, Model 3 (1140378-00-A)
Remove
- Remove the front aero shield panel. See Panel - Aero Shield - Front (Remove and Replace).
- Remove the front drive unit oil pump. See Oil Pump - Front Drive Unit (Remove and Replace).
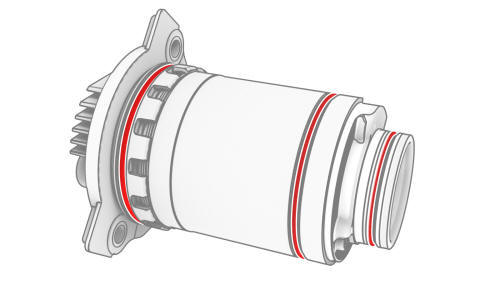
- Remove and discard the o-rings from the front drive unit oil pump.
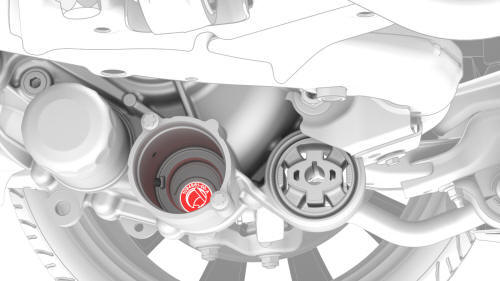
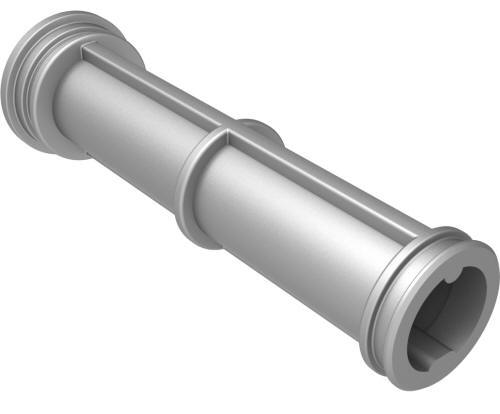
- Remove the front drive unit oil screen from the front drive unit.
Install
Installation procedure is the reverse of removal, except for the following:
- Lubricate the front drive unit oil screen o-rings with ATF-9.
- Install new o-rings (part numbers 1108210-00-A, 1108211-00-A, and 1108214-00-A) on the front drive unit oil pump and lubricate the o-rings with ATF-9
READ NEXT:
 Seal - Oil - Differential to Halfshaft - Front Drive Unit - LH (Remove and
Replace)
Seal - Oil - Differential to Halfshaft - Front Drive Unit - LH (Remove and
Replace)
SPECIAL TOOLS
Tool, Axle Extraction, Model 3 (1133386-00-A)
Tool, Hub Puller, Hydraulic (1096075-00-A)
Install Tool, Output Seal, Model 3 (1131206-00-A)
Tool, Seal Puller, Adjustable (1052583-00-A)
SEE MORE:
Latch Actuator - Charge Port (Remove and Replace)
Latch Actuator - Charge Port - Remove
Remove
Perform the vehicle electrical isolation procedure.
See Vehicle Electrical Isolation Procedure.
Remove the LH trunk side trim. See Trim - Side -
Trunk - LH (Remove and Re
Sensor - Airbag - Door - Front (Remove and Replace)
Note: This procedure was formulated using a release candidate or
production model. Follow safety requirements and use extreme caution when
working on or near high-voltage systems and components
Remove
Remove the 2nd row lower seat cushion. See Seat Cushion - Lower - 2nd
Row (Remove and Repla
© 2019-2026 Copyright www.tmodel3.com
