Tesla Model 3: Seal - Glass Run - Front Door - LH (Remove and Replace)
Remove
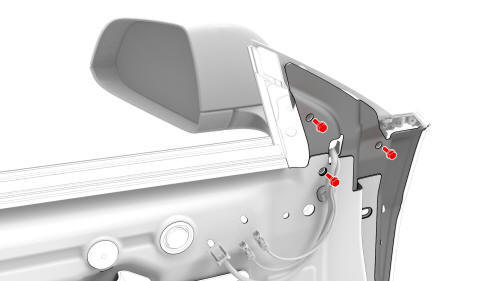
Caution: Use only hand tools to remove or install the fasteners. Do not use
impact or power tools.
Install
Caution: Use only hand tools to remove or install the fasteners. Do not use
impact or power tools.
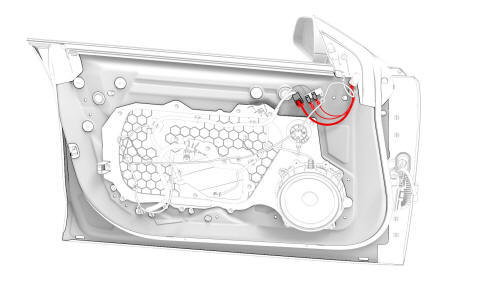
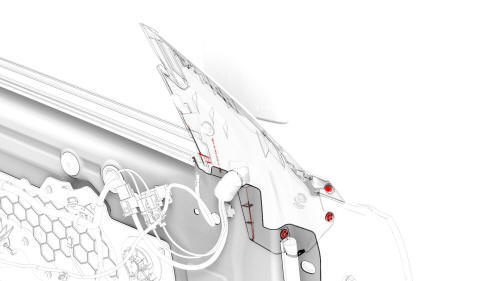
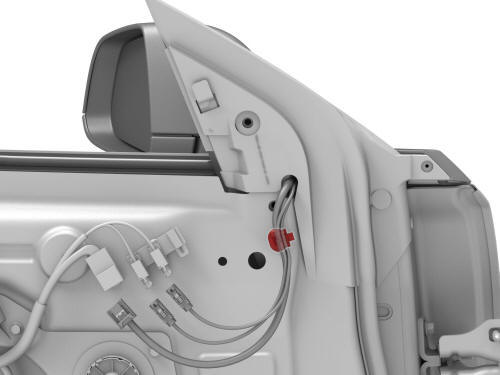
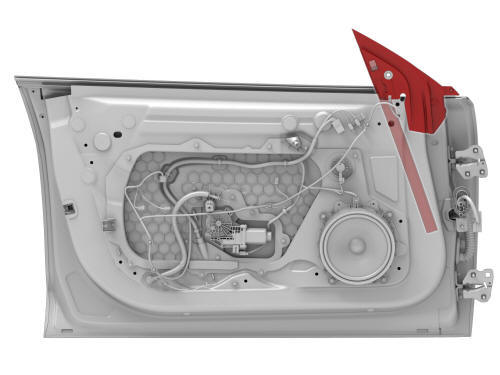
Seal - Glass Run - Front Door - LH (Remove and Replace)- Remove
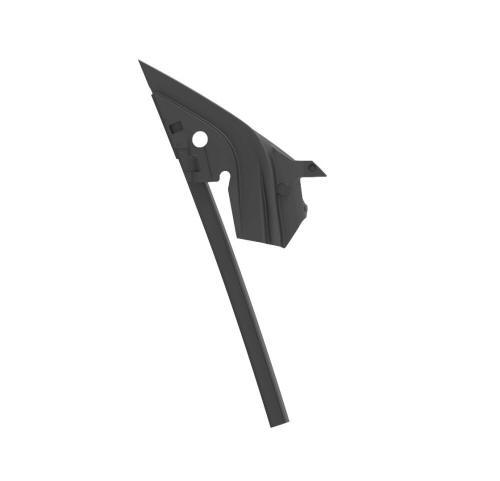
Seal - Glass Run - Front Door - LH (Remove and Replace)- Install
 Tip:
If necessary, apply a small amount of P80 lubricant on the length of the seal to
aid installation.
Tip:
If necessary, apply a small amount of P80 lubricant on the length of the seal to
aid installation.
READ NEXT:
 Seal - Hood (Remove and Replace)
Remove
Open the hood.
Release the seal from the underhood storage unit, and then remove the
seal from the underhood storage unit.
Install
Installation procedure is the reverse of remov
SEE MORE:
Roadside Assistance
This is crucial information for owners who have breakdowns or emergencies while driving. It gives a summary of the services and contact details available for Tesla's roadside assistance program.
This section describes what an emergency is—such as a flat tire, malfunctioning car, issue with th
Airbag - Front Passenger (Remove and Replace)
DRAFT
Warning:
This procedure was derived from pre-production computer models, and
might not reflect the real-world situation. Warnings and cautions might be
missing. Follow safety requirements and use extreme caution when working on or
near high voltage systems and components
Remove
Remove
