Tesla Model 3: Actuator - 5-Way Valve (Dual Motor) (Remove and Replace)
Tesla Model 3 2017-2026 Service Manual / Thermal Management / Cooling System / Actuator - 5-Way Valve (Dual Motor) (Remove and Replace)
SPECIAL TOOLS
Kit, Svc Plug, Cooling Hose, Model 3 (1135762-00-A)
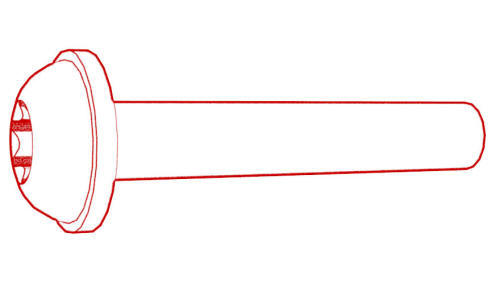
Wrench, Diverter Valve, Model 3 (1447556-00-A)
Remove
- Remove the superbottle. See Superbottle (Dual Motor) (Remove and Replace).
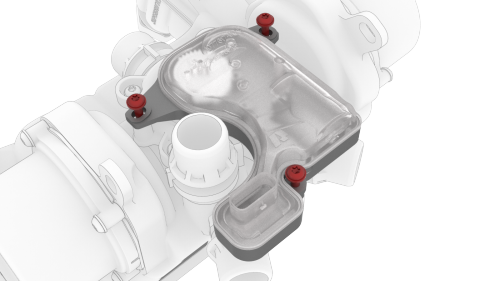
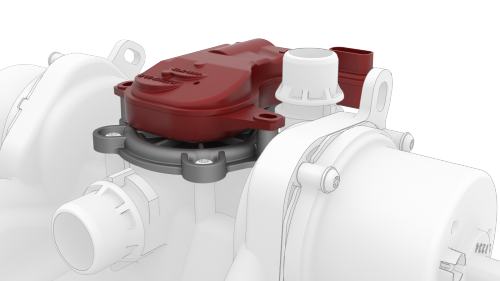
- Remove the screws that attach the 5-way valve actuator to the 5-way valve cover.
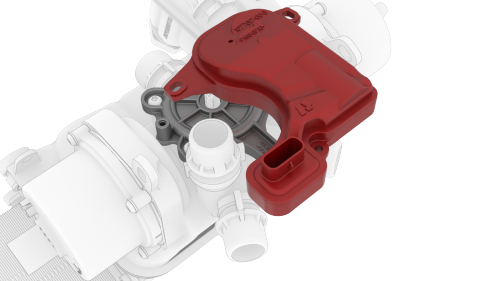
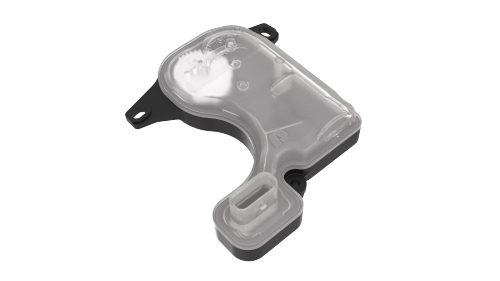
- Remove the 5-way valve actuator from the 5-way valve cover.
Install
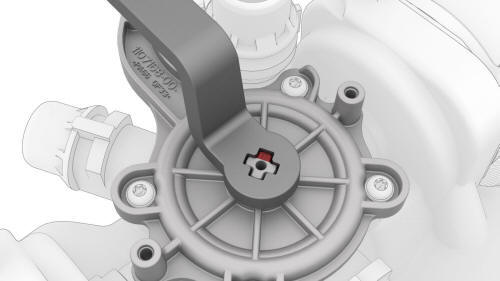
One spline (highlighted red) is larger than the other splines
- Use the diverter valve wrench to align the larger stemshell shaft spline with the larger recess on the 5-way valve actuator, and then position the 5-way valve actuator on the 5-way valve cover.
Caution:
Very little force is needed to mate the actuator to the cover. If the actuator does not mate to the cover easily, remove the actuator and check the stemshell shaft alignment.
- Install the screws that attach the 5-way valve actuator to the 5-way
valve cover.
 Torque 2 Nm
 - Install the superbottle. See Superbottle (Dual Motor) (Remove and Replace).
READ NEXT:
 Actuator - 5-Way Valve (RWD) (Remove and Replace)
SPECIAL TOOLS
Wrench, Diverter Valve, Model 3 (1447556-00-A)
Remove
Disconnect 12V power. See 12V Power (Disconnect and Connect).
Remove the front aero shield. See Panel - Aero Shield - Front (Re
Coolant Pump - HV Battery (Remove and Replace)
Coolant Pump - HV Battery - Remove
Remove
Remove the underhood storage unit. See Underhood Storage Unit (Remove
and Replace).
Disconnect 12V power. See 12V Power (Disconnect and Connect).
Remo
SEE MORE:
Platter Enclosure Air Leak Test
DRAFT
Warning:
This procedure was derived from pre-production computer models, and
might not reflect the real-world situation. Warnings and cautions might be
missing. Follow safety requirements and use extreme caution when working on or
near high voltage systems and components.
SPECIAL TOOLS
Pac
Trim - A-Pillar - Lower - LH (Remove and Replace)
Remove
Open the LH front door.
Remove the LH instrument panel end cap. See
End Cap - Instrument Panel - LH (Remove and Replace).
Remove the LH middle A-Pillar trim panel. See
Trim - A-Pillar - Middle - LH (Remove and Replace).
Release the topmost clip on the LH lower A-pillar
© 2019-2026 Copyright www.tmodel3.com
