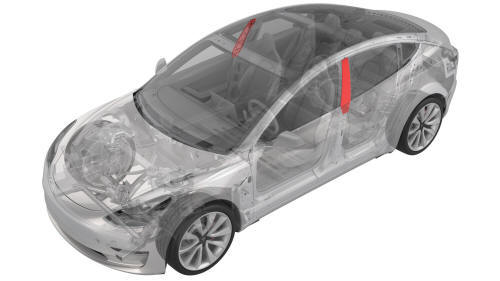
Tesla Model 3: Applique - B-Pillar - LH (Remove and Replace)
Remove
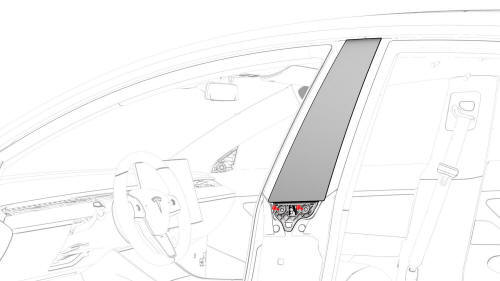
Caution: Use caution not to damage the camera connector. Install
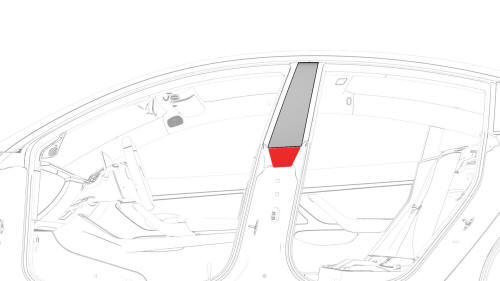
Applique - B-Pillar - LH (Remove and Replace) -
Remove

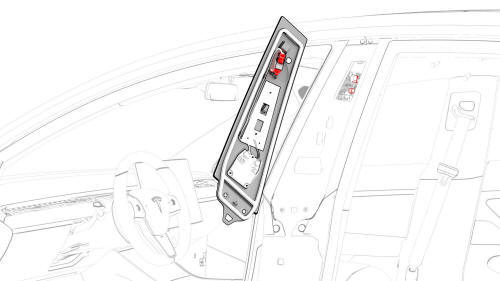
Applique - B-Pillar - LH (Remove and Replace) -
Install
READ NEXT:
 Brightwork - Upper - LH (Remove and Replace)
Remove
Open the LH doors.
Pull down to release the front and rear primary body seals from the LH
upper brightwork.
Note: It is not necessary to release the seals from the top
of the B-p
SEE MORE:
Finisher - Vent (Remove and Replace)
Remove
Remove the LH instrument panel end cap. See
End Cap - Instrument Panel - LH (Remove and Replace).
Remove both the LH and RH air wave end caps. See
End Cap - Air Wave - LH (Remove and Replace).
Remove the main instrument panel decor trim. See
Decor Trim - Instrument Panel - Main (Rem
Disclaimers
Event Data Recorder (EDR)
Model 3 is equipped with an event data
recorder (EDR). The main purpose of an EDR
is to record, in certain crash or near crash-like
situations, such as an air bag deployment or
hitting a road obstacle, data that will assist in
understanding how a vehicle's systems
