Tesla Model 3: Brake Fluid Bleed - One Caliper
SPECIAL TOOLS
Brake System Servicing Equipment (1054715-01-A)
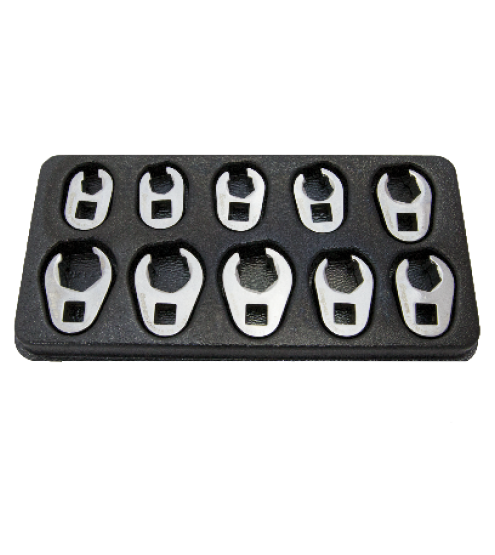
Flare nut crowfoot set (1079041-00-A)
Adapter, Brake Bleeder, PowerProbe TS04 (1080578-00-B)
Catch Bottle (1086618-01-A)
Procedure
Caution: Brake fluid dissolves paint. Have clean towels and plenty of water standing by to wash spilled brake fluid off painted surfaces.Note: Dispose of used brake fluid in a manner consistent with local environmental codes.
- Review the bleeder service tool profile.
- Raise the vehicle and remove the wheel for the caliper to be bled. See Wheel (Remove and Install).
- Lower the vehicle to a working height.
- In Toolbox, type "bleed" into the search field and click Actions.
- Clean the area around the brake fluid reservoir breather cap and remove the cap.
- Add clean brake fluid to the MAX level in the reservoir.
- Attach the pressure cap to the reservoir.
- Set the pressure to 30 PSI.
- Perform the rest of this procedure according to the caliper you are bleeding.
- Front caliper - go to step 10.
- Rear caliper - go to step 20.
- Remove the caliper outer bleed valve cap and attach the catch bottle to the valve. Note: Hang the bottle by the wire hook, not by the hose.
In Toolbox, start the task for the particular caliper.
- For the front LH and rear RH calipers, run PROC_ESP_FRONT-L-REAR-R_BRAKE_BLEED.
- For the front RH and rear LH calipers, run PROC_ESP_FRONT-R-REAR-L_BRAKE_BLEED.
- Open the outer bleed valve and watch the fluid as it flows out of the caliper.
- Use the crowfoot extension to close the bleed valve when the pump stops, or when clean fluid without bubbles flows out of the caliper.
- Make sure that the reservoir does not go empty, or that the catch bottle does not overfill.
Caution: If the reservoir goes empty, you must perform a complete brake system bleed. See Brake Fluid Bleed / Flush.
- Repeat step 13 through step 16 until clean fluid without bubbles flows out of the caliper.
- Remove the catch bottle and install the bleed valve cap.
- Repeat step 12 through step 18 for the inner bleed valve, and again for the outer bleed valve.
- Tighten the bleed valves.
.png) Torque 18.5 Nm
Torque 18.5 Nm - Go to step 28.
- Remove the caliper bleed valve cap and attach the catch bottle to the valve. Note: Hang the bottle by the wire hook, not by the hose.
- In Toolbox, start the task for the particular caliper.
- For the front LH and rear RH calipers, run PROC_ESP_FRONT-L-REAR-R_BRAKE_BLEED.
- For the front RH and rear LH calipers, run PROC_ESP_FRONT-R-REAR-L_BRAKE_BLEED.
- Open the bleed valve and watch the fluid as it flows out of the caliper.
- Use the crowfoot extension to close the bleed valve when the pump stops, or when clean fluid without bubbles flows out of the caliper.
- Make sure that the reservoir does not go empty, or that the catch bottle does not overfill.
Caution: If the reservoir goes empty, you must perform a complete brake system bleed. See Brake Fluid Bleed / Flush.
- Repeat step 25 through step 28 until clean fluid without bubbles flows out of the caliper.
- Remove the catch bottle and install the bleed valve cap.
- Tighten the bleed valve as follows:
Torque Brembo Rear Caliper 14 Nm
Torque Mando Rear Caliper 10 Nm
- Refill the reservoir to MAX, and properly dispose of the catch bottle contents.
- Remove the pressure cap from the reservoir and install the breather cap.
- Press the brake pedal several times to verify proper feel and action.
- In Toolbox, type "FLUID-LEVEL" into the search field and click Actions.
- Run the TEST-SELF-VCFRONT_X_BRAKE-FLUID-LEVEL test.
- In Toolbox, type "stiffness" into the search field and click Actions.
- Run the IBST Stiffness Test - Burnished - Pressure test.
Caution: Do not press the brake pedal while this test is running.
- If the Pressure_P100 value in the test results is less than 55 bar, repeat the bleed procedure from step 4.
- Install the wheel and lower the vehicle. See Wheel (Remove and Install).
- Repeatedly press the brake pedal until firm.
- Perform a road test using a series of panic stops to make sure there is proper pedal feel and brake performance.
READ NEXT:
 Brake Fluid Bleed / Flush
SPECIAL TOOLS
Brake System Servicing Equipment (1054715-01-A)
Flare nut crowfoot s
Brake Fluid Check
SPECIAL TOOLS
BrakeStrip 100 Brake Fluid Test Strips
(1510075-00-A)
Procedure
Caut
Brake Hose - Flexible - Front - LH (Remove and Replace)
SPECIAL TOOLS
Flare nut crowfoot set (1079041-00-A)
Remove
Cauti
SEE MORE:
Trunk (Remove and Replace)
Trunk (Remove and Replace)- Remove
Remove the rear license plate.
Remove the trunk lid trim. See Trim - Lid - Trunk (Remove and Replace).
Remove the LH and RH rear fog/reverse lights. See Light - Fog / Reverse
- Rear - LH (Remove and Replace).
Remove the trunk exterior release switch. See
Traction Control
How It Works
The traction control system constantly
monitors the speed of the front and rear
wheels. If Model 3 experiences a loss of
traction, the system minimizes wheel spin by
controlling brake pressure and motor power.
By default, the traction control system is on.
Under normal condit
