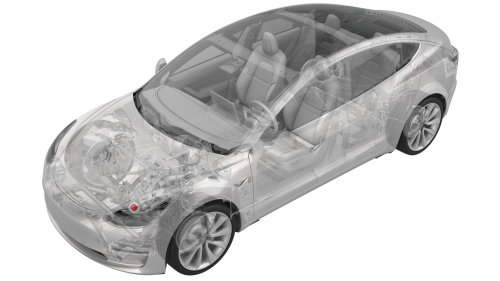
Tesla Model 3: Bushing - Gearbox - Front Drive Unit - Remove
SPECIAL TOOLS
Engine Motor Stand, 1000 lb. (NA, APAC) (1053595-00-A)
Engine Stand, 1000 lbs (EMEA) (1053595-01-A)
Fixture, DUF Disassembly, Model 3 (1467557-00-A)
Tool, Axle Extraction, Model 3 (1133386-00-A)
Kit, Drive Unit Bushing R&R, Model 3 (1137785-00-A)
Remove
- Remove the front subframe assembly from the vehicle. See Subframe Assembly - Front (Dual Motor) (Remove and Install).
- Remove the steering rack. See Steering Rack (RWD) (Remove and Replace).
- Install an axle extraction tool between the front drive unit and the inner joint of the LH front drive unit halfshaft, and then strike the handle end of the extraction tool with a dead blow hammer to unseat the halfshaft.
- With assistance, remove the LH front drive unit halfshaft from the front drive unit, and then install a halfshaft plug into the opening of the gearbox.
- Repeat steps 3 to 4 on the RH front drive unit halfshaft.
.png)
- Release the locking tab, and then push the handle downward to disconnect the front drive unit inverter logic connector.
.png)
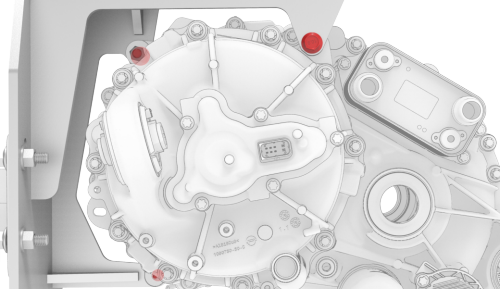
- Release the red locking tab, and then press down on the tab to disconnect the resolver logic connector.
.png)
- Release the grey locking tab, and then press down on the tab to disconnect the oil pump connector.
.png)
- Release the clip that attaches the front drive unit harness to the front drive unit motor.
.png)
- Release the clips that attach the front drive unit harness to the front drive unit inverter.
- Position the subframe assembly under the gantry.
Other assemblies hidden for clarity
- Position the front drive unit engine stand adapter on the front drive unit, and then hand-tighten the bolts that attach the engine stand adapter to the front drive unit.
Other assemblies hidden for clarity
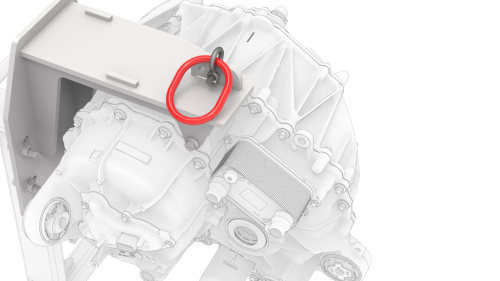
- Attach the gantry hook to the front drive unit engine stand adapter, as shown.
- Raise the gantry hook until it is taut.
.png)
- Remove the bolt that attaches the front drive unit to the front subframe.
- Lift the front drive unit up and away from the front subframe.
Note: Make sure not to move the rear front drive unit support posts.

- Position the front drive unit engine stand adapter on the engine stand, and then hand-tighten the bolts that attach the engine stand adapter to the engine stand.
- Remove the gantry hook from the engine stand adapter.
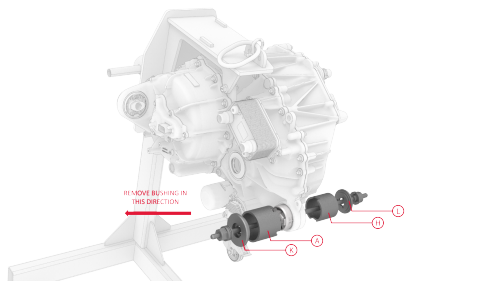
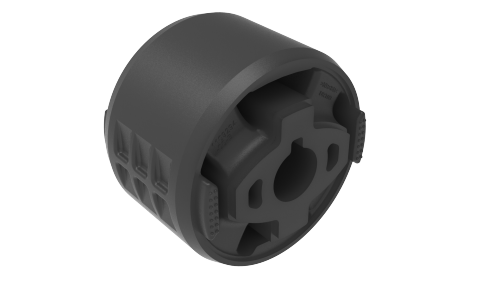
- Install the bushing tool on the front drive unit gearbox bushing.
Note: Use cups "K", "A", "H", and "L" when assembling the special tool, as shown.
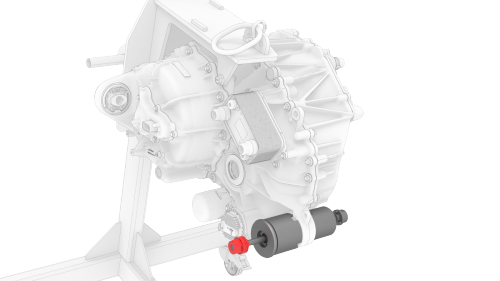
- Turn the bearing-side bushing tool nut with a wrench while holding the opposite nut in place.
- When the bushing has been pushed out of the front
drive unit gearbox, separate the bushing tool, and then
remove the bushing.
READ NEXT:
 Bushing - Gearbox - Front Drive Unit - Install
Install
Set up the bushing tool to press in the new
bushing.
Gearbox Fluid - Front Drive Unit - Drain
SPECIAL TOOLS
KIT, DRIVE UNIT OIL DRAIN, MODEL 3
(1134264-00-A)
KIT, DRIVE UNIT OIL FILL, MODEL 3 (1139126-0
SEE MORE:
Bracket - Rear - Center (Remove and Replace)
Remove
Remove the rear fascia.
Release the clips that attach the rear Bluetooth passive entry antenna
electrical harness to the center rear bracket assembly.
Remove rear Bluetooth passive entry antenna.
Remove the bolts that attach the center rear bracket to the body, and
then re
Cover - Penthouse (Remove and Replace) - Remove
Remove
Perform the vehicle electrical isolation procedure. See
Vehicle Electrical Isolation Procedure.
Remove the foam cover from the LH side of the penthouse.
Remove the LH rear sill panel trim. See
Trim - Sill Panel - Rear - LH (Remove and Replace).
Release the clips that attach the low
