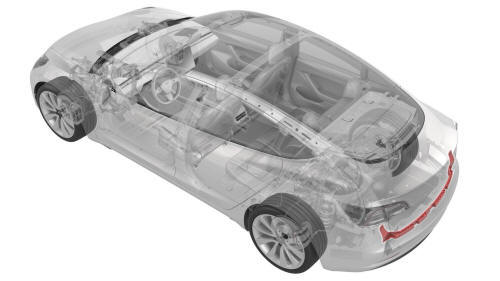
Tesla Model 3: Bracket - Rear - Center (Remove and Replace)
Tesla Model 3 2017-2026 Service Manual / Body / Bumper / Fascia / Bracket - Rear - Center (Remove and Replace)
Remove
- Remove the rear fascia.
- Release the clips that attach the rear Bluetooth passive entry antenna electrical harness to the center rear bracket assembly.
- Remove rear Bluetooth passive entry antenna.
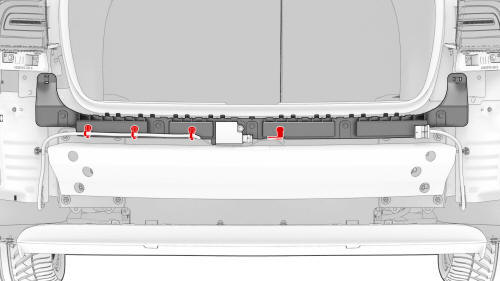
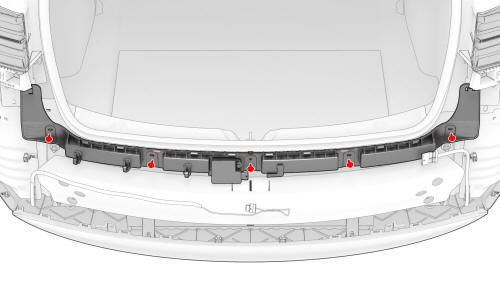
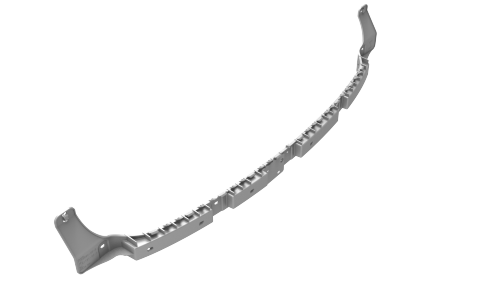
- Remove the bolts that attach the center rear bracket to the body, and then remove the bracket from the vehicle.
Install
- Position the center rear bracket on the vehicle, and then install the
bolts that attach the bracket to the body.
 Torque
4 Nm
Torque
4 Nm
- Install rear Bluetooth passive entry antenna.
- Install the clips that attach the rear Bluetooth passive entry antenna electrical harness to the center rear bracket.
- Install the rear fascia.
READ NEXT:
 Bracket - Rear Wing - LH (Remove and Replace)
Remove
LH shown, RH similar
Remove the 2nd row lower seat cushion.
Open the trunk, and then remove the LH and RH trunk stops.
Remove the trunk floor trim.
Remove the trunk sill trim.
Remove
Bracket - Taillight - LH (Remove and Replace)
Remove
Remove the 2nd row lower seat cushion.
Open the trunk and remove the LH liftgate stop.
Remove the trunk floor trim.
Remove the trunk sill trim.
Remove the LH 2nd row seat side bolste
Bumper - Front (Remove and Replace)
Remove
Raise and support the vehicle.
Remove the rear underhood apron
Remove the cabin intake duct.
Remove the hood latch cover.
Remove the underhood storage unit.
Remove the front fascia ass
SEE MORE:
Windshield (Remove and Install)
Windshield (Remove and Install)-Remove
Remove
Open all doors and lower all windows.
Open the hood.
Remove the rear underhood apron. See Underhood Apron - Rear (Remove and
Replace).
Remove the cabin intake duct. See Duct - Cabin Intake (Remove and
Replace).
Remove the hood latch cover. S
Hose - Heat Exchanger to Superbottle - Front Drive Unit (Remove and Replace)
Remove
Remove the superbottle. See
Superbottle (Dual Motor) (Remove and Replace).
Install
Installation procedure is the reverse of removal.
Caution:
Perform a push-pull test to verify that the hose is fully seated
© 2019-2026 Copyright www.tmodel3.com
