Tesla Model 3: Bracket - Taillight - LH (Remove and Replace)
Tesla Model 3 2017-2026 Service Manual / Body / Bumper / Fascia / Bracket - Taillight - LH (Remove and Replace)
Remove
- Remove the 2nd row lower seat cushion.
- Open the trunk and remove the LH liftgate stop.
- Remove the trunk floor trim.
- Remove the trunk sill trim.
- Remove the LH 2nd row seat side bolster.
- Remove the LH 2nd row seatback.
- Remove the RH 2nd row seat side bolster
- Remove the RH 2nd row seatback.
- Remove the rear trunk carpet.
LH side shown, RH similar
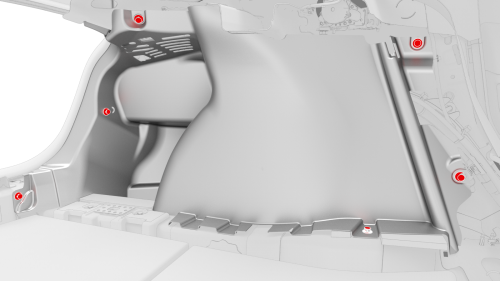
- Release the clips that attach the LH and RH trunk side trims to the vehicle.
LH side shown, RH similar
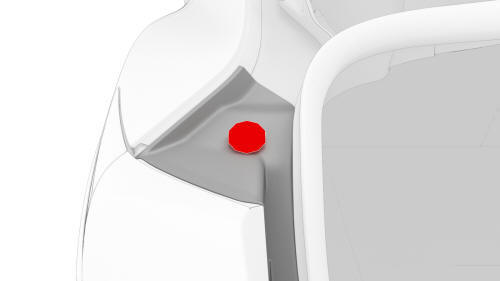
- Remove the puddle light connectors from the LH and RH trunk side trims.
LH side shown, RH similar
- Remove the LH and RH trunk side trims from the vehicle.
- Remove the LH and RH taillights.
- Remove the rear fascia.
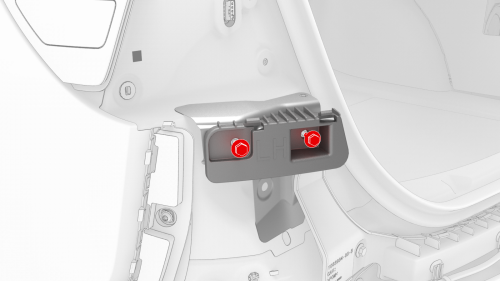
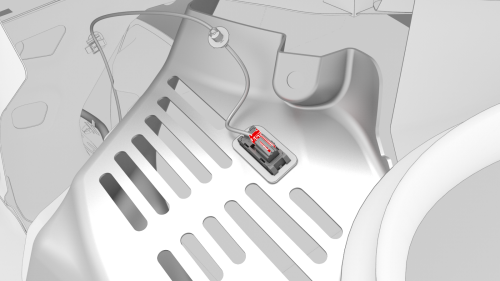
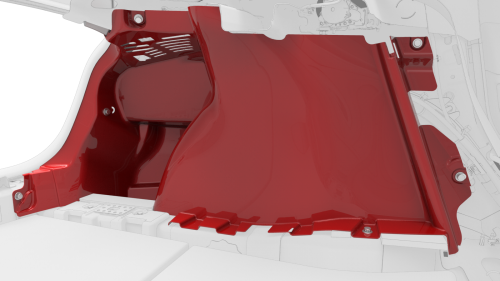
- Remove the bolts that attach the LH taillight bracket to the vehicle,
and then remove the LH taillight bracket.
 Torque
4 Nm
Torque
4 Nm

Install
Installation procedure is the reverse of removal.
READ NEXT:
 Bumper - Front (Remove and Replace)
Remove
Raise and support the vehicle.
Remove the rear underhood apron
Remove the cabin intake duct.
Remove the hood latch cover.
Remove the underhood storage unit.
Remove the front fascia ass
Bumper - Rear (Remove and Replace)
Remove
Remove the rear fascia.
Release the clips that attach the rear Bluetooth passive entry antenna
electrical harness to the rear center bracket assembly.
Remove rear Bluetooth passive e
Cover - Tow Hook (Remove and Replace)
Remove
Place two thumbs at the 1 and 2 o'clock positions, resting your knuckles on
the bumper fascia surface to support your hand position. Use both thumbs to
apply force on the outer edge of the
SEE MORE:
Opening and Closing
This section contains detailed instructions on how to operate the various components of the Tesla Model 3. It covers important things such as keys, doors, trunk, windows, sunroof and glass roof, child safety locks.
In this section you will find instructions on how to open and close the door using t
Torque Specifications - Brakes
Table 1.
Torque Specifications: Brake
Caliper - Front
Table 2.
Torque Specifications: Brake
Caliper - Rear
© 2019-2026 Copyright www.tmodel3.com
