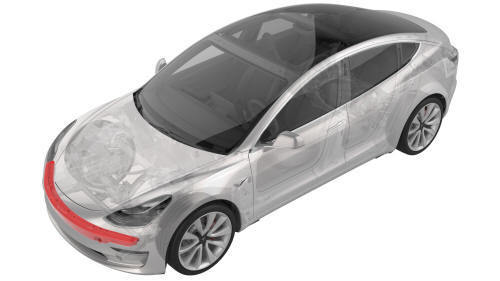
Tesla Model 3: Bumper - Front (Remove and Replace)
Tesla Model 3 2017-2026 Service Manual / Body / Bumper / Fascia / Bumper - Front (Remove and Replace)
Remove
- Raise and support the vehicle.
- Remove the rear underhood apron
- Remove the cabin intake duct.
- Remove the hood latch cover.
- Remove the underhood storage unit.
- Remove the front fascia assembly.
- Remove the LH front airbag sensor.
- Remove the center front airbag sensor.
- Remove the RH front airbag sensor.
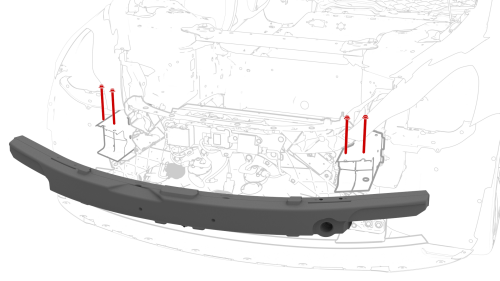
- Remove the bolts that attach the front bumper with the energy absorbers to the crash cans.
- Carefully remove the front bumper with the energy absorbers from the vehicle.
Caution:
Do not damage the body when prying the front bumper.
Note: Slightly tap the front bumper with a dead blow harmer to assist with removal of the front bumper.
- Remove the foam from the front bumper.
Install
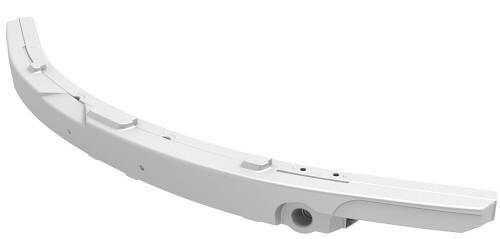
- Install the foam onto the new front bumper beam.
- Position the front bumper with energy absorber onto the vehicle.
- Install the bolts that attach the front bumper with the energy absorbers
to the LH and RH crash cans
 Torque
75 Nm
Torque
75 Nm
- Install the RH front airbag sensor.
- Install the center front airbag sensor.
- Install the LH front airbag sensor.
- Install the front fascia assembly.
- Install the underhood storage unit.
- Install the hood latch cover.
- Install the cabin intake duct.
- Install the rear underhood apron.
- Remove the vehicle from the lift.
READ NEXT:
 Bumper - Rear (Remove and Replace)
Remove
Remove the rear fascia.
Release the clips that attach the rear Bluetooth passive entry antenna
electrical harness to the rear center bracket assembly.
Remove rear Bluetooth passive e
Cover - Tow Hook (Remove and Replace)
Remove
Place two thumbs at the 1 and 2 o'clock positions, resting your knuckles on
the bumper fascia surface to support your hand position. Use both thumbs to
apply force on the outer edge of the
Crush Can - Front - LH (Remove and Replace)
Crush Can - Front - LH - Remove
Remove
Raise and support the vehicle
Remove the rear underhood apron.
Remove the cabin intake duct
Remove the hood latch cover.
Remove the underhood storage uni
SEE MORE:
Pivot Sleeve - Seat Back - 2nd Row - LH (Remove and Replace)
Remove
Remove the 2nd row LH seat back assembly. See
Seat Back - 2nd Row - LH (Remove and Install).
Release the tabs that attach the pivot sleeve to the seat back assembly
pivot pin, and then remove the sleeve from the pin.
Tweeter - Dash (Remove and Replace)
Remove
Remove the LH and RH instrument panel end caps. See End Cap - Instrument
Panel - LH (Remove and Replace).
Remove the LH and RH mid A-pillar trims. See Trim - A-Pillar - Middle -
LH (Remove and Replace).
Remove the LH and RH upper A-pillar trims. See Trim - A-Pillar - Upper -
LH (R
© 2019-2026 Copyright www.tmodel3.com
