Tesla Model 3: Bracket - Rear Wing - LH (Remove and Replace)
Tesla Model 3 2017-2026 Service Manual / Body / Bumper / Fascia / Bracket - Rear Wing - LH (Remove and Replace)
Remove
LH shown, RH similar
- Remove the 2nd row lower seat cushion.
- Open the trunk, and then remove the LH and RH trunk stops.
- Remove the trunk floor trim.
- Remove the trunk sill trim.
- Remove the LH 2nd row seat side bolster.
- Remove the LH 2nd row seatback.
- Remove the RH 2nd row seat side bolster.
- Remove the RH 2nd row seatback.
- Remove the rear trunk carpet.
LH side shown, RH similar
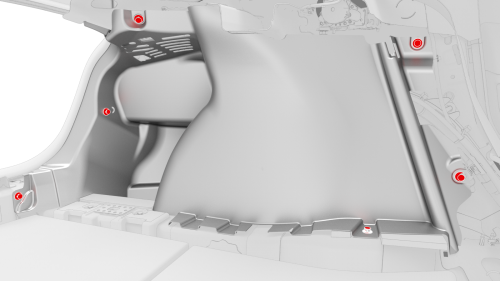
- Release the clips that attach the LH and RH trunk side trims to the vehicle.
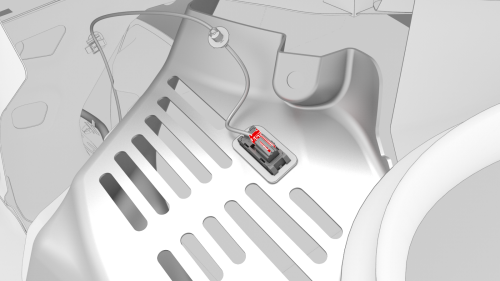
- Remove the puddle light connector from the LH trunk side trim.
LH side shown, RH similar
- Remove the LH and RH trunk side trims from the vehicle
- Remove the LH and RH taillights.
- Remove the rear fascia
- Remove the LH taillight bracket.
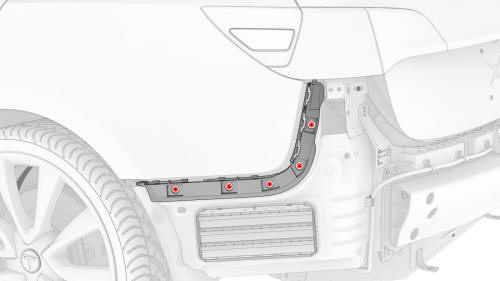
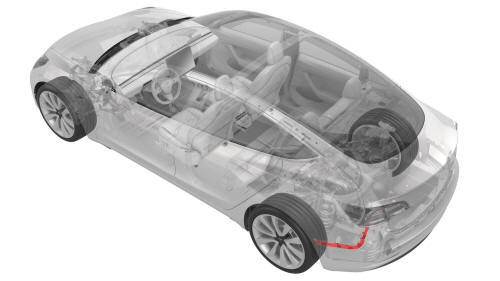
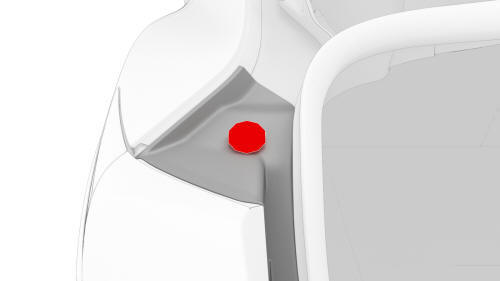
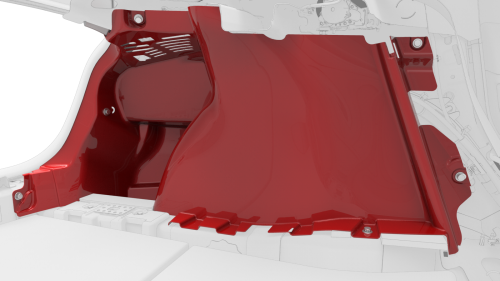
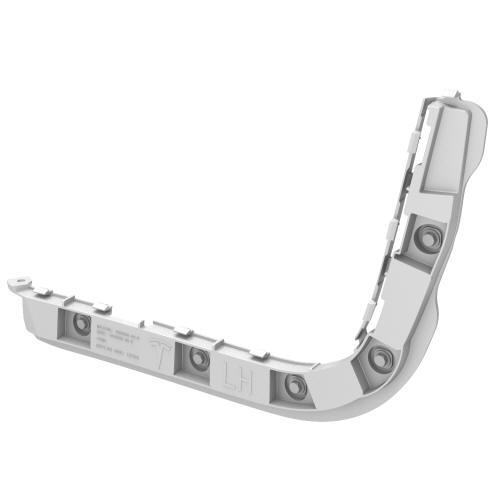
- Remove the bolts that attach the LH rear wing bracket to the vehicle.
 Torque 4 Nm
Install
Installation procedure is the reverse of removal.
READ NEXT:
 Bracket - Taillight - LH (Remove and Replace)
Remove
Remove the 2nd row lower seat cushion.
Open the trunk and remove the LH liftgate stop.
Remove the trunk floor trim.
Remove the trunk sill trim.
Remove the LH 2nd row seat side bolste
Bumper - Front (Remove and Replace)
Remove
Raise and support the vehicle.
Remove the rear underhood apron
Remove the cabin intake duct.
Remove the hood latch cover.
Remove the underhood storage unit.
Remove the front fascia ass
Bumper - Rear (Remove and Replace)
Remove
Remove the rear fascia.
Release the clips that attach the rear Bluetooth passive entry antenna
electrical harness to the rear center bracket assembly.
Remove rear Bluetooth passive e
SEE MORE:
Harness - Charge Port to HV Battery (Single-Phase) (Remove and Replace)
DRAFT
Warning:
This procedure was derived from pre-production computer
models, and might not reflect the real-world situation. Warnings
and cautions might be missing. Follow safety requirements and
use extreme caution when
Bracket - License Plate - Front (NA) (Retrofit)
Retrofit
Clean the front center surface of the front fascia.
Remove the backing from the long horizontal tape strip on the new front
license plate bracket.
Fold the backing of the vertical tape strips out at a 90 degree angle.
Hold the license plate bracket horizontally and
© 2019-2026 Copyright www.tmodel3.com
