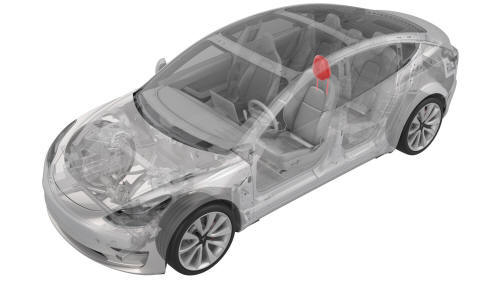
Tesla Model 3: Trim - Headrest - Driver (Remove and Replace)
Tesla Model 3 2017-2026 Service Manual / Seats / Front Seat Assemblies and Hardware / Trim - Headrest - Driver (Remove and Replace)
DRAFT
Warning:
This procedure was derived from pre-production computer models, and might not reflect the real-world situation. Warnings and cautions might be missing. Follow safety requirements and use extreme caution when working on or near high voltage systems and components.
Do not redistribute this content.
SPECIAL TOOLS
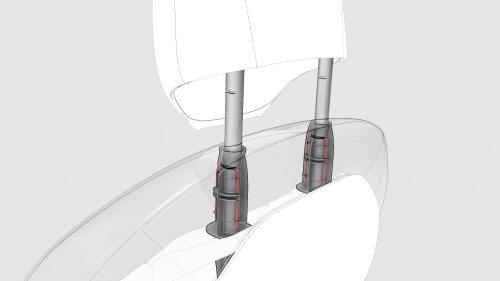
M3 1R Headrest Removal Tool (1132841-00-A)
Remove
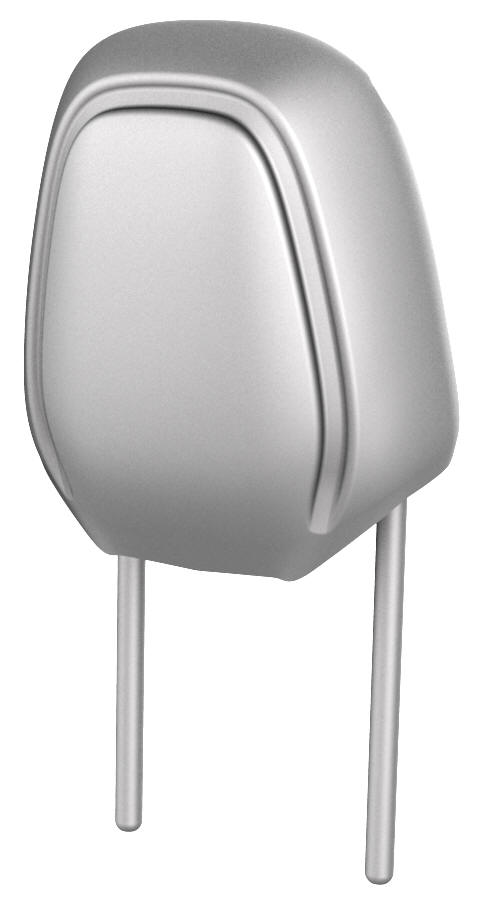
Use the headrest removal tool to release the clips that secure the headrest from the driver seat, and then remove the headrest from the seat.
Install
Installation procedure is the reverse of removal.
READ NEXT:
 Armrest - 2nd Row (Remove and Replace)
Remove
Open all four doors and move the front LH and RH seats fully forward.
Fold down the RH 2nd row seatback assembly.
Remove the bolt that attaches the 2nd row armrest to the LH 2nd row
Bezel - Handle - Seat Back - 2nd Row - LH (Remove and Replace)
Remove
Release the LH 2nd row seat back and fold it slightly forward.
Use a pry tool to release the clips (x2) that attach the LH 2nd row seat
back handle bezel to the LH 2nd row seat back h
SEE MORE:
Seal - Oil - Differential to Halfshaft - Front Drive Unit - LH (Remove and
Replace)
SPECIAL TOOLS
Tool, Axle Extraction, Model 3 (1133386-00-A)
Tool, Hub Puller, Hydraulic (1096075-00-A)
Install Tool, Output Seal, Model 3 (1131206-00-A)
Tool, Seal Puller, Adjustable (1052583-00-A)
Remove
Remove the LH front drive unit halfshaft. See
Halfshaft - Front Drive Unit - LH (Remove an
Spoiler - Rear (Retrofit using Tape)
Procedure
Clean the installation surface of the spoiler with isopropyl alcohol
(IPA) wipes, and allow it to dry before continuing.
Note: Clean any moisture or contaminates that might be
present from rain or vehicle washing, otherwise this might result in poor
adhesion of the rear spoiler.
© 2019-2026 Copyright www.tmodel3.com
