Tesla Model 3: Control Arm - Upper - Front - LH (Remove and Replace)
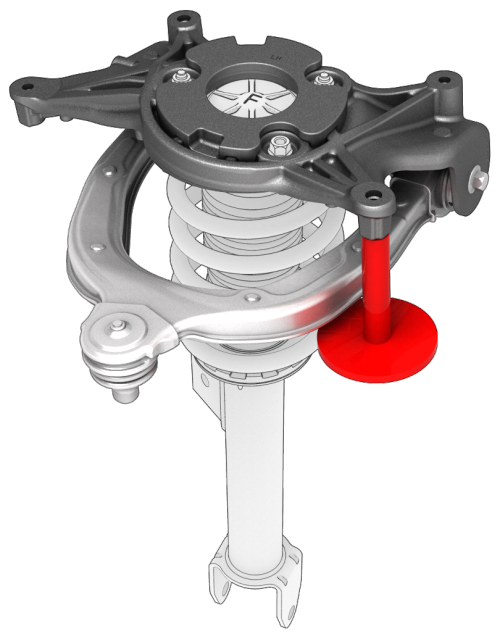
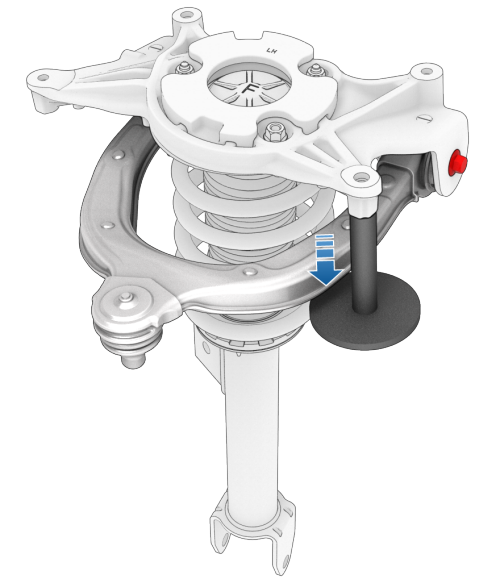
SPECIAL TOOLS Tool, FUCA Ride Height, Model 3 (1450399-00-A) Remove
Install
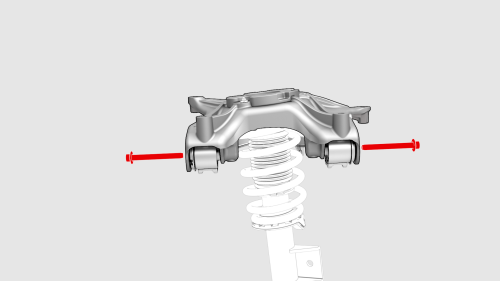
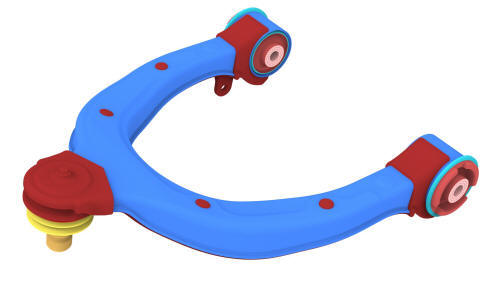
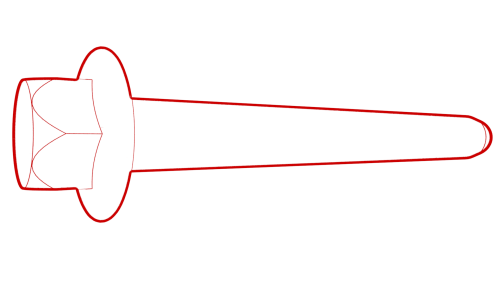
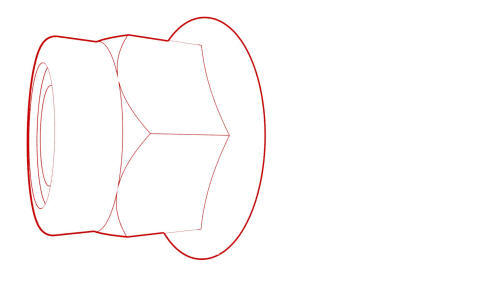
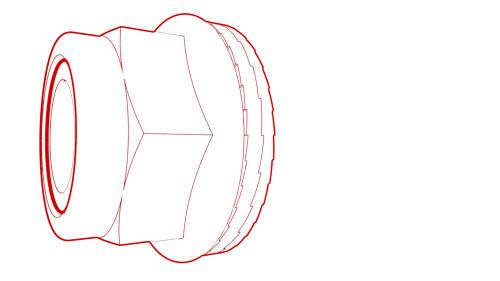
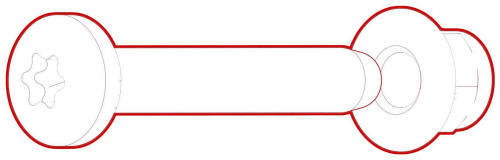
Control Arm - Upper - Front - LH - Remove
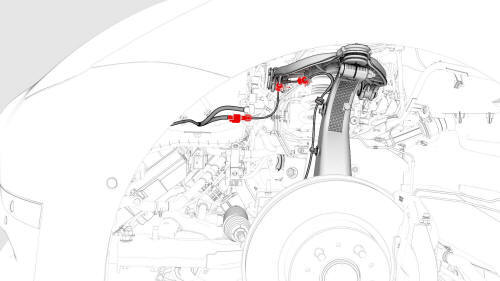


Control Arm - Upper - Front - LH - Install
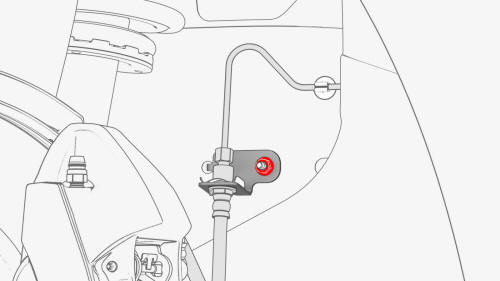
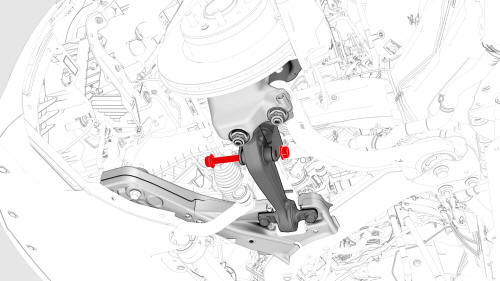
 Torque 50 Nm
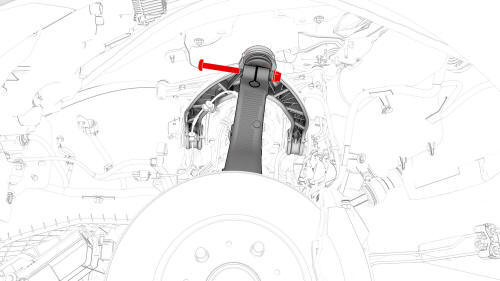
.jpg) Torque 62 Nm
Torque 62 Nm
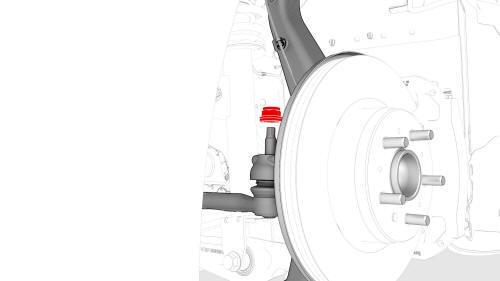
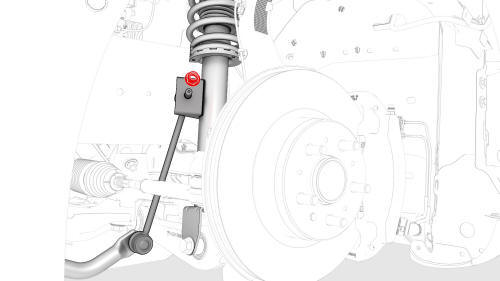
.jpg) Torque 35 Nm
Torque 35 Nm
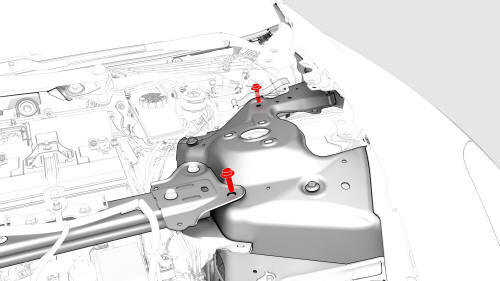
 Torque 98 Nm
 Torque 180 Nm
 Torque 56 Nm
.png) Torque 6 Nm
Torque 6 Nm
READ NEXT:
 Hub - Front - LH (Dual Motor) (Remove and Replace)
Hub - Front - LH (Dual Motor) - Remove
SPECIAL TOOLS
Card, Magnetic Field Viewer (1062500-00-A)
Remove
If equipped, remove the LH front wheel center cap. See
Cap - Wheel (Remove and Replace).
Lo
SEE MORE:
Harness - 12V Battery Ground (Remove and Replace)
Harness - 12V Battery Ground-Remove
Remove
Remove the cowl screen panel. See
Panel - Cowl Screen (Remove and Replace).
Remove and discard the nut that attaches the front harness ground wire
to the 12V battery ground harness, and remove the wire from the harness.
Remove the 12V auxiliary
Latch - Trunk (Remove and Replace)
Remove
Remove the trunk lid trim. See Trim - Lid - Trunk (Remove and Replace).
Disconnect the electrical connector from the trunk latch.
Remove the bolts that attach the trunk latch to the trunk lid, and then
remove the latch from the vehicle.
Install
Position the trunk lat
