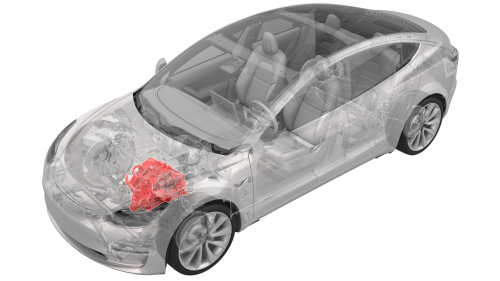
Tesla Model 3: Drive Unit - Front (Remove and Replace)
SPECIAL TOOLS
Tool, Axle Extraction, Model 3 (1133386-00-A)
Lifting Sling, Drive Unit, Model 3 (NA, APAC)
(1130279-00-A)
Lifting Sling, Drive Unit, Model 3 (EMEA)
(1130279-01-A)
Remove
Note: Make sure not to move the rear front drive
unit support posts.
Install
Caution:
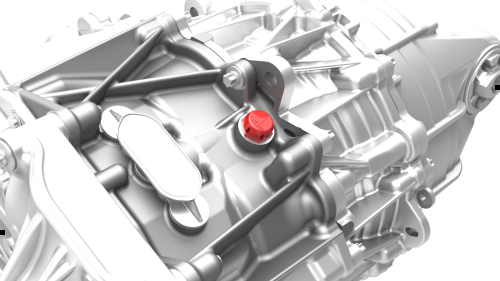
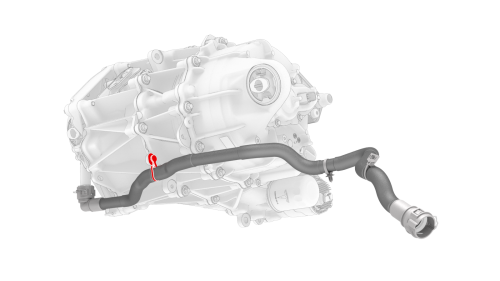
Perform a push-pull test to verify that the hose
is fully seated.
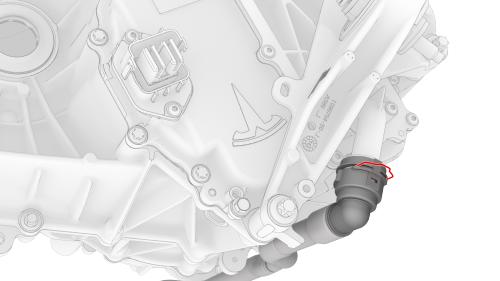
Caution:
Perform a push-pull test to verify that the hose
is fully seated.
Drive Unit - Front - Remove
.png)
.png)
.png)
.png)
.png)
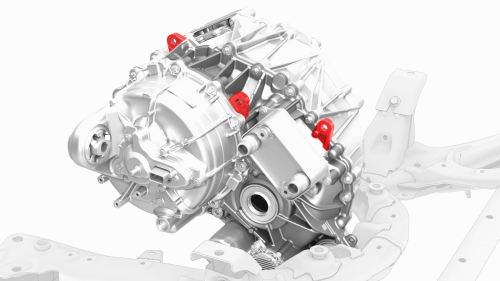
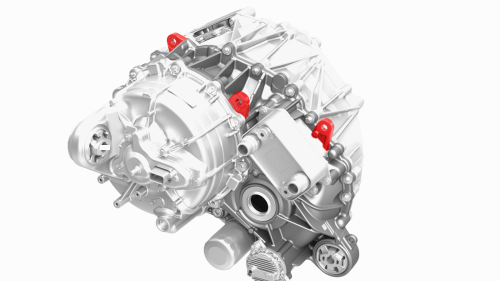
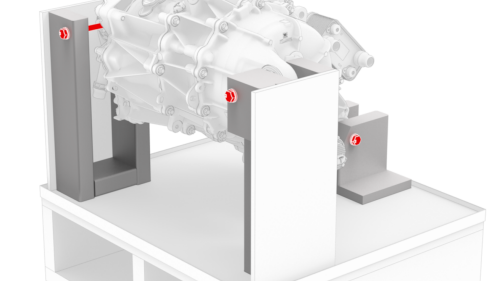
Front drive unit sling hook locations
.png)
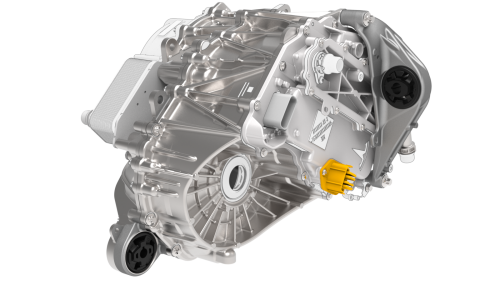
Drive Unit - Front -
Install
.png) Torque 80 Nm
Torque 80 Nm
 Torque 5 Nm
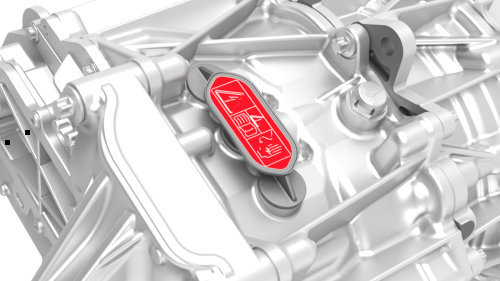
Other assemblies hidden for clarity
READ NEXT:
 Ground Strap - Front Drive Unit (Remove and Replace)
Remove
Raise and support the vehicle. See Raise Vehicle - 2
Post Lift.
Remove the 2nd row lower seat cushion. See Seat
Cushion - Low
SEE MORE:
Fluids and Capacities
Fluids
Component / System
Description
Air Conditioning
Depending on its intended
sales region, the air conditioning system is filled with R134a or
R1234yf refrigerant.
1012403-00-B, REFRIGERANT, R134a
2006643-00-A, REFRIGERANT, R1234yf
If
Trim - Headrest - Driver (Remove and Replace)
DRAFT
Warning:
This procedure was derived from pre-production computer models, and
might not reflect the real-world situation. Warnings and cautions might be
missing. Follow safety requirements and use extreme caution when working on or
near high voltage systems and components.
Do not redistr
