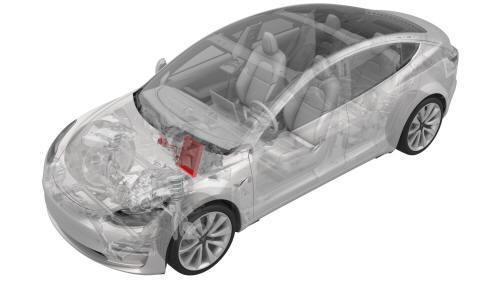
Tesla Model 3: Evaporator (Clean)
Tesla Model 3 2017-2026 Service Manual / Thermal Management / Refrigerant System / Evaporator (Clean)
Remove
- Remove the cabin filters. See Remove.
- Attach the hose to the evaporator cleaner bottle.
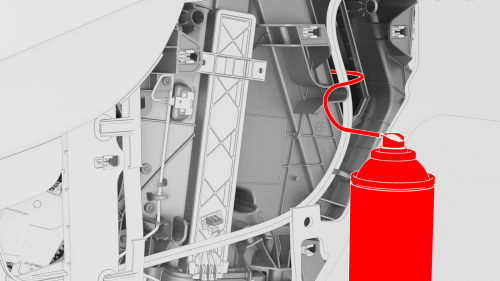
- Insert the hose in the HVAC filter housing, and then spray the entire bottle on the evaporator.
Note: Be sure to coat the entire evaporator with the cleaning solution.
- Let the cleaning solution sit on the evaporator for 15 minutes.
Install
- Install new cabin filters. See Install
- Once the cleaning solution has sat for 15 minutes, turn on the A/C, set the temperature to LO, set the fan speed to the highest setting, and turn off air recirculation
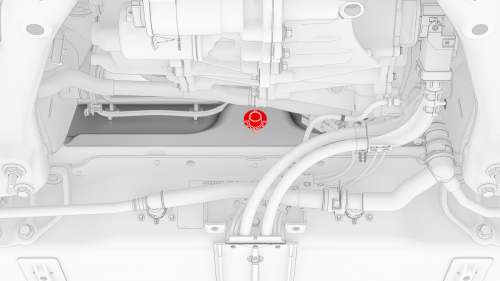
HVAC drain on Dual Motor vehicle shown, RWD vehicle HVAC drain is in
the same location
- The cleaning foam will exit through the HVAC drain. End this procedure once clean water is observed exiting the HVAC drain.
READ NEXT:
 Evaporator (Remove and Replace)
Evaporator- Remove
Remove
Remove the HVAC assembly. See
HVAC Assembly (Remove and Replace).
Put the HVAC assembly on a working surface. Make sure that the HVAC
assembly is on its side with the
SEE MORE:
Carpet - Front - RH (Remove and Replace)
Remove the front passenger seat. See
Seat - Driver (Remove and Replace).
Remove the center console. See
Center Console (Remove and Install).
Release the clips that attach the RH front carpet to the vehicle, and
then remove the RH front carpet from the vehicle.
Install
Installation proc
Closeout Panel - Door - Front - LH (Remove and Install)
SPECIAL TOOLS
Rivnut Install Kit, for NA (Optional special tool if the thread for the
closeout panel becomes stripped) (1054712-00-A )
Rivnut Install Kit, for EMEA (Optional special tool if the thread for the
closeout panel becomes stripped) (1054712-01-A )
Service Rivnut (Optional special tool
© 2019-2026 Copyright www.tmodel3.com
