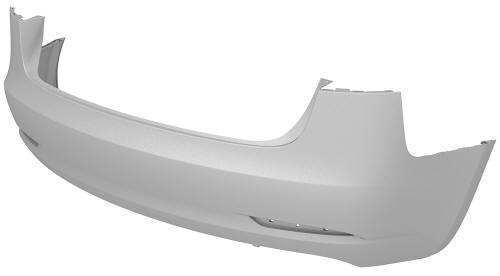
Tesla Model 3: Fascia - Rear - Upper (Remove and Replace)
Tesla Model 3 2017-2026 Service Manual / Body / Bumper / Fascia / Fascia - Rear - Upper (Remove and Replace)

Remove
- Remove the rear fascia.
- Remove all of the rear parking distance sensors.
- Release the tabs that attach the LH and RH rear reflectors to the rear fascia, and then remove the reflectors from the fascia.
Inside

Outside
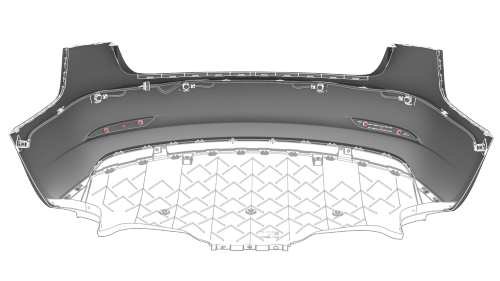
- Remove the bolts that attach the rear diffuser to the inner rear fascia.
 Torque 3 Nm
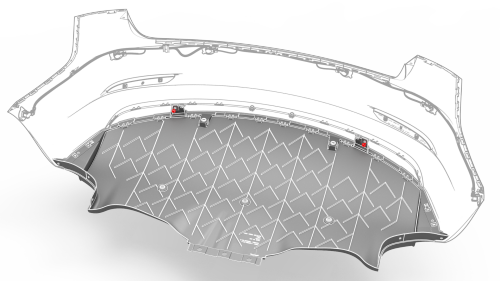
- Starting from either side, release the clips (x10) that attach the diffuser to the rear fascia, and then remove the diffuser from the rear fascia.
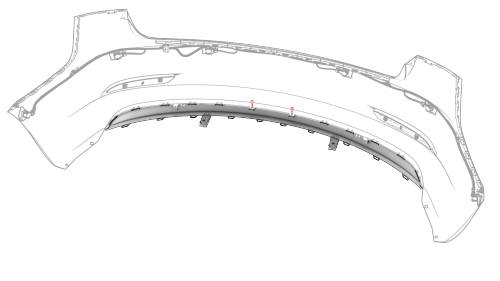
- Remove the bolts that attach the lower rear fascia to the upper rear
fascia.
Torque 3 Nm

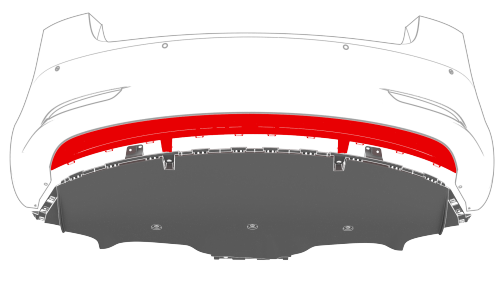
- Starting from either side, release the clips that attach the upper rear
fascia to the lower rear fascia, and then separate the upper rear fascia
from the lower rear fascia.
Install
Installation procedure is the reverse of removal.
READ NEXT:
 Grille - Fascia - Front (Remove and Replace)
DRAFT
Warning:
This procedure was derived from pre-production computer models, and
might not reflect the real-world situation. Warnings and cautions might be
missing. Follow safety require
Valance - Front Fascia (Remove and Replace)
Remove
Remove the front aero shield panel.
Release the clips (x2) that attach the valance to the stabilizer bar
brackets.
Remove the push clips (x4) that attach the LH and RH sides of t
SEE MORE:
Shell - Seat Back - Driver (Remove and Replace)
Remove
Remove the driver headrest trim from the seat. See
Trim - Headrest - Driver (Remove and Replace).
Release the clips that attach the seat back shell to the driver seat,
lift up on the shell to unhook it from the seat back frame, and lay the
shell back.
Release
HomeLink Universal Transceiver
About HomeLink
If your vehicle is equipped with the HomeLink
Universal Transceiver, you can operate up to
three Radio Frequency (RF) devices, including
garage doors, gates, lights, and security
systems.
Note: Depending on date of manufacture,
market region, and options selected at time of
p
© 2019-2026 Copyright www.tmodel3.com
