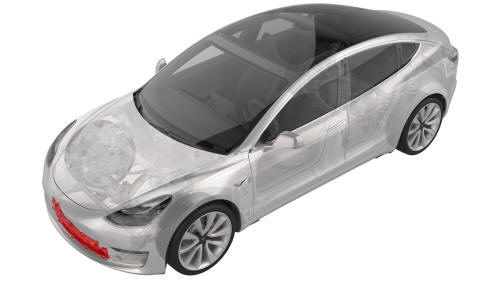
Tesla Model 3: Grille - Fascia - Front (Remove and Replace)
Tesla Model 3 2017-2026 Service Manual / Body / Bumper / Fascia / Grille - Fascia - Front (Remove and Replace)
DRAFT
Warning:
This procedure was derived from pre-production computer models, and might not reflect the real-world situation. Warnings and cautions might be missing. Follow safety requirements and use extreme caution when working on or near high voltage systems and components.
Do not redistribute this content.
Remove
- Remove the front fascia.
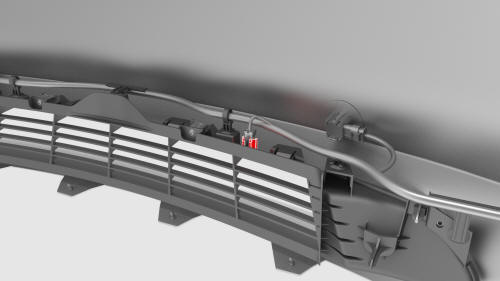
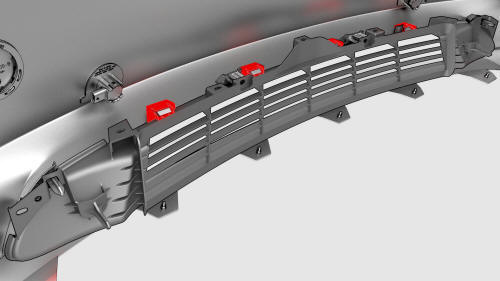
- Release the clip and remove the ambient air temperature sensor from the grille.
- Release the clips that attach the electrical harness to the grille.
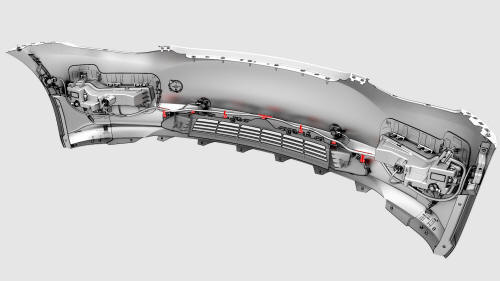
- Remove the screws that attach the grille to the front fascia.
 Torque
1.8 Nm
Torque
1.8 Nm
Top
Bottom
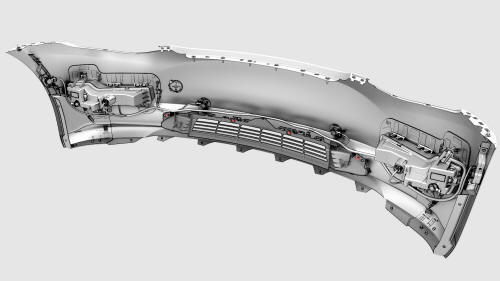
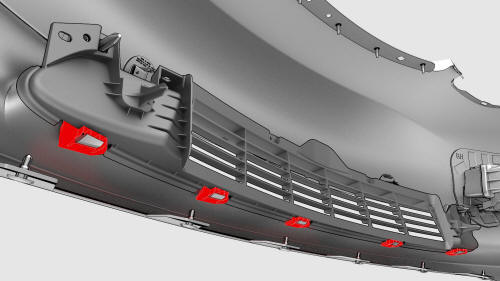
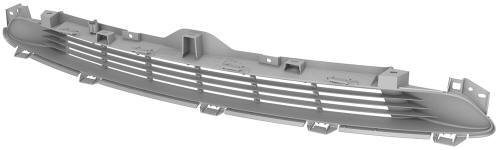
- Release the clips that attach the grille to the front fascia, and then
remove the grille from the fascia.
Install
Installation procedure is the reverse of removal.
READ NEXT:
 Valance - Front Fascia (Remove and Replace)
Remove
Remove the front aero shield panel.
Release the clips (x2) that attach the valance to the stabilizer bar
brackets.
Remove the push clips (x4) that attach the LH and RH sides of t
Brace - Shock Tower (Remove and Replace)
Remove
Open all the doors.
Lower all the windows.
Remove the 2nd row lower seat cushion.
Remove the rear underhood apron.
Remove the cabin intake duct.
Remove the underhood storage unit
Dis
SEE MORE:
Trim - Lid - Trunk (Remove and Replace)
Remove
Open the trunk.
Release the clips at the upper corners, then work around the trim to
release the clips that attach the trunk trim to the trunk lid.
Note: The clips (x4) closest to the rear window have a higher
retention force; use a clip prytool, if necessary. Remove any broken
Actuator - Vent - LH (Remove and Replace)
Remove
Remove the LH front vent. See
Vent - Front - LH (Remove and Replace).
Remove the bolts that attach the LH vent actuator to the vent, and then
remove the LH vent actuator.
Install
Installation procedure is the reverse of removal.
© 2019-2026 Copyright www.tmodel3.com
