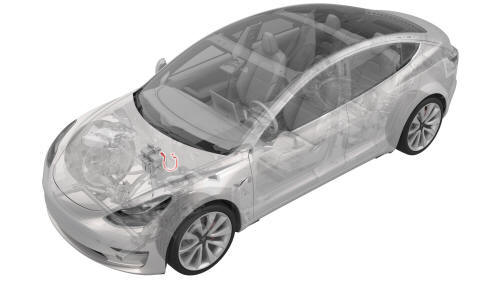
Tesla Model 3: Harness - 12V Battery Ground (Remove and Replace)
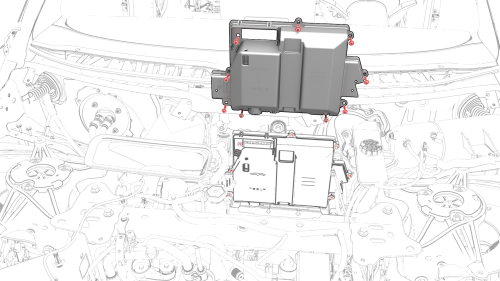
Remove
Install
Caution: Make sure that no cables or wires will be pinched when the front body
controller module cover is installed.
Harness - 12V Battery Ground-Remove
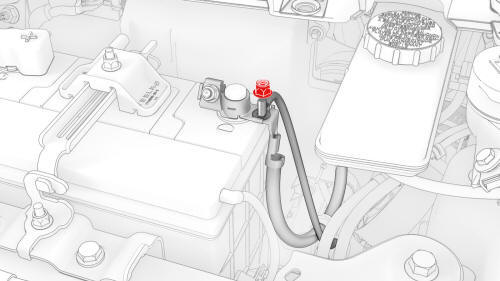
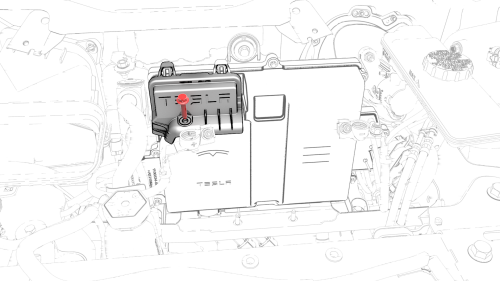
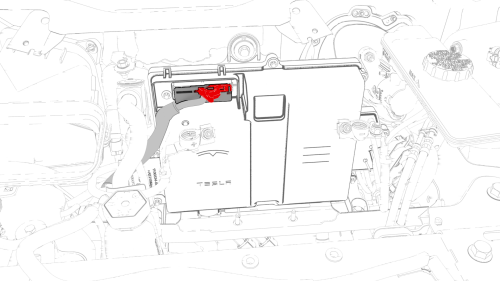
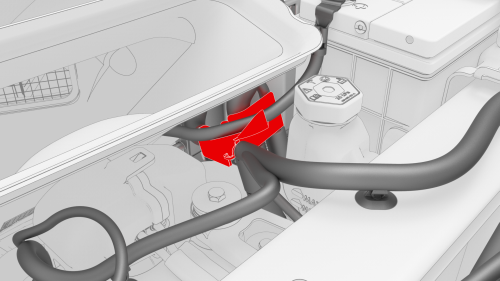
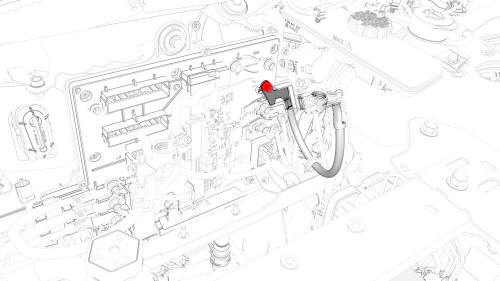

Harness - 12V Battery Ground-Install
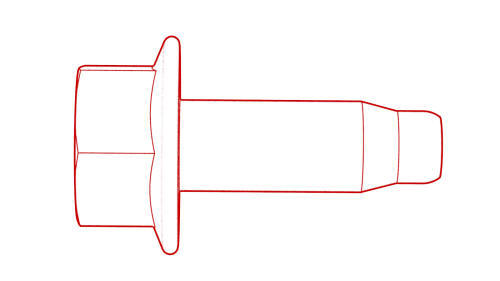 Torque 8.5 Nm
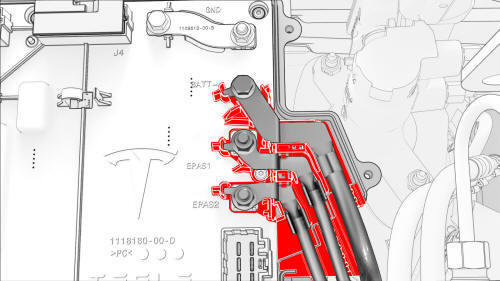
 Torque 6 Nm
 Torque 6 Nm
.jpg) Torque 6 Nm
Torque 6 Nm
READ NEXT:
 Harness - 12V Battery Positive (Remove and Replace)
Harness - 12V Battery Positive- Remove
Remove
Remove the cowl screen panel. See
Panel - Cowl Screen (Remove and Replace).
Remove the 12V auxiliary battery. See
Battery - 12V (Remove and Replace
SEE MORE:
Damper - Rear - LH (Coil Suspension) (Remove and Replace)
Remove
Raise and support the vehicle on a 2 post lift. See
Raise Vehicle - 2 Post Lift.
Remove the LH rear wheel. See Wheel (Remove and
Install).
Seatbelt - 2nd Row - LH (Remove and Replace)
Remove
Remove the rear underhood apron. See Underhood Apron - Rear (Remove and
Replace).
Remove the cabin intake duct. See Duct - Cabin Intake (Remove and
Replace).
Disconnect 12V power. See 12V Power (Disconnect and Connect).
Remove the LH 2nd row seat side bolster. See Bolster - Side -
