Tesla Model 3: Harness - 12V Battery Positive (Remove and Replace)
Harness - 12V Battery Positive- Remove
Remove
- Remove the cowl screen panel. See
Panel - Cowl Screen (Remove and Replace).
- Remove the 12V auxiliary battery. See
Battery - 12V (Remove and Replace).
- Remove the 12V battery bracket. See
Bracket - 12V Battery (RWD) (Remove and Replace).
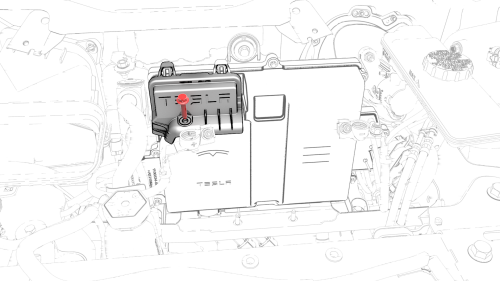
- Remove the bolt that attaches the thermal harness cover to the front
body controller module, and then remove the cover from the module.
- Disconnect the thermal harness from the front body controller module
connector.
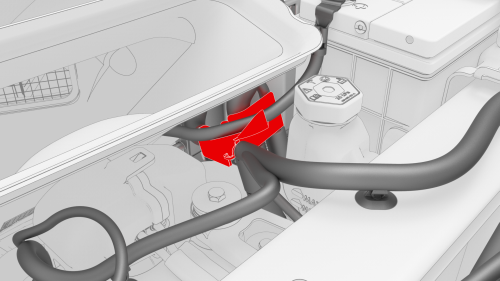
- Release the clip that attaches the suction/liquid lines to the body near
the TXV, and then move the electrical harness aside to gain access to the
front body controller module.
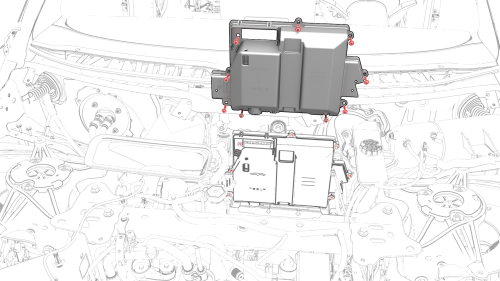
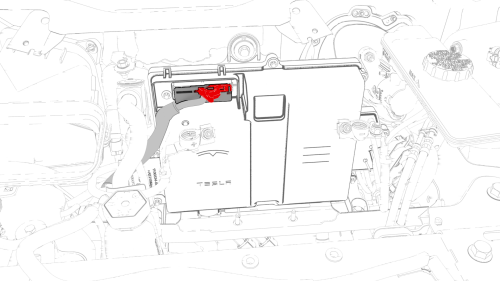
- Remove the bolts (x9) that attach the front body controller module cover
to the front body controller module, and then remove the cover.
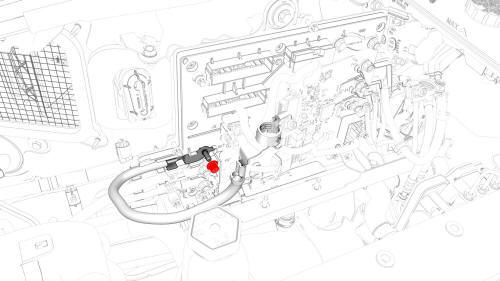
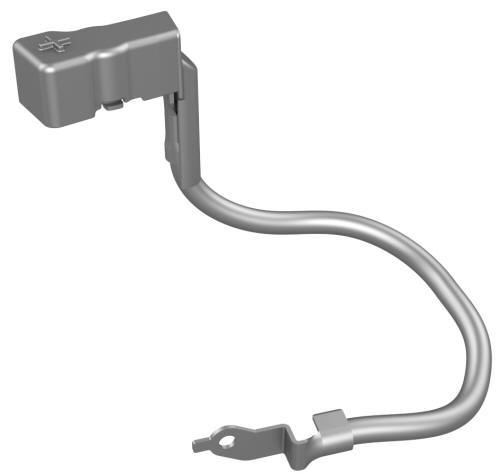
- Remove and discard the nut that attaches the battery positive cable to
the front body controller module, and then remove the cable.
Harness - 12V Battery Positive- Install
Install
- Install the battery positive cable to the front body controller module,
and then install a new nut to attach the cable to the module.
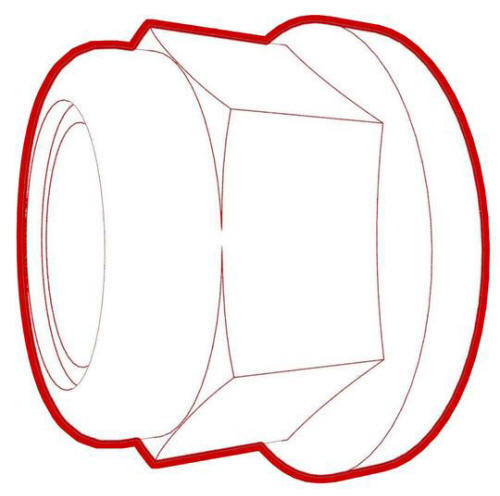 Torque 8.5 Nm

- Visually inspect that the power cables exit the front body controller
module neatly in their respective channels, and parallel to each other.
Caution:
Make sure that no cables or wires will be pinched when the front body
controller module cover is installed.
- Install the front body controller module cover to the front body
controller module, and then install the bolts (x9) that attach the cover to
the module.
 Torque 6 Nm
- Connect the thermal harness to the front body controller module
connector.
- Fasten the clip that attaches the suction/liquid lines to the body near
the TXV.
- Install the thermal harness cover to the front body controller module,
and then install the bolt that attaches the cover to the module.
 Torque 6 Nm
- Install the 12V battery bracket. See
Bracket - 12V Battery (RWD) (Remove and Replace).
- Install the 12V auxiliary battery. See
Battery - 12V (Remove and Replace).
- Install the cowl screen panel. See
Panel - Cowl Screen (Remove and Replace).
READ NEXT:
Harness - Body - LH- Remove
Remove
Remove the sill rear trunk trim. See
Trim - Sill - Trunk (Remove and Replace).
Remove the 2nd row LH seat back assembly. See
Seat Back - 2nd Row - LH (Remove
SEE MORE:
This section contains detailed instructions on how to operate the various components of the Tesla Model 3. It covers important things such as keys, doors, trunk, windows, sunroof and glass roof, child safety locks.
In this section you will find instructions on how to open and close the door using t
DRAFT
Warning:
This procedure was derived from pre-production computer models, and
might not reflect the real-world situation. Warnings and cautions might be
missing. Follow safety requirements and use extreme caution when working on or
near high voltage systems and components.
Remove
Remove
 Harness - Body - LH (Remove and Replace)
