Tesla Model 3: Harness - Body - LH- Remove
Tesla Model 3 2017-2024 Service Manual / Electrical / Harnesses / Harness - Body - LH (Remove and Replace) / Harness - Body - LH- Remove
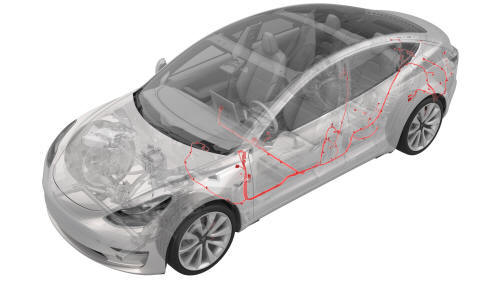
Remove
- Remove the sill rear trunk trim. See Trim - Sill - Trunk (Remove and Replace).
- Remove the 2nd row LH seat back assembly. See Seat Back - 2nd Row - LH (Remove and Install).
- Remove the 2nd row RH seat back assembly. See Seat Back - 2nd Row - RH (Remove and Install).
- Release the trunk carpet clips from the body studs under the 2nd row seat cushion.
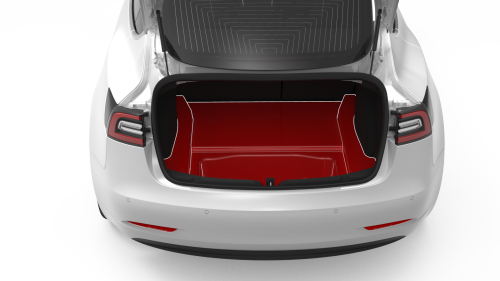
- Release the clips that attach the trunk carpet to the body, and then remove the trunk carpet from the vehicle.
- Remove the LH side rear trunk trim. See Trim - Side - Trunk - LH (Remove and Replace).
- Remove the RH side rear trunk trim. See Trim - Side - Trunk - RH (Remove and Replace).
- Remove the rear fascia assembly. See Fascia - Rear (Remove and Install).
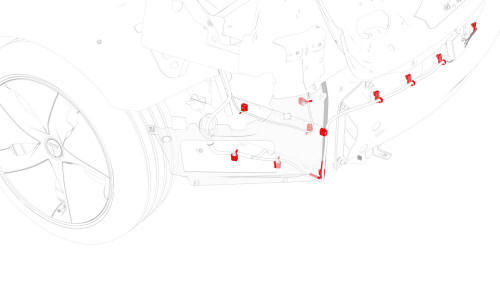
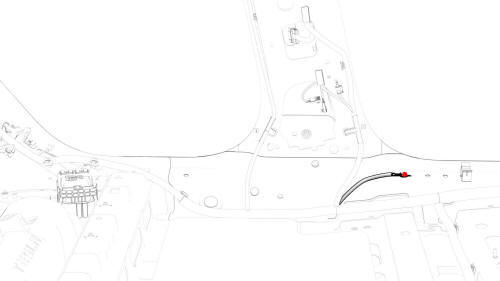
- Remove the clips that attach the LH body harness to the body in the rear fascia and rear subframe areas.
- Disconnect the electrical harness from the rear Bluetooth passive entry antenna connector.
- Disconnect the electrical harness from the rear subframe electrical harness connector and the LH electric parking brake connector.
- Release the clips that attach the electrical harness to the body, and then push the rear subframe portion of the electrical harness through the LH side trunk bulkhead.
Note: The LH body harness passes through the trunk near the rear section of the rear LH wheel liner area.
- Lower the vehicle.
- With an assistant, remove the vehicle from the lift.
Caution: The vehicle is safely pushed for only a very short distance and at a very slow speed.
- Position wheel chocks.
- Open all doors.
- Remove the rear underhood apron. See Underhood Apron - Rear (Remove and Replace).
- Remove the LH instrument panel end cap. See End Cap - Instrument Panel - LH (Remove and Replace).
- Remove the LH lower A-pillar trim. See Trim - A-Pillar - Lower - LH (Remove and Replace).
- Remove the LH footwell cover. See Cover - Footwell - Driver (Remove and Replace).
- Remove the LH footwell duct. See Duct - Footwell - LH (Remove and Replace).
- Remove the RH instrument panel end cap. See End Cap - Instrument Panel - LH (Remove and Replace)
- Remove the RH lower A-pillar trim. See Trim - A-Pillar - Lower - LH (Remove and Replace).
- Remove the RH footwell cover. See Cover - Footwell - Passenger (LHD) (Remove and Replace).
- Perform the vehicle electrical isolation procedure. See Vehicle Electrical Isolation Procedure.
- Remove the driver and front passenger seats. See Seat - Driver (Remove and Replace).
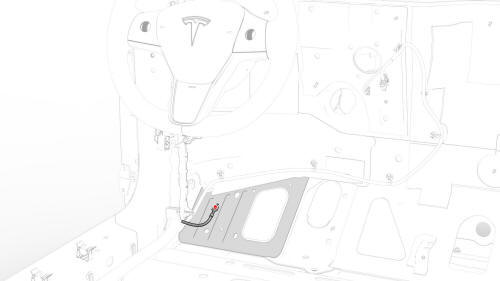
- Remove the center console assembly. See Center Console (Remove and Install).
- Remove the driver's knee airbag. See Airbag - Knee - Driver (Remove and Replace).
- Remove the rear LH sill panel trim. See Trim - Sill Panel - Rear - LH (Remove and Replace).
- Remove the LH upper B-pillar trim. See Trim - B-Pillar - Upper - LH (Remove and Replace).
- Remove the LH lower B-pillar trim. See Trim - B-Pillar - Lower - LH (Remove and Replace).
- Remove the LH B-pillar applique. See Applique - B-Pillar - LH (Remove and Replace).
- Remove the LH side rail trim. See Trim - Side Rail - LH (Remove and Replace).
- Remove the LH upper C-pillar trim. See Trim - C-Pillar - Upper - LH (Remove and Replace).
- Remove the RH rear sill trim. See Trim - Sill Panel - Rear - LH (Remove and Replace)
- Remove the RH upper B-pillar trim. See Trim - B-Pillar - Upper - LH (Remove and Replace).
- Remove the RH lower B-pillar trim. See Trim - B-Pillar - Lower - LH (Remove and Replace).
- Remove the RH side rail trim. See Trim - Side Rail - LH (Remove and Replace).
- Remove the RH upper C-pillar trim. See Trim - C-Pillar - Upper - LH (Remove and Replace).
- Remove the LH and RH rear C-pillar trim. See Trim - C-Pillar - Rear - LH (Remove and Replace).
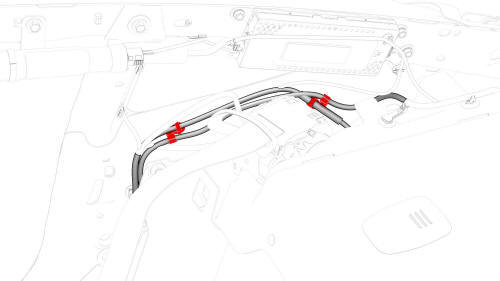
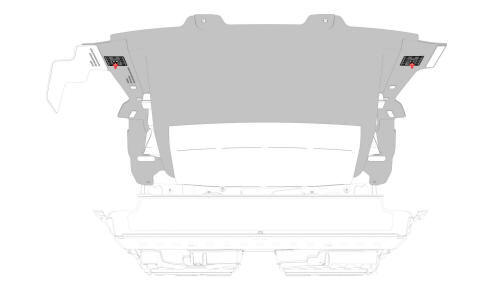
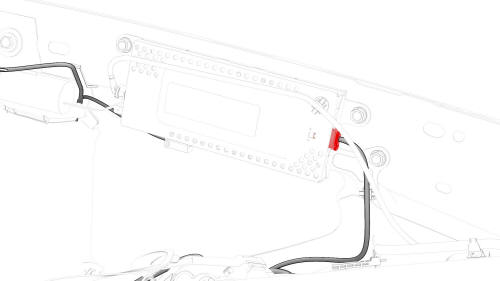
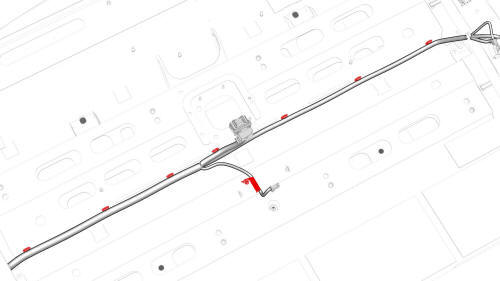
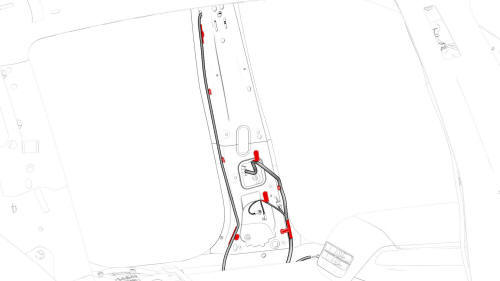
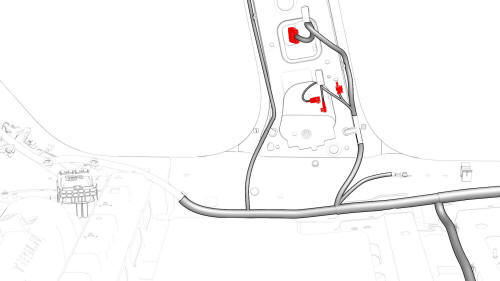
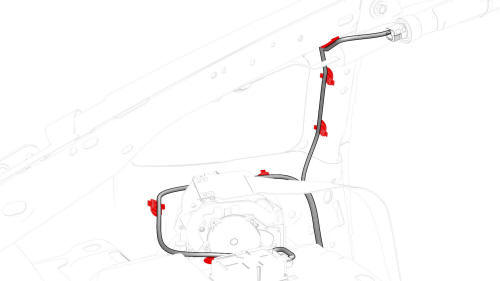
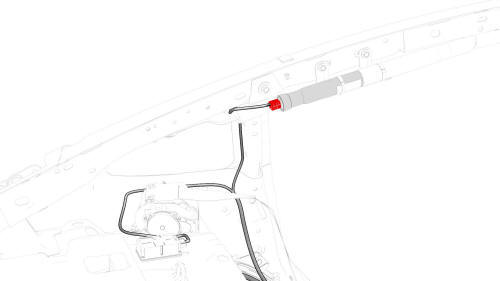
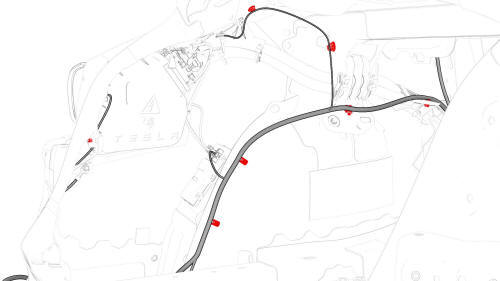
- Release the clips that attach the package tray electrical harness to the body in the upper C-pillar area.
.jpg)
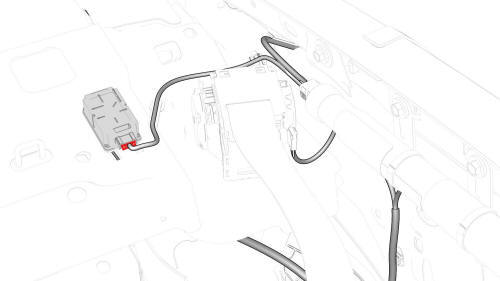
- Disconnect the package tray electrical harness from the RH body harness connector.
.jpg)
- Release the clip, and then disconnect the package tray speaker electrical harness from the tuner connectors.
- Release the clip that attaches the package tray electrical harness to the LH C-pillar.
.jpg)
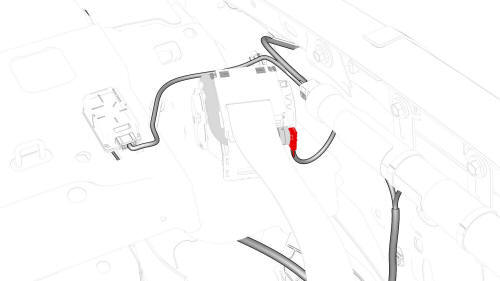
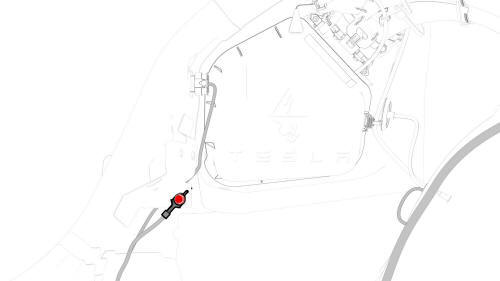
- Disconnect the electrical harness from the antenna amplifier connector.
- Remove the package tray trim. See Trim - Package Tray (Remove and Install).
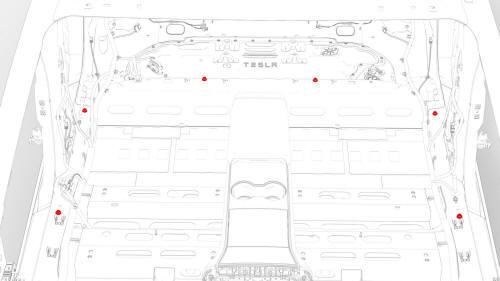
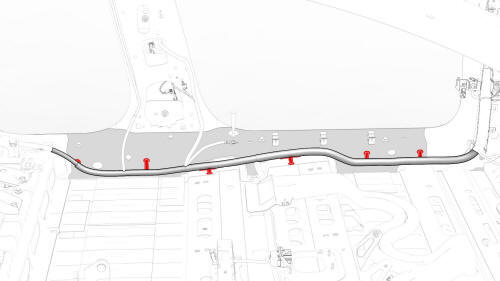
- Release the clips that attach the LH and RH sides of the rear main cabin carpet to the body.
- Release the clips that attach the front LH main cabin carpet to the body, and then remove the carpet from the vehicle.
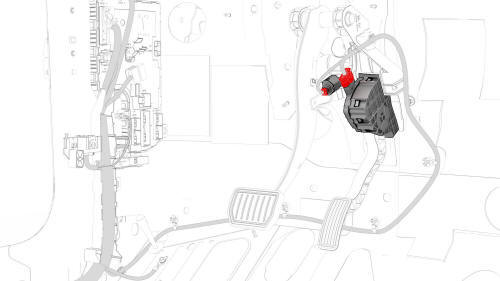
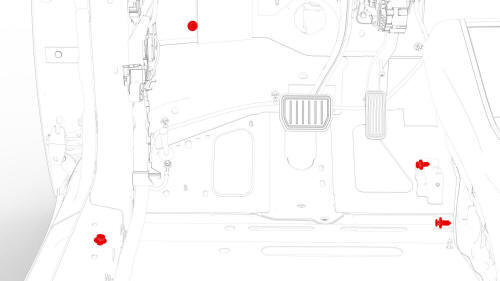
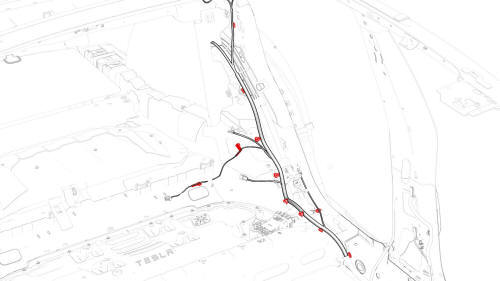
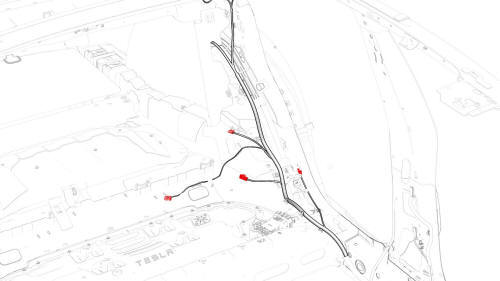
- Disconnect the electrical harness from the accelerator and the brake pedal connectors.
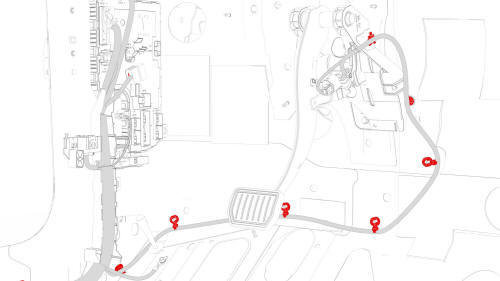
- Release the clips that attach the electrical harness to the body under the IP carrier area.
- Remove and discard the bolt that attaches the electrical harness ground strap at the driver footwell area.
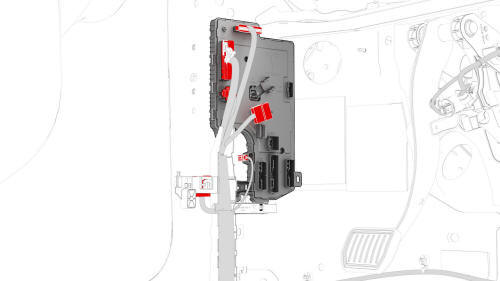
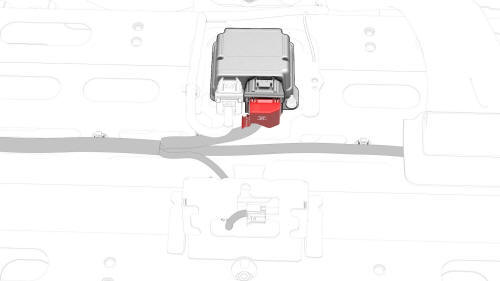
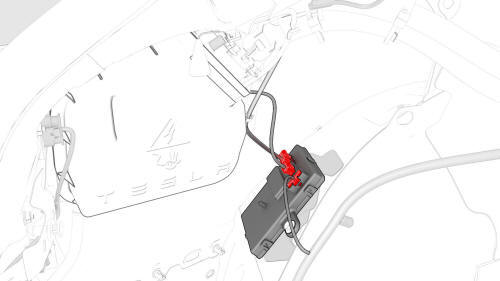
- Disconnect the electrical harness from the LH body controller module connectors.
- Release the clips that attach the electrical harnessto the body in the LH body controller module area.
- Release the clips that attach the electrical harness to the body in the LH lower B-pillar areas.
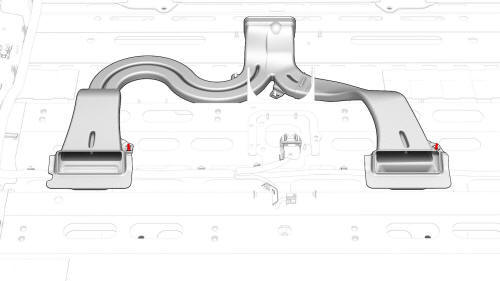
- Lift up the rear portion of the floor duct to release the clips that attach the electrical harness to the body.
- Release the clips that attach the electrical harness to the body under the front LH seat and RH lower B-pillar areas.
- Disconnect the electrical harness from the connectors in the RH lower B-pillar area.
- Disconnect the electrical harness from the passive supplemental restraint control module connector.
- Remove and discard the bolt that attaches the electrical harness ground strap to the body in the LH lower B-pillar area.
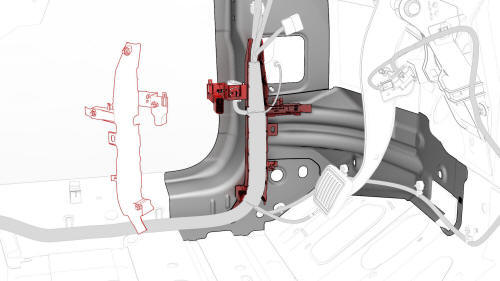
- Release the clips that attach the harness to the body in the B-pillar area.
- Disconnect the electrical harness from the LH door connector and the front LH seat belt connector.
- Release the clips that attach the harness to the body in the lower C-pillar area.
- Disconnect the electrical harness from the connectors in the lower C-pillar area.
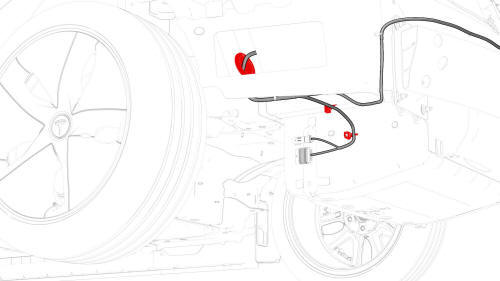
- Release the clips that attach the electrical harness to the body in the LH side curtain airbag and TPMS module areas.
- Disconnect the electrical harness from the LH side curtain airbag connector.
- Disconnect the electrical harness from the TPMS module connector.
- Disconnect the electrical harness from LH rear seat belt connector.
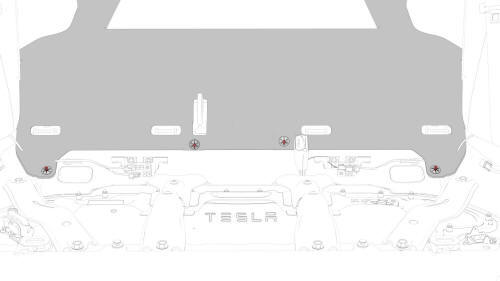
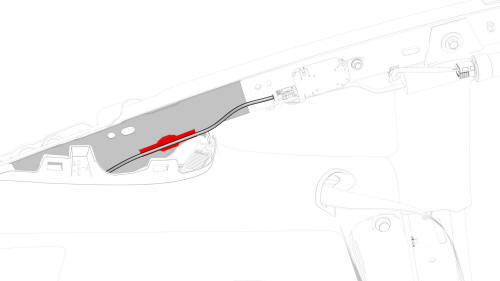
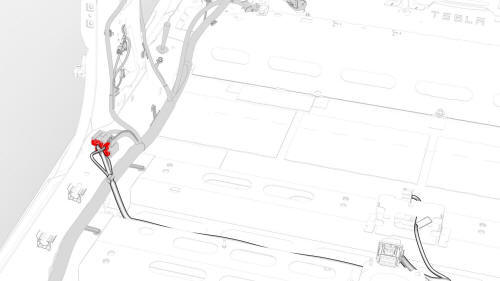
- Release the clips that attach the electrical harness to the body in the LH side trunk area.
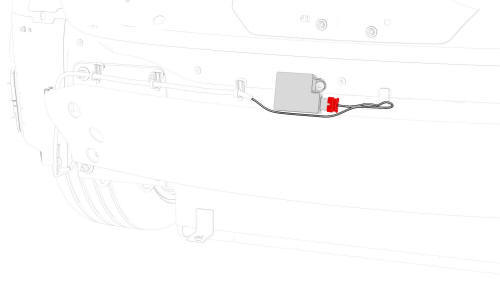
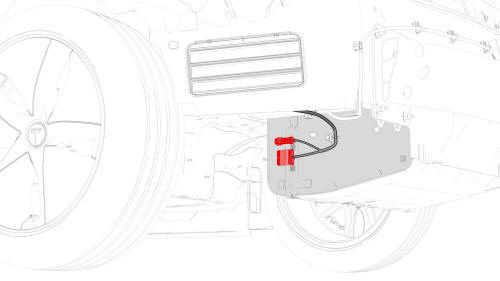
- Disconnect the electrical harness from the charge port ECU connectors.
- Remove and discard the bolt that attaches the harness ground strap to the body in the charge port area.
- Remove the LH body harness from the vehicle.
READ NEXT:
 Harness - Body - LH- Install
Install
Install the LH body harness into the vehicle.
Install a new bolt to attach the electrical harness ground strap to the
body in the charge port area.
Torque 8 Nm
Connect the electr
Harness - Body - RH- Remove
Remove
Open all doors.
Place wheel chocks on both rear wheels.
Put vehicle in Neutral.
Open the trunk
Remove the 2nd row lower seat cushion. See
Seat Cushion - Lower - 2nd Row (Remove and Rep
SEE MORE:
Light - Turn Signal / Fog - Front - LH (Remove and Replace)
Remove
Remove the LH front wheel. See
Wheel (Remove and Install).
Remove the LH front wheel arch liner. See
Wheel Arch Liner - Front - LH (Remove and Replace).
Disconnect the electrical connector from the LH front turn signal/fog
light.
Release the clips that attach the fascia elect
Torque Specifications - Brakes
Table 1.
Torque Specifications: Brake
Caliper - Front
Table 2.
Torque Specifications: Brake
Caliper - Rear
© 2019-2024 Copyright www.tmodel3.com
