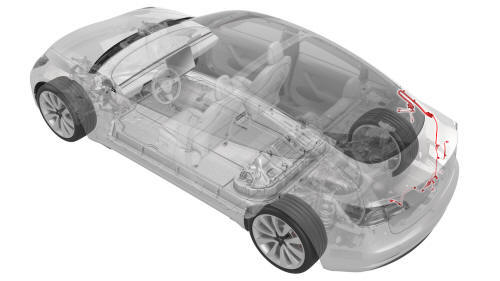
Tesla Model 3: Harness - Trunk (Remove and Replace)
Remove
Install
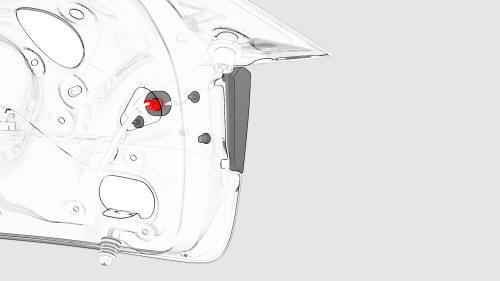
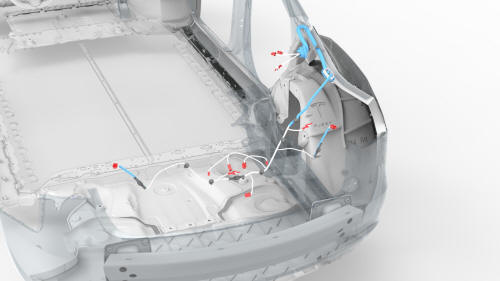
Harness - Trunk- Remove
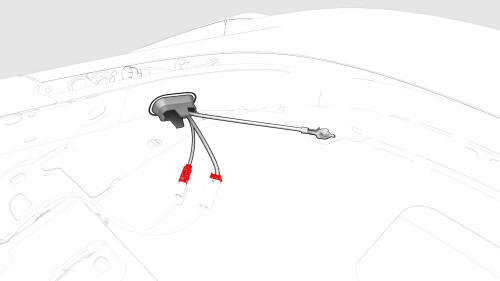

LH.jpg)
RH
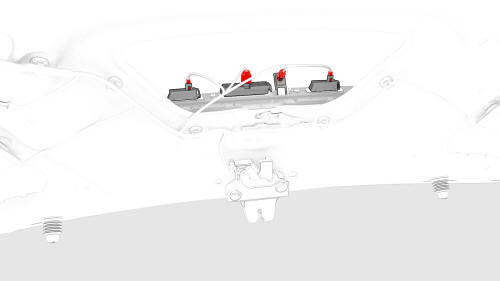
.jpg)
.jpg)
.jpg)
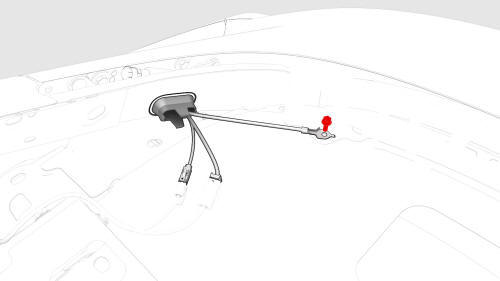
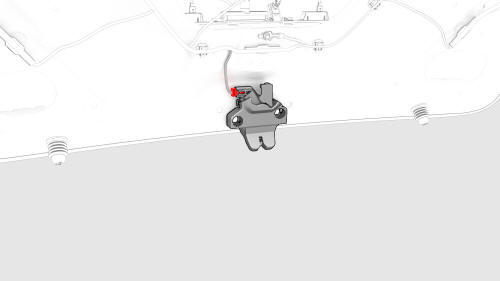
Harness - Trunk- Install
.jpg) Torque 8 Nm
Torque 8 Nm
LH
Torque 8 Nm
READ NEXT:
 Harness - Windshield (Remove and Replace)
Harness - Windshield- Remove
Remove
Remove the LH instrument panel end cap. See End Cap - Instrument Panel -
LH (Remove and Replace).
Remove the LH middle A-pillar trim. See Trim - A-Pillar - M
SEE MORE:
ECU - Headlight (Remove and Replace)
ECU - Headlight - Remove
Remove
Raise and support the vehicle. See Raise Vehicle - 2 Post Lift.
Remove the rear underhood apron. See Underhood Apron - Rear (Remove and
Replace).
Remove the cabin intake duct. See Duct - Cabin Intake (Remove and
Replace).
Remove the hood latch cover. See Co
How to Use this Manual
General
Caution:
Only qualified technicians should attempt to perform the procedures
contained within this manual.
This manual is organized by vehicle subsystem. Click on a subsystem in
the left hand menu see categories of repairs in that subsystem.
Actions within the service procedures als
