Tesla Model 3: Switch - Window - Front Passenger (Remove and Replace)
Remove
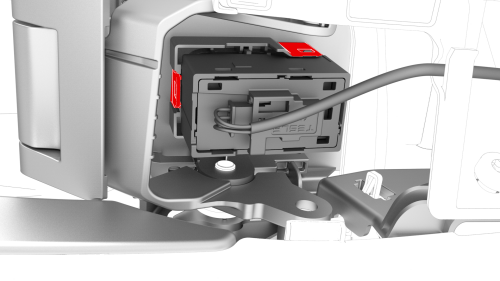
Tip: Release the front clips first, and then release the outer rear clips
while pushing the front passenger window switch to release it from the door trim
panel. Note: Replace any broken door panel clips Install
Switch - Window - Front Passenger (Remove and Replace) - Remove

Switch - Window - Front Passenger (Remove and Replace) - Install
READ NEXT:
 Switch - Window - Rear (Remove and Replace)
Remove
Remove the LH rear door trim panel. See
Panel - Door Trim - Rear - LH (Remove and Install).
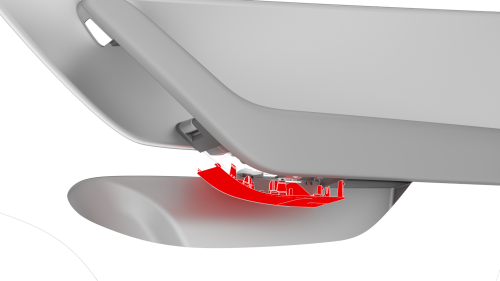
Release the clips that attach the rear window switch to the door trim
panel.
Ti
SEE MORE:
Carpet - Underhood Storage (Remove and Install)
Remove
Open the hood.
Remove the carpet from the underhood storage unit.
Install
Install the carpet into the underhood storage unit.
Close the hood.
Light - Fog / Reverse - Rear - LH (Remove and Replace)
Remove
Remove the trunk lid trim. See Trim - Lid - Trunk (Remove and Replace).
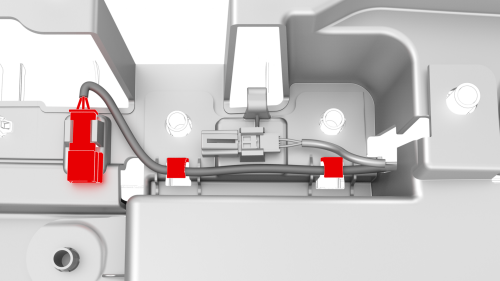
Disconnect the electrical wiring harness connector from the LH rear fog/reverse
light.
Remove the nut that attaches the LH rear fog/reverse light to the trunk
lid.
Torque 3.2 Nm
Remove the LH rea
