Tesla Model 3: Master Cylinder and Reservoir Assembly (Remove and Replace)
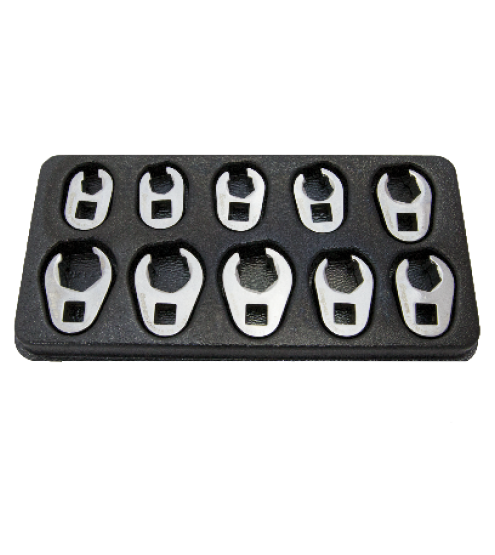
SPECIAL TOOLS
Flare nut crowfoot set (1079041-00-A)
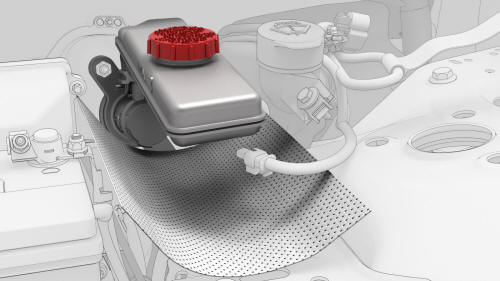
Remove Note: Dispose of used brake fluid in a manner consistent
with local environmental codes.
Install
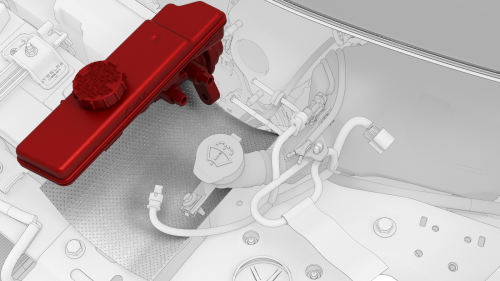
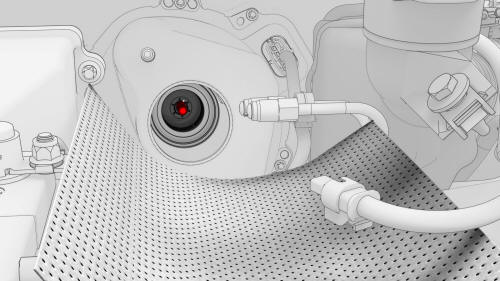
Caution:
Handle the electromechanical brake booster only
by the main housing. Do not use the pushrod, the
reservoir, or the connectors to lift or
manipulate the electromechanical brake booster.
Caution:
When positioning the brake master cylinder
against the brake booster, make sure the booster
rod goes into the master cylinder.
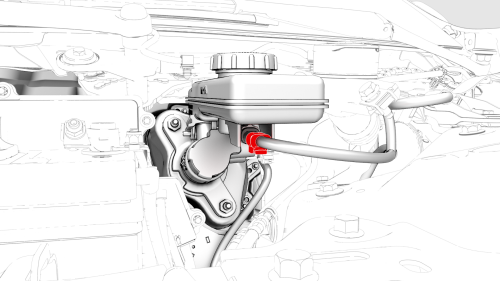
Master Cylinder and Reservoir Assembly - Remove
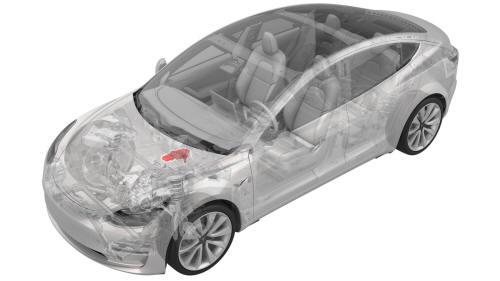
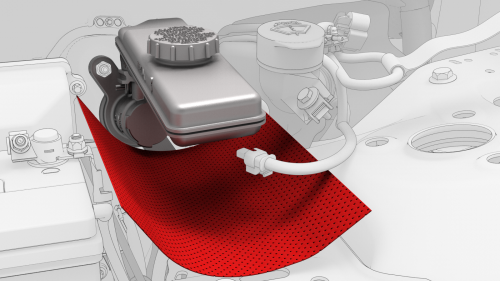
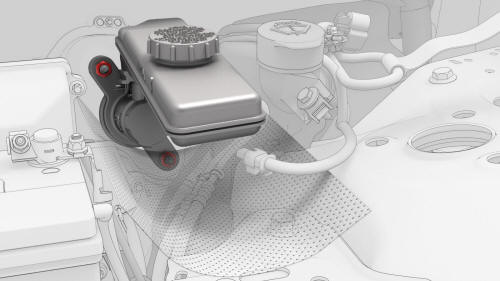

Master Cylinder and Reservoir
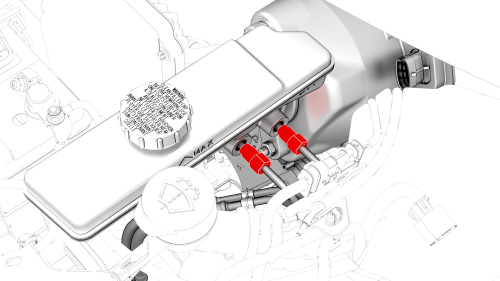
Assembly - Install
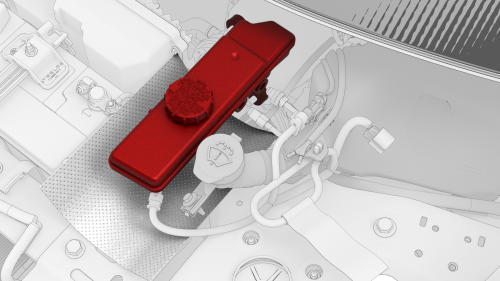
Position the reservoir and master cylinder
in the vehicle
Align the brake booster rod with the master
cylinder port
 Torque 20 Nm
 Torque 16 Nm
READ NEXT:
SEE MORE:
 Light - Brake - High Mounted (Remove and Replace)
Remove
Remove the LH 2nd row seat side bolster. See Bolster - Side - Seat - 2nd
Row - LH (Remove and Replace).
Remove the LH side rail trim. See Trim - Side Rail - LH (Remove and
Install).
Remove the LH upper C-pillar trim. See Trim - C-Pillar - Upper - LH (Remove
and Replace).
Remove t
Ankle Catcher (Remove and Replace)
Remove
Remove the front fascia.
Remove the bolts that attach the bottom of the cooling fan module to the
ankle catcher
Note: Lift the condenser fan module up to ease removal of the bolts.
Loosen but do not remove the bolts that attach the upper section of the
front end carrier to
