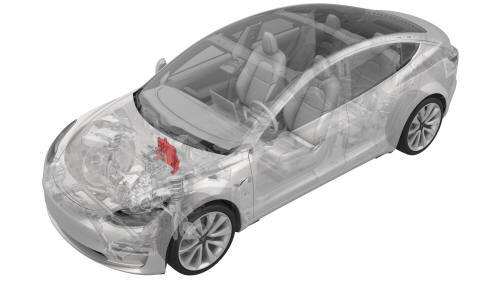
Tesla Model 3: Module - Body Controller - Front (Dual Motor) - Remove
Tesla Model 3 2017-2024 Service Manual / Electrical / Electronic Control Modules / Module - Body Controller - Front (Dual Motor) (Remove and Replace) / Module - Body Controller - Front (Dual Motor) - Remove
Remove
- Remove the 2nd row lower seat cushion. See Seat Cushion - Lower - 2nd Row (Remove and Replace).
- Remove the rear underhood apron. See Underhood Apron - Rear (Remove and Replace).
- Remove the cabin intake duct. See Duct - Cabin Intake (Remove and Replace).
- Remove the underhood storage unit. See Underhood Storage Unit (Remove and Replace).
- Remove the LH and RH wiper arms. See Wiper Arms (Remove and Replace).
- Remove the LH and RH shock tower covers. See Cover - Shock Tower - LH (Remove and Replace).
- Remove the cowl screen panel. See Panel - Cowl Screen (Remove and Replace).
- Disconnect 12V power. See 12V Power (Disconnect and Connect).
- Remove the 12V auxiliary battery. See Battery - 12V (Remove and Replace).
.png)
- Remove the bolt that attaches the 12V battery rear hook tie down to the body, and then remove the tie down from the body.
.png)
- Remove the nuts (x2) that attach the superbottle to the thermal beam.
.jpg)
- Remove the upper bolts (x2) that attach the battery bracket to the vehicle.
.png)
- Release the clip that attaches the coolant hose to the 12V battery bracket.
.jpg)
- Release the clip that attaches the 12V battery vent hose to the 12V battery bracket.
.jpg)
- Loosen the inner bolts that attach the shock tower brace to the RH shock tower.
.jpg)
- Loosen the outer bolt that attaches the shock tower brace to the RH shock tower.
.jpg)
- Remove the inner bolts that attach the shock tower brace to the LH shock tower.
.jpg)
- Remove the outer bolt that attaches the shock tower brace to the LH shock tower.
- Shift the LH side of the shock tower brace towards the front of the vehicle to increase working space.
.png)
- Remove the bolt that attaches the thermal harness cover to the front body controller module, and then remove the cover from the module.
.png)
- Disconnect the thermal harness from the front body controller module connector.
.png)
- Release the clip that attaches the suction/liquid lines to the body near the TXV, and then move the electrical harness aside to gain access to the front body controller module.
.png)
- Remove the bolts (x9) that attach the front body controller module cover to the front body controller module, and then remove the cover.
.jpg)
- Disconnect the electrical harness from the front body controller module connectors (x4).
.jpg)
- Remove and discard the nuts (x6) and bolt that attach the power and ground cables to the front body controller module.
.jpg)
- Remove the bolts (x3) that attach the front body controller module to the body.
.png)
- Release the clips (x2) that attach the bottom of the front body controller module to the body, and then remove the lower busbar from the stud.
.png)
- Remove the bolt that attaches the ground strap to the upper rear of the front body controller module, and then remove the ground strap from the module.
.png)
- Remove the bolt that attaches the ground strap to the lower right side of the front body controller module, and then remove the ground strap from the module.
.png)
- Remove the bolt that attaches the ground strap to the lower rear of the front body controller module, and then remove the ground strap from the module.
- Remove the front body controller module from the vehicle.
READ NEXT:
 Module - Body Controller - Front (Dual Motor) - Install
Install
Set the front body controller module where it installs into the vehicle,
and then tilt the module forward
Install the ground strap to the lower rear of the front body controller
mod
Module - Body Controller - Front (RWD) - Remove
Remove
Remove the 2nd row lower seat cushion. See
Seat Cushion - Lower - 2nd Row (Remove and Replace).
Remove the rear underhood apron. See
Underhood Apron - Rear (Remove and Replace).
Remove
SEE MORE:
Cap - Penthouse HV (Remove and Replace)
Remove
Remove the 2nd row lower seat cushion. See
Seat Cushion - Lower - 2nd Row (Remove and Replace).
Lift the HV cap straight up from over the DC input connector on the LH
side of the penthouse, and then remove the HV cap from the vehicle.
Install
Installation procedure is the reverse
Receiver Dryer and Desiccant- Install
Install
Use 3/8 inch extensions to press the new desiccant filter into the
condenser. Lightly tap with a hammer to fully seat the filter.
Insert a new desiccant bag into the condenser.
Install the inner cap into the condenser, and press it in just below the
groove for the snap ring.
Remove
© 2019-2024 Copyright www.tmodel3.com
